


Reference [Recorder]
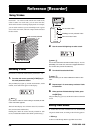
ZOOM MRS-1266
46
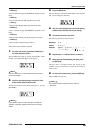
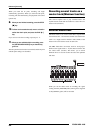
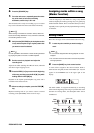
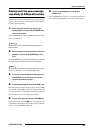
indication "BOUNCE REC TAKE" on the display,
and press the [ENTER] key.
The V-take currently selected for recording is shown.
• CURRENT:
The bounce result will be recorded on the V-take currently
selected for the recording track (default setting).
•1 - 10:
The bounce result will be recorded on the specified V-take.
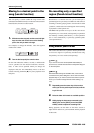
4.
Turn the dial to specify the recording destination V-
take.
5.
To return to the main screen, press the [EXIT] key
several times.
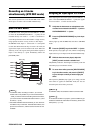
Executing bounce recording
In this example, we will bounce the contents of tracks 1 - 10
onto V-take 10 of tracks 9/10.
1.
Go to the UTILITY screen and verify that recorded
tracks are set to playback (
→
p. 45).
2.
Also on the UTILITY screen, verify that V-take 10 is
selected as recording destination (
→
p. 45).
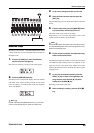
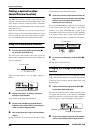
3.
From the main screen, press the status keys of
tracks 9/10 repeatedly, so that the keys are lit in
red.
Tracks 9/10 are now ready for recording.
4.
Press the [BOUNCE] key.
The [BOUNCE] key lights up and the Bounce function is
turned on. Other tracks and effects function normally.
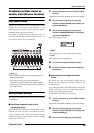
5.
Set the recorder to playback and adjust the mixing
balance of the various tracks.
The individual track level settings as well as the insert effect
and send/return effect settings all have an influence on the
mixed signal. Adjust levels while watching the L/R level
meter, and make sure that no signal clipping occurs.
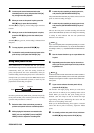
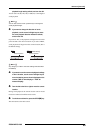
6.
Press the ZERO [
U
] key to return to the beginning
of the song, and then press the PLAY [
R
] key while
holding down the REC [
O
] key.
Recording on the tracks 9/10 starts.
7.
When recording is complete, press the STOP [
P
]
key.
The bounce function is terminated.
REC TAKE
REC TAKE
CURRENT
CURRENT