


Reference [Projects]
ZOOM MRS-1266
139
3.
Press the [ENTER] key to execute the operation (or
change the setting) that you selected.
For details on the procedure, refer to the sections that follow.
4.
To return to the main screen, press the [EXIT] key
several times.
Loading a project
You can select a project that was saved on the hard disk, and
load it.
1.
Refer to steps 1 - 2 of “Basic procedure” to bring
up the indication “PROJECT SELECT” on the
display. Then press the [ENTER] key.
The project to load is shown on the display.
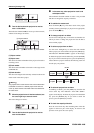
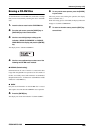
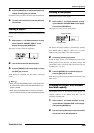
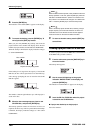
2.
Turn the dial to select the desired project.
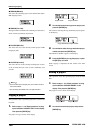
3.
Press the [ENTER] key to load the project, or press
the [EXIT] key to cancel.
When loading is completed, the unit returns to the main
screen.
HINT
• When you press the [ENTER] key, the current project will
be automatically saved on the hard disk before the new
project is loaded.
• When power to the MRS-1266 is turned on, the project
that you were last working on will be loaded automatically.
Creating a new project
This operation creates a new project.
1.
Refer to steps 1 - 2 of “Basic procedure” to bring
up the indication “PROJECT NEW” on the display.
Then press the [ENTER] key.
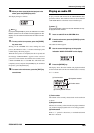
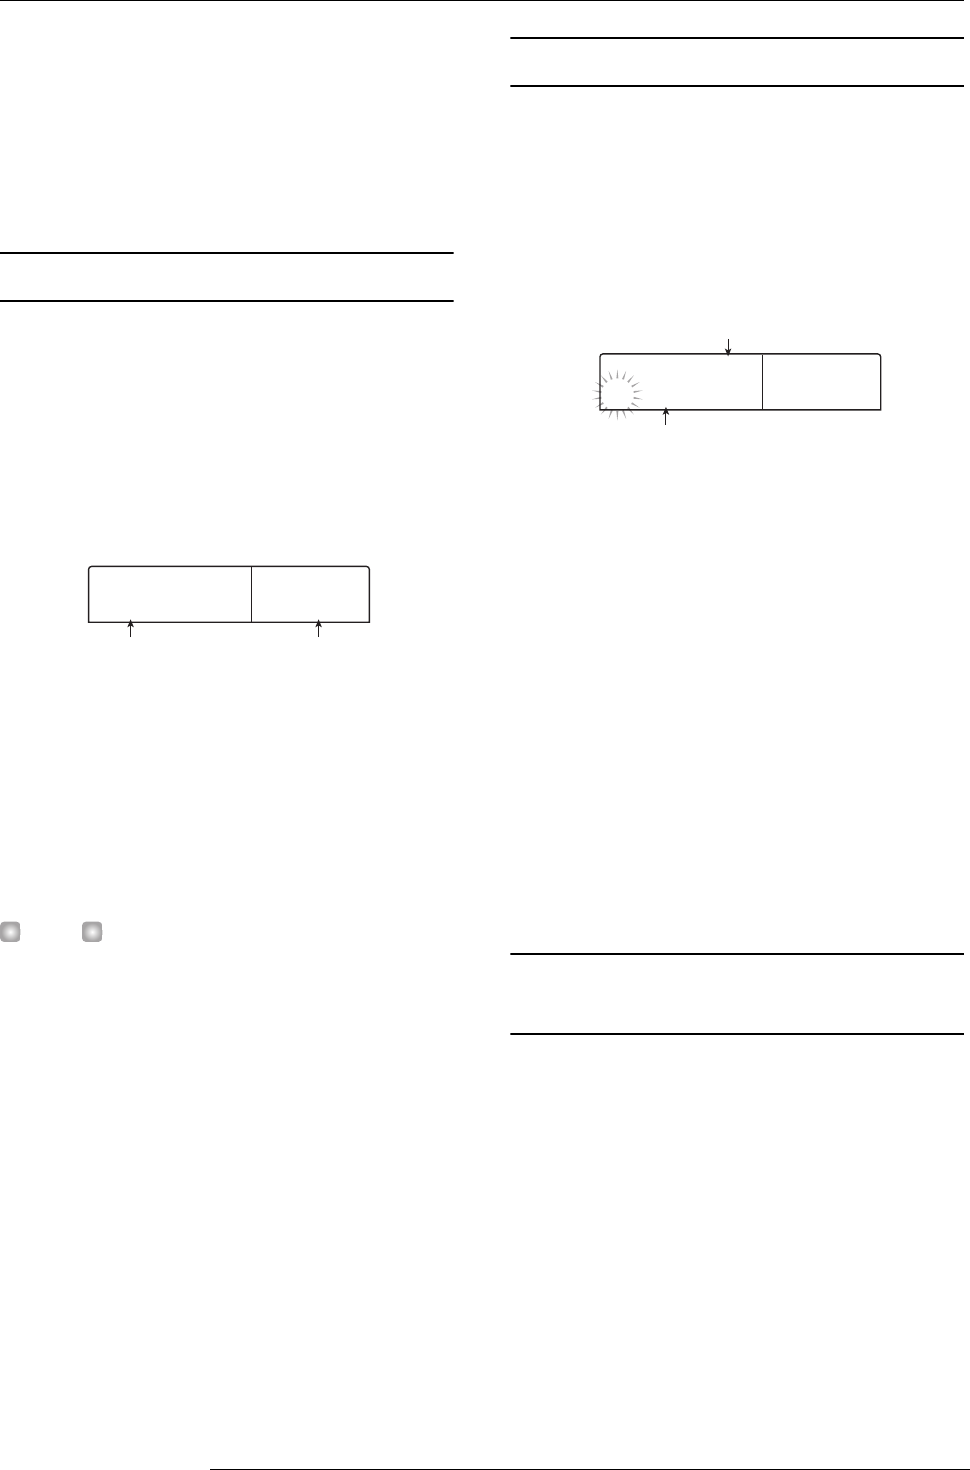
The project to create is shown on the display.
The lowest free project number is automatically selected,
and a default name of “PRJxxx” (where xxx is a project
number in the range of 000 - 999) will be assigned.
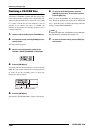
2.
If necessary, edit the project name.
To edit the name, use the cursor left/right keys to move the
flashing position to the character you want to change, and
turn the dial to select a character. The project name can also
be edited later (→ p. 141).
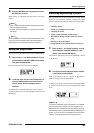
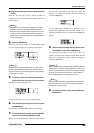
3.
Press the [ENTER] key to create the project, or
press the [EXIT] key to cancel.
When the new project has been loaded, the unit returns to the
main screen.
Checking the project size/available
hard disk capacity
This displays the size of the currently loaded project, the
available capacity of the internal hard disk, and the
remaining recording time.
1.
Refer to steps 1 - 2 of “Basic procedure” to bring
up the indication “PROJECT SIZE” on the display.
Then press the [ENTER] key.
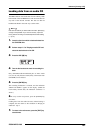
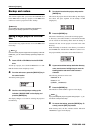
2.
Use the cursor up/down keys to select the desired
screen from one the following options.
1
PRJ SEL
PRJ SEL
PRJ001
PRJ001
Project name Project number
OK?
OK?
PRJNo007
PRJNo007
PRJ007
PRJ007
Project name
Project number