


5-17
MGP 464 • HTML Conguration and Control
PRELIMINARY
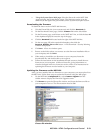
Auto — Click this button to perform an automatic image adjustment to the selected
window. The MGP measures where the active area starts and stops, and
adjusts input sampling accordingly, so that the image fills the window.
When you click Auto, the processor measures the sync frequencies of the
incoming video source and sets the active image area and sampling frequency.
If an unknown input is connected to the MGP, the processor measures and
estimates the resolution of the incoming video. If the estimate proves not to
be accurate, the Auto Image function makes measurements to more accurately
set up the input sampling.
Mute — The Mute button closes or opens the selected window. When the selected
window is muted, this button is highlighted. To unmute the selected window,
click Mute again. The highlighting is removed from the button.
Freeze — The Freeze button freezes the current image in the currently selected
window. When the image in the selected window is frozen, this button
is highlighted. To unfreeze the selected window, click Freeze again. The
highlighting is removed from the button.
If you switch inputs while a window is frozen, the freeze mode is cancelled
and the new input’s image appears in the window.
N
In order to see your Mute and Freeze selections reflected on the front panel, you
must also press the front panel Output Window button that corresponds to the
window you selected on the screen. (The Mute and Freeze buttons blink while
muting and freezing, respectively, are enabled.)
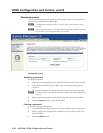
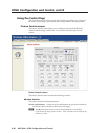
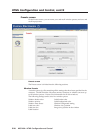
Input sections
In the following sections, you can click a button to specify an input for the currently
selected window. When an input is selected, its button is highlighted on the screen.
RGB/HD/Video Inputs — Click one of these buttons to choose one of the
fully congurable inputs (1 through 4) for the selected window. On the
MGP 464 DI, these buttons also select among the four DVI inputs.
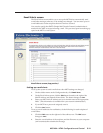
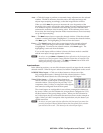
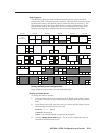
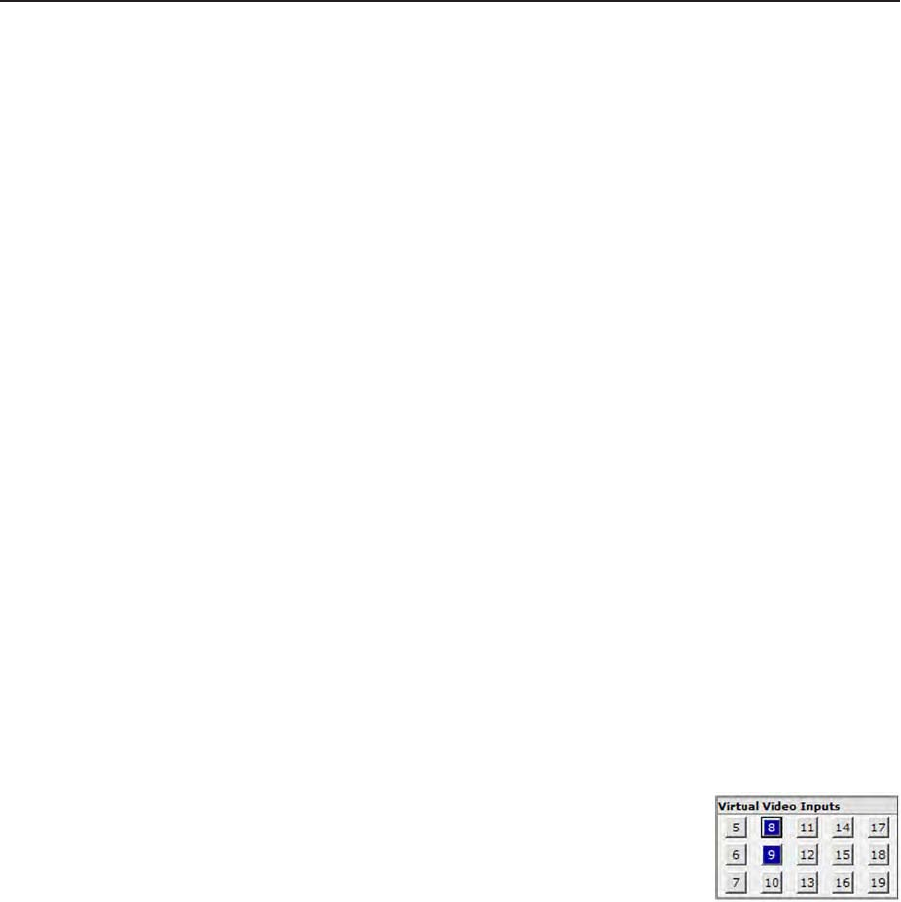
Virtual Video Inputs — Click one of these buttons to
choose one of the virtual inputs (5 through 19) for the
selected window. These inputs can pass only YUVi
component video, S-video, or composite video signals,
and cannot be configured from the front panel.
The virtual inputs are configurable in sets of three, arranged in columns on
the screen. When you click a button for an input that is congured as YUVi,
all three buttons in the group change to blue. When you click a button for
an S-video input, the top two buttons become blue (shown in the example at
right). When you click a composite video input button, only the button you
clicked turns blue.
N
In order to see your input selection reflected on the front panel, you must also
press the front panel Output Window button that corresponds to the window
you selected on the screen. (The button for the selected input lights.)