


Sampling Mode [SAMPLING]
Reference
140
DTXTREME III Owner’s Manual
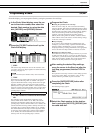
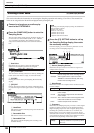
E [SF1] AUDITION
You can hear the selected User Voice by holding this button.
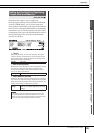
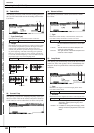
F [SF2] LP=ST
When the menu indication here is “LP=ST,” the Start (Start
Point) and the Loop (Loop Start Point) will share the same
address, meaning that both of them will be changed simulta-
neously, even if just one of them is changed. Pressing the
[SF2] button in this condition changes the menu from
“LP=ST” to “LP≠ST.” When the menu indication here is
“LP≠ST,” the Start (Start Point) and the Loop (Loop Start
Point) can be changed independently. When pressing the
[SF2] button in this condition, the address value of the Start
will be copied to that of the Loop, with the result that both of
them share the same address value. The menu indication also
changes from “LP≠ST” to “LP=ST.”
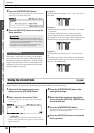
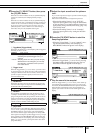
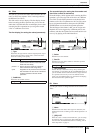
G [SF3] ZOOM –
H [SF4] ZOOM +
Press these buttons to zoom in and out of the waveform dis-
play of the User Voice in the display.
I [SF5] SET END >>
>>
Pressing this button calls up the display for determining the
End Point, from which you can set the tempo, beat, and mea-
sure for the audio data included in the User Voice. For details,
see page 141.
J [SF6] NUM
You can use the [SF1] – [SF5] and [F1] – [F6] buttons as
number buttons by pressing the [SF6] NUM button. For
details, see page 14.
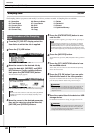
K [F5] DISPLAY
This menu item appears only when zooming in on the wave-
form display beyond a certain point (usually several presses
of the ZOOM + button). When you zoom beyond this point,
the display changes to a split screen, with the left side show-
ing the Start Point area and the right side showing the End
Point area. Pressing the [F5] DISPLAY in this condition alter-
nates between the split screen display and a display showing
either the Start Point area, Loop Point area, or the End Point
area (depending on which parameter has been selected).
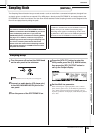
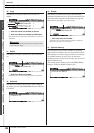
4
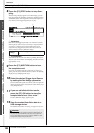
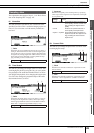
Specify the playback-only portion of the
audio data in the User Voice by using the
data dial, [INC/YES] and [DEC/NO] but-
tons.
In this step, you can set the Start Point, Loop Point and the
End Point—all of which determine how much of the audio
will play back and how it will play back. Use the ZOOM +/-
controls (as well as the AUDITION control) to adjust how
much of the waveform is displayed, making it easier to spec-
ify the playback-only portion.
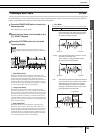
5
If necessary, set the End Point as desired
by using the display called up via the [SF5]
SET END button.
From the display called up via the [SF5] SET END button, set
the related parameters to determine the End Point. After set-
ting the parameters, press the [SF1] AUDITION button to
hear the result of your settings. If you are satisfied with the
result, press the [F6] OK button to return to the original dis-
play.
For details, see page 141.
6
From the [F3] TRIM display, press the [SF1]
AUDITION button to hear the result of the
settings.
If you are not satisfied with the result, repeat Steps 3 – 5 as
desired.
7
Save the created User Voice data to a USB
storage device.
For detailed instructions on saving, see pages 55 and 114.
• The User Voice data resides temporarily in DIMM (pages 76 and
147). Any data in DIMM will be lost when turning the power off.
You should always save any data residing in DIMM to a USB stor-
age device before turning off the power.
CAUTION
Reference
Drum Kit mode Song mode Click mode Tr igger mode File mode Utility mode Chain mode Sampling mode