


Using the Groove Check Function
Quick Guide
DTXTREME III Owner’s Manual
51
Quick Guide
3
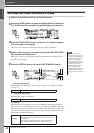
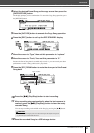
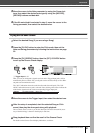
Move the cursor to the Note parameter by using the Cursor but-
tons, then select the desired note type by using the [INC/YES],
[DEC/NO] buttons and data dial.
4
If the 8th note triplet is selected in step 3, move the cursor to the
Swing parameter, then select the desired value.
Trying Out Groove Check
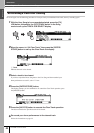
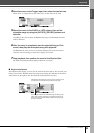
1
Select the desired Song (if you are using a Song).
2
Press the [CLICK] button to enter the Click mode, then set the
Note and Swing parameters by following the instructions on page
50.
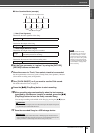
3
Press the [F4] GROOVE button, then the [SF1] G.CHECK button
to call up the Groove Check display.
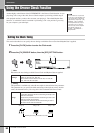
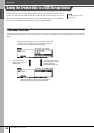
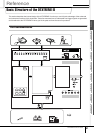
1 Trigger Input 1 – 5
Here, you can set which pads (signals received via the Trigger Input jacks) will be
monitored by Groove Check. Any (or all) pads can be selected, and up to five differ-
ent pads can be monitored at once.
The “ALL” indication shows the result for all sounds (from all pads). The “NO
ASGN” indication means no pad is selected. Lines showing other values indicate the
result for the signal received via the corresponding Trigger Input jack.
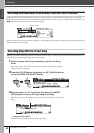
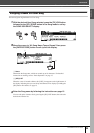
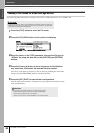
4
Move the cursor to the Trigger Input, then select the desired one.
5
After the setup is completed, start the selected Song or Click
sound, then play the drum pads along with playback.
Groove Check starts as soon as you hit the drum pad. The result for each hit (accu-
racy of the hit timing) is shown in the display in real time.
6
Stop playback then confirm the result of the Groove Check.
For details on the Groove Check display indications, see below.
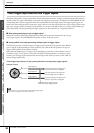
1
Settings NO ASGN, SNARE … PAD15, ALL