


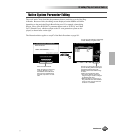
Creating Plug-in Custom Voices
Creating Plug-in Custom Voices
Reference 103
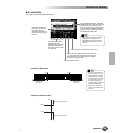
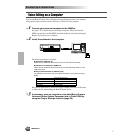
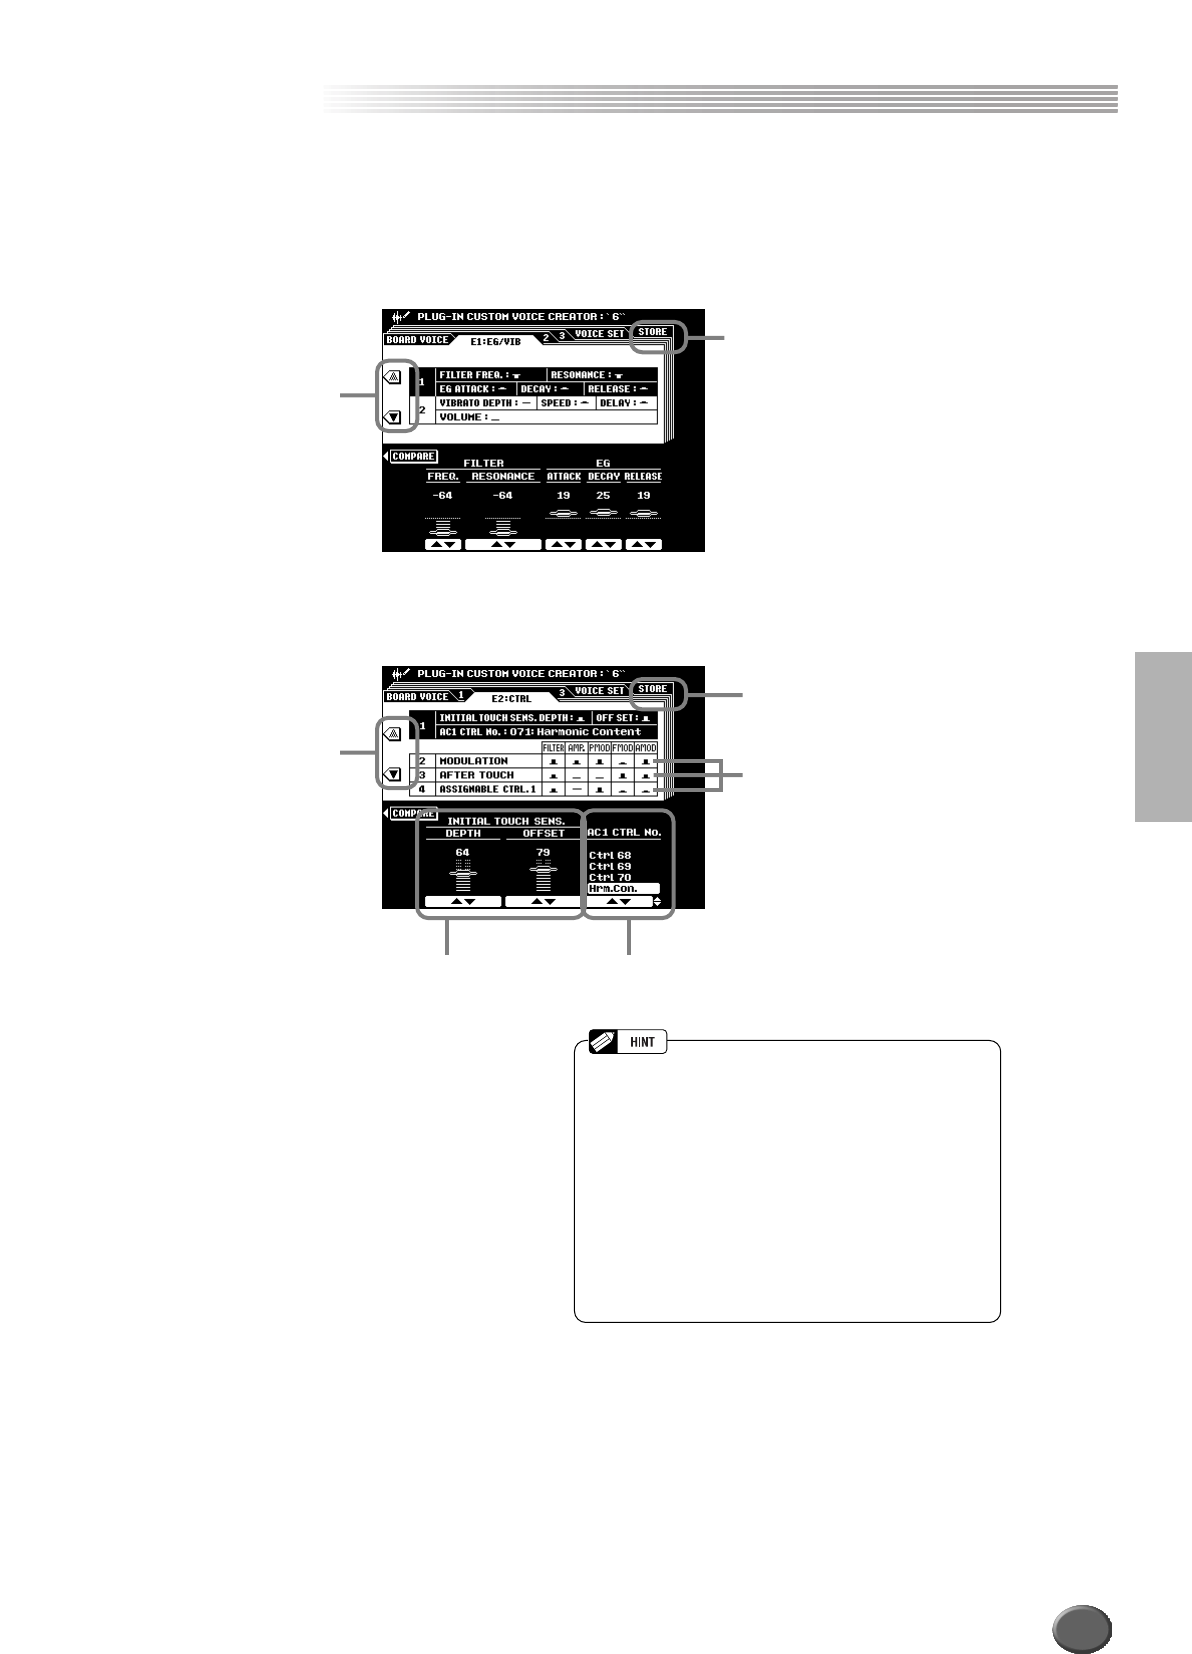
■ Parameters
The explanations here apply to step #7 on page 101.
● E1: EG/VIB
The explanations of each parameter are same as Easy Editing in the Custom Voice Creating
section on page
93.
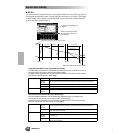
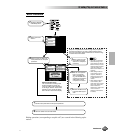
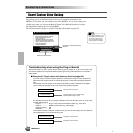
● E2: CTRL (Control)
Select this to go to the
Store display (step #8
on page 101).
Select the desired
menu.
Select this to go to the Store dis-
play (step #8 on page 101).
Select the desired
menu.
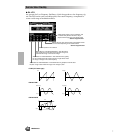
These determine how the various
controllers (MODULATION Wheel,
keyboard After Touch, Assignable
Controller) affect the sound. You
can set the amount of Filter and
Amplitude change, as well as the
depth of LFO modulation of pitch
(PMOD), filter (FMOD) and volume
(AMOD). For more information on
LFO, see page 98.
Sets the depth and the offset of the
Initial Touch Sensitivity.
This determines which Control Change number will be used
for Assignable Controller 1. This function is available only for
Plug-in Boards that support the Assignable Controller (AC1).
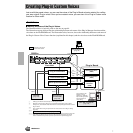
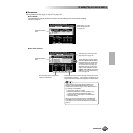
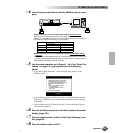
In this example, the PLG150-AN is installed to the
9000Pro and the MODULATION Wheel is used to
change the sound of the Plug-in voice. Make the follow-
ing settings on the 9000Pro:
1) Set the AC1 CTRL No. to Mod.
2) Select the desired AC1 Control Parameter (e.g.,
P:34) in the Native Part Parameter display.
3) Adjust the AC1 Control Depth in the Native Part
Parameter display.
When you play the keyboard and move the MODULA-
TION Wheel, the sound of the Plug-in voice changes
according to the AC1 Control parameter you selected in
step #2.
101