


MIDI Functions
MIDI Functions
Reference 179
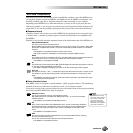
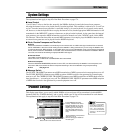
■ Full Setup
You can create your original settings and store them as a template.
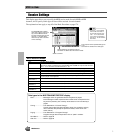
Follow the on-screen instructions to call up the template display as shown below.
• Since all MFC10 settings data is stored to
Flash ROM, any data in the MFC10 settings
location will be erased and replaced by your
new settings. This includes the factory pro-
grammed preset MFC10 settings. If you’ve
deleted the factory-set data, you can use the
Restore function (page 154) to load a copy
of it from the included disks (page 6).
NEXTBACK
PAGE CONTROL
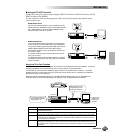
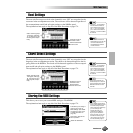
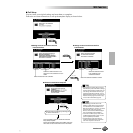
● Assign various functions to the five
Foot Controllers.
Select the desired Foot Controller.
Select the desired function to be
assigned to the selected Foot Con-
troller.
Select the desired Footswitch number.
Select the desired function
to be assigned to the
selected Footswitch.
● Assign various functions to the five
Footswitches.
● Select the destination template.
NEXTBACK
PAGE CONTROL
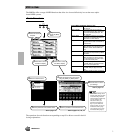
Store the MFC10 settings by following the
on-screen instructions.
NEXTBACK
PAGE CONTROL
NEXTBACK
PAGE CONTROL
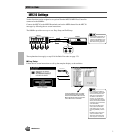
Press the [NEXT] button to enable the selected
Easy Setup template.
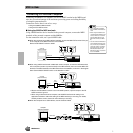
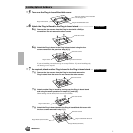
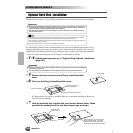
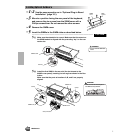
Disconnect the MIDI cable from the MIDI OUT B ter-
minal and connect it to the MFC10 Foot Controller.
• When setting up the MFC10 from the
9000Pro, a MIDI cable must be connected
from the MIDI OUT of the 9000Pro to the
MIDI IN of the MFC10. However, you should
disconnect this cable when using the
MFC10, since extraneous MIDI messages
may be transmitted from the 9000Pro.
• To exit from the MFC10 play mode, select
the MIDI Template display (page 174) and
press the [CANCEL] LCD button.
• The MFC10 play mode on/off status is
retained in Flash ROM and is maintained
even when the power is turned off.
177