


15
Starting Up
Starting Up
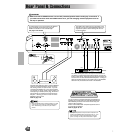
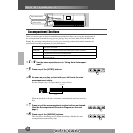
The 9000Pro features two Lamp terminals (at either end of the rear panel) for connect-
ing an optional lamp. This is especially convenient when using the 9000Pro in situa-
tions of low available light. To turn on the lamp, use the switch/dimmer control at the
left end of the rear panel (as viewed from the keyboard side).
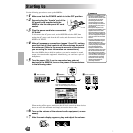
Only use lamps conforming to the following specifications:
• Lamp: 12V 5W
• Connector: 4-pin XLR
1 Make sure that the POWER switch is off.
2 Connect a lamp to one of the terminals on the rear panel.
Firmly push the lamp connector into the socket until it
locks.
3 Turn the power on by pressing the [POWER] switch.
4 Use the [DIMMER] control to turn the lamp on.
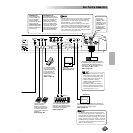
Lamp
0 - 10V DC
Either or both terminals can be
used, letting you connect up to
two lamps.
Use this to turn the lamp on
and off and control the
brightness.
Pin 1, 2: No connection
Pin 3, 4: 0-10V DC
WARNING
To avoid possible damage to
the instrument, follow these
precautions:
• Only use lamps that conform
to the specifications listed at
left.
• Do not attempt to insert any-
thing other than a proper
lamp to the Lamp terminals.
• Do not short-circuit the ter-
minals.
• Do not apply electrical volt-
age (power) to the Lamp ter-
minals.
WARNING
• Make sure the gooseneck of
the lamp is 12 inches or
shorter. Goosenecks of
longer lengths may be unsta-
ble.
• The connected lamp
becomes very hot after
being on for a while. Make
sure you let the lamp cool
before trying to touch it.
• The light bulb will burn out over
a long period of use. When this
happens, replace the bulb with
a new one. You can extend the
life of the bulb by turning the
[DIMMER] control down toward
[MIN] when using the lamp.
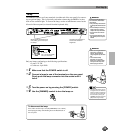
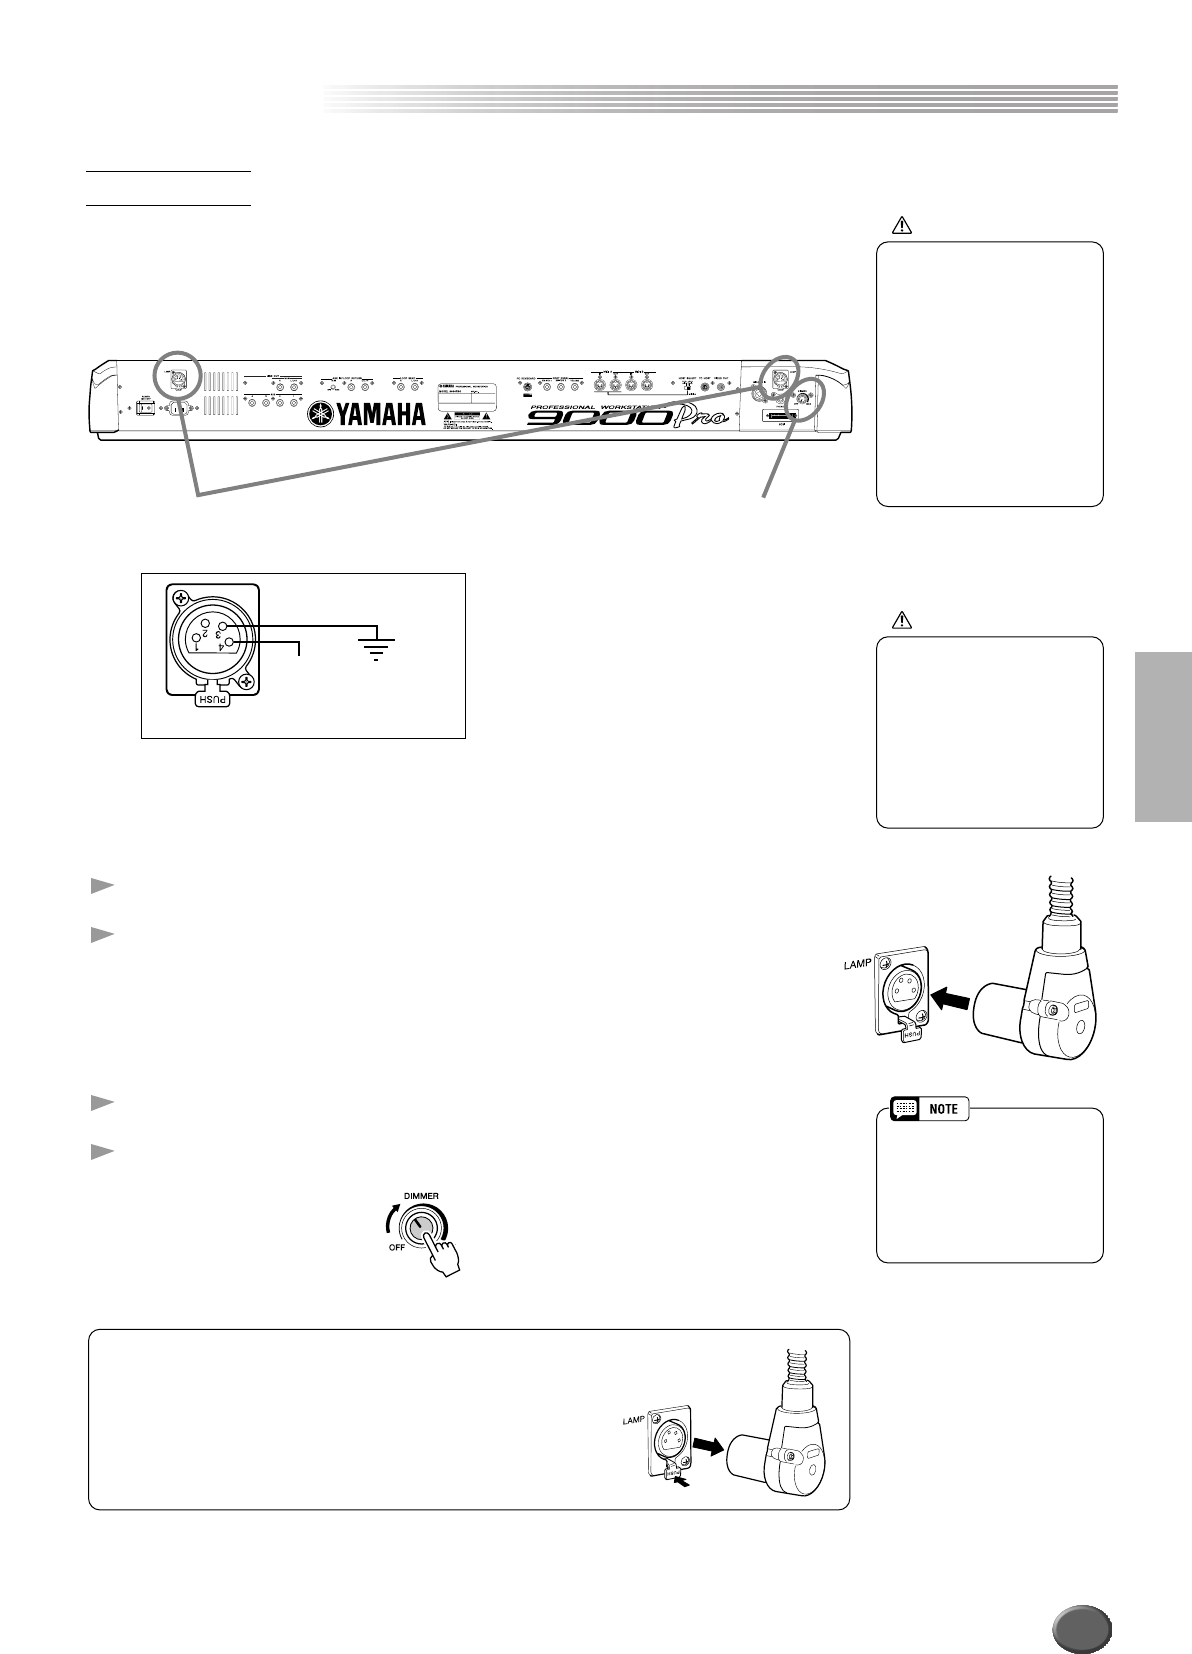
To disconnect the lamp:
First, make sure the lamp is off (the [DIMMER] is set to OFF ),
then unplug the lamp while holding down the PUSH latch on
the rear panel.
13