


Vocal Harmony
80 Reference
Vocal Harmony
Quick Guide
on page 32
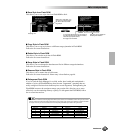
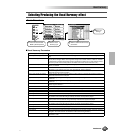
This unique feature incorporates advanced voice-processing technology to automatically produce vocal
harmony based on a single lead vocal. An extensive selection of preset Vocal Harmony “types” are pro-
vided, each functioning in one of three main “modes” which determine how the harmony notes are
applied. In addition to straightforward harmony, the 9000Pro Vocal Harmony feature can change the pitch
and timbre of the harmony and/or lead vocal sound to effectively change the apparent gender of the
voice. So, for example, if you are a male singer you can have a two-part female vocal backup (the Vocal
Harmony feature can add up to two harmony notes to the main lead voice). A full range of parameters is
provided to allow detailed editing to produce precisely the type of vocal harmony sound you need.
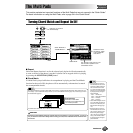
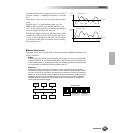
■ Setting up the microphone ................................................................................................
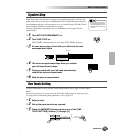
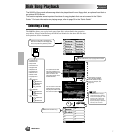
■ Using the “LINE” setting
Normally, since you will be using a microphone, you may never need to use the
“LINE” setting. However, this may come in handy if you want to use a pre-recorded
source (on CD or cassette tape) with the vocal harmony feature. (For best results, the
source should be a single vocal only; any other singers and instruments in the mix
could produce unexpected or undesired results.)
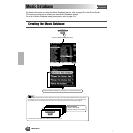
Applying the Vocal Harmony Effect
Setting Up
Please note the following points :
• A standard dynamic microphone with an impedance of about 250 ohms is recommended. (The 9000Pro does not sup-
port phantom-powered condenser microphones.)
• The Yamaha MZ106s microphone is recommended for use with the 9000Pro.
• The level of the microphone sound may vary considerably according to the type of microphone used.
• Placing a microphone which is connected to the 9000Pro too close to those of an external sound system connected to
the 9000Pro can cause feedback. Adjust the microphone position and the INPUT VOLUME level or MASTER VOLUME
control level if necessary, so that feedback does not occur.
Quick Guide
on page 32
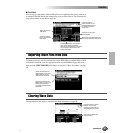
CAUTION
• Never use the “MIC” setting
with a line level signal (CD
player, cassette deck, etc.).
Doing this could damage the
9000Pro and its input func-
tions.
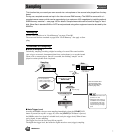
2 Set the MIC/LINE panel
switch to “LINE.”
1 Set the INPUT
VOLUME control to
“MIN.”
3 Connect the source to the
MIC/LINE IN jack.
4 Adjust the INPUT VOLUME control.
Play the source at the highest expected volume, and
adjust the INPUT VOLUME control to get the optimum
input level (as in the “Setting Up” instructions above).
• Since the MIC/LINE IN
jack is highly sensitive,
it may pick up and pro-
duce noise when noth-
ing is connected. To
avoid this, always set
the INPUT VOLUME to
minimum when noth-
ing is connected to the
MIC/LINE IN jack.
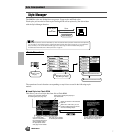
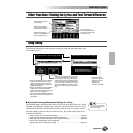
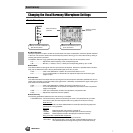
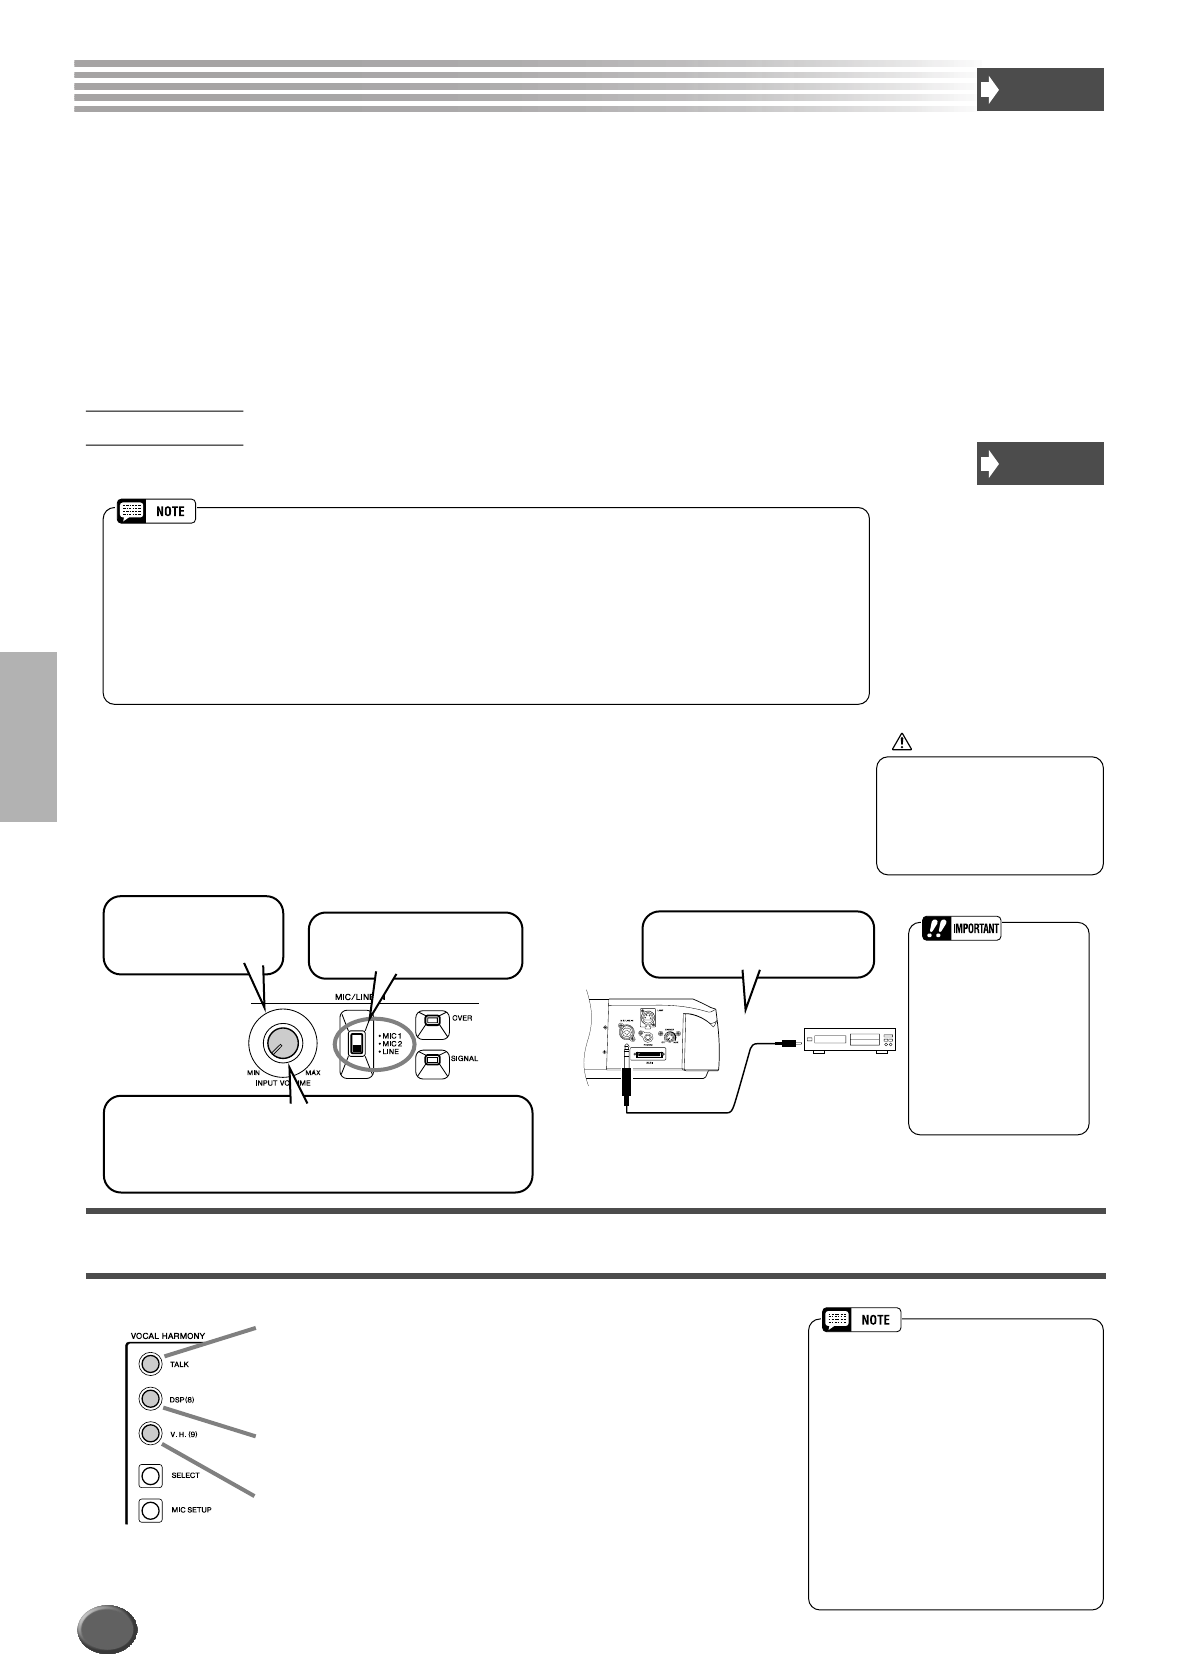
This turns Talk settings on or off.
The Talk settings are effective when using the microphone for
speech or “rapping” (as opposed to singing).
Refer to page 165.
The 9000Pro has a DSP effect (DSP 8) especially for the micro-
phone sound, and this button turns the DSP 8 effect on/off. The
DSP 8 type can be set from the Mixing Console display (page 146).
This turns the Vocal Harmony effect on or off.
• If you experience distorted or out-of-tune
sound from the Vocal Harmony feature,
your vocal microphone may be picking up
extraneous sounds (other than your voice)
— the Auto Accompaniment sound from
the 9000Pro, for example. In particular,
bass sounds can cause mistracking of the
Vocal Harmony feature. The solution to
this problem is to ensure that as little
extraneous sound as possible is picked up
by your vocal microphone:
• Sing as closely to the microphone as pos-
sible.
• Use a uni-directional microphone.
• Turn down the MASTER VOLUME, ACMP
volume or SONG volume control.
78