


24
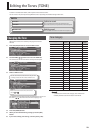
Editing the Tones (TONE)
Editing the Tone
Here’s how to make various settings for the tone.
If you want to edit detailed settings, refer to “Editing a Tone (Detailed
Settings)” (p.24).
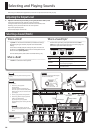
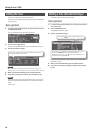
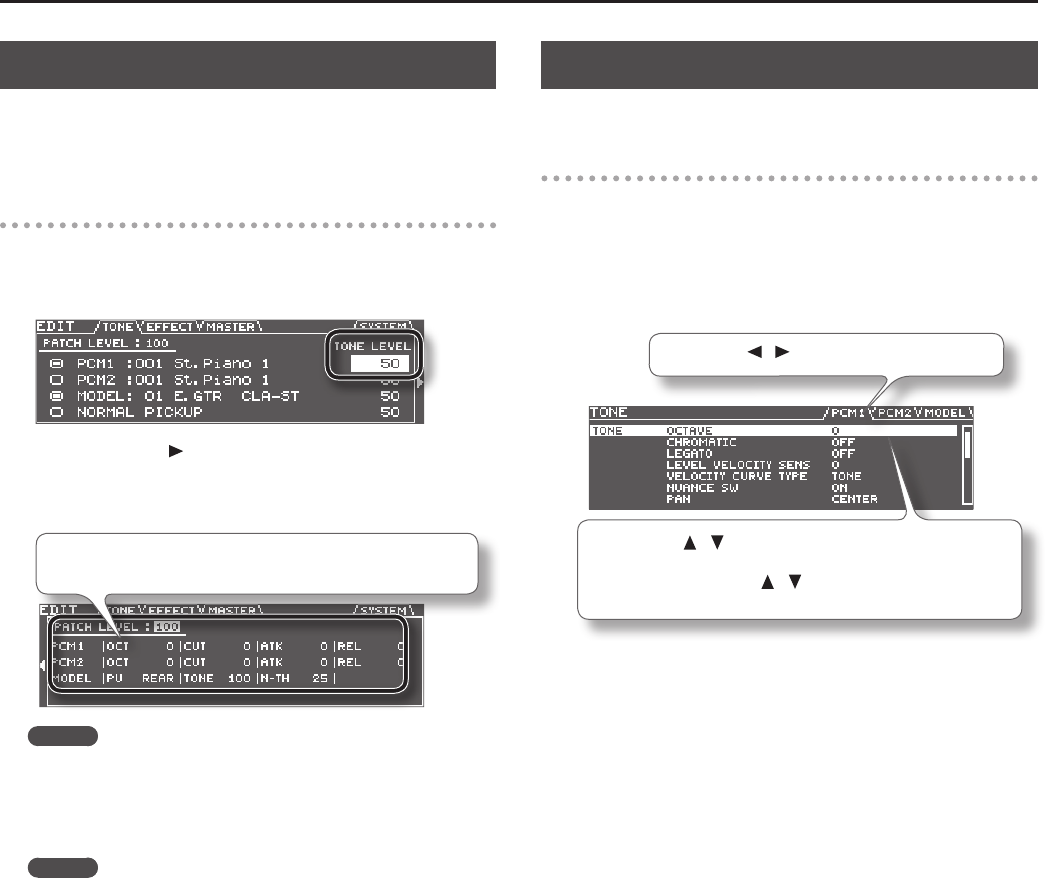
Basic operation
1. In step 3 of “Changing the Tone” (p.23), move the cursor to
the TONE LEVEL eld.
You can use the dial to edit the volume of the tone.
2. Press the cursor [ ] button.
The screen shows the parameters that can be edited for each tone.
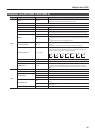
3. Edit the parameter settings.
Use the cursor buttons to select the tone parameter that you want to
edit, and use the dial to edit the value.
MEMO
This screen shows the parameters that are marked by a “#” symbol in the
parameter list (p.25 –). The parameters that you can edit will dier for each tone.
4. When you’ve nished editing, press the [EXIT] button.
5. If you want to keep your settings, save the patch (p.60).
MEMO
If you want to adjust the overall volume of the patch, use the cursor
buttons to select the PATCH LEVEL eld, and use the dial to edit the
value.
Value: 0–200
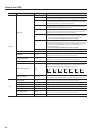
Editing a Tone (Detailed Settings)
Here’s how to edit the tone settings in detail.
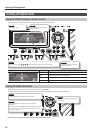
Basic operation
1. In step 3 of “Changing the Tone” (p.23), select the tone that
you want to edit.
2. Press the [ENTER] button.
The TONE EDIT screen will appear.
3. Edit the parameter settings.
Use the PAGE [ ] [ ] buttons to switch between tabs.
Use the cursor [ ] [ ] buttons to select the parameter that you want
to edit, and use the dial to edit the value of the parameter.
By holding down the cursor [
] [ ] buttons simultaneously you can
make the cursor move faster.
For details on each parameter, refer to “Parameter List (PCM TONE 1/
PCM TONE 2)” (p.25).
4. When you’ve nished editing, press the [EXIT] button.
5. If you want to keep the changes you made, save the patch
(p.60).