Using and Editing Multi sets
70
Other ways to select a multi set
You can’t use a foot switch connected to the
ASSIGNABLE SWITCH jack to change multi sets.
For details on how to select a multi set via MIDI,
see p.77.
Assigning a program to a
track, and setting the volume
and pan
Selecting a track program from the
microX
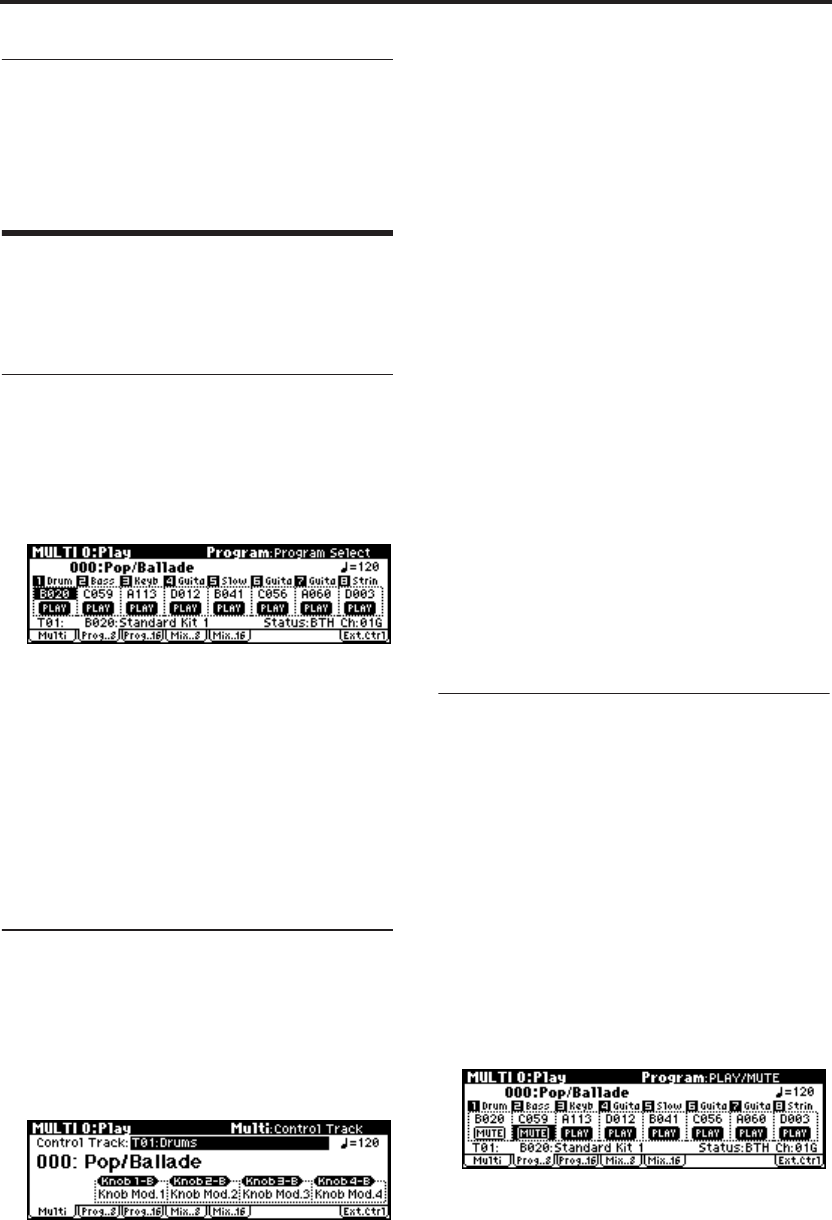
1. Access the MULTI 0: Play, Program page.
This page shows all 8 Tracks at once, including
their Program assignments, volume, pan, play/
mute, solo, and more.
2. Use the ClickPoint to highlight “Program
Select,” and use the [VALUE] dial etc. to select a
program.
You can use either of the following methods to
select a program.
•Turn the [VALUE] dial.
•Press the center of the ClickPoint to highlight
the field, then use [π][†] to select a program,
and press the center to finalize your selection.
•
“Selecting by Category” (
☞p.38)
Checking the sound of a track
Playing the microX’s keyboard to hear
the sound
1. Use the “Control Track” setting to choose the
track that will respond to the microX’s
keyboard.
If “Status” (☞p.71 ““Status” and MIDI
channel”) is INT or BTH, you can play the
microX’s keyboard and operate its controllers
to hear the microX’s internal tone generator
with the settings (program and level etc.) of the
track you specified as the “Control Track.” Any
other tracks that have a matching MIDI channel
will also sound at this time. If the “Status” of
the track is EXT, EX2, or BTH, the
corresponding MIDI messages will be
transmitted on the MIDI channel that is
specified for that track.
Receiving MIDI data from an external
sequencer to play the microX
By default, the microX’s tracks 1 through 16 are set
to MIDI channels 1 through 16, with track 1 receiv-
ing channel 1, track 2 receiving channel 2, and so
on.
1. To hear the track (1) whose “MIDI Channel”
setting is 1, transmit performance data (MIDI
note-on/off messages) from your external
MIDI sequencer on MIDI channel 1.
If the “Status” is INT or BTH, the microX’s tone
generator will sound. If the “Status” is Off,
EXT, or EX2, the microX’s tone generator will
not sound.
Silencing a specific track (Mute)
The microX provides a Mute function that lets you
temporarily silence the desired track(s) 1–16. For
example, you can use this to listen only to the
rhythm section while you record a new track. You
can also use this function to modify the structure
of the song.
1. Access the MULTI 0: Play, Program page.
2. Select the “PLAY/MUTE” and press the
ClickPoint center.
Each time you press, the PLAY and MUTE
settings will alternate.
If MUTE is selected, this track will not produce
sound even if it receives note data from the
microX’s keyboard or from an external device.
Note: The mute setting of each track will not be
written (saved).
