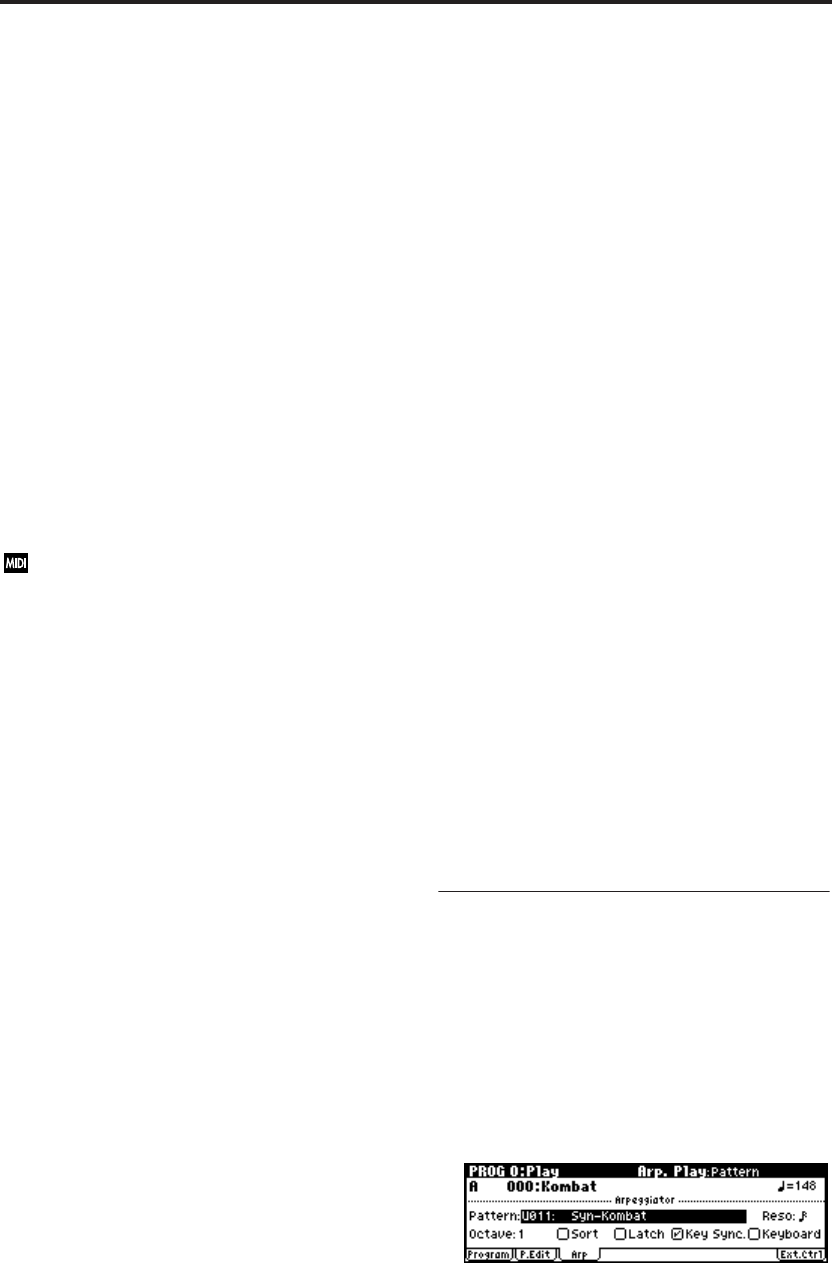
Arpeggiator settings
92
Adjusting the arpeggiator tempo (TEMPO)
1. Press the REALTIME CONTROLS [SELECT]
button to make the right “C” LED light.
2. Rotate the [4] (TEMPO) knob to adjust the
tempo. The “ =” value in the upper right of the
display will change.
You can set this in the range of 40–240. The LED
located above the [ARP ON/OFF] button
blinks at quarter-note intervals of the timing
you specify.
You can also set the timing from within the
display. Use the ClickPoint to select “ =” and
turn the [VALUE] dial to specify the tempo.
The LED will blink at the specified tempo.
Note: You can set the tempo by pressing a
separately sold PS-1 foot switch that is
connected to the PEDAL jack (when “Foot SW
Assign” is set to Tap Tempo).
Note: The arpeggio playback speed is affected
by the “Reso (Resolution)” setting (0: Play, Arp.
Play page, 7: Ed–Arp/Ctrls, Setup page).
If “MIDI Clock” (GLOBAL 1: MIDI) is set to
Ext-MIDI or Ext-USB, or set to Auto and MIDI
clock messages are being received from an
external device, the display will indicate “ =”
EXT. This lets you synchronize the tempo
with an external MIDI device. In this case you
won’t be able to adjust the tempo on the
microX.
Adjusting the length of the arpeggiated
notes (ARP–GATE)
1. Press the REALTIME CONTROLS [SELECT]
button to make the right “C” LED light.
2. Rotate the [1] (ARP-GATE) knob to adjust the
duration of the arpeggiated notes.
Rotating the knob toward the left will shorten
the notes, and rotating it toward the right will
lengthen the notes. At the center position (12
o’clock), the note length will be as specified by
the program parameter “Gate” (7: Ed–Arp/
Ctrls, Setup page).
Note: You can control the effect by
simultaneously adjusting the REALTIME
CONTROLS A-mode [4] (EG-RELEASE) knob.
Adjusting the level of the arpeggiated
notes (ARP-VELOCITY)
1. Press the REALTIME CONTROLS [SELECT]
button to make the right “C” LED light.
2. Rotate the [2] (ARP-VELOCITY) knob to adjust
the strength (or level) of the arpeggiated notes.
Rotating the knob toward the left will make the
notes weaker, and rotating the knob toward the
right will make the notes stronger. At the center
position (12 o’clock), the velocity will be as
specified by the program parameter “Velocity”
(7: Ed–Arp/Ctrls, Setup page).
Note: You can control the tone effectively by
simultaneously adjusting the REALTIME
CONTROLS A-mode [1] (LPF CUTOFF), [2]
(RESONANCE/HPF), and [3] (EG-
INTENSITY) knobs.
Changing the length of the arpeggio
pattern (ARP-LENGTH)
1. Press the REALTIME CONTROLS [SELECT]
button to make the right “C” LED light.
2. Turn the [3] (ARP-LENGTH) knob to change
the length of the arpeggio pattern.
At the center position (12 o’clock), the length
will be the same as the arpeggiator’s “Lgth
(Length)” setting (7: Ed–Arp/Ctrls, Setup
page). Turn the knob toward the left to shorten
the pattern, or toward the right to lengthen the
pattern. The arpeggio pattern will play
repeatedly for the number of times specified by
LENGTH. Changing this value will change the
character of the pattern.
Note: This has no effect for the preset patterns
(UP, DOWN, ALT1, ALT2, RANDOM).
Saving your settings
The [ARP ON/OFF] button on/off status together
with the REALTIME CONTROLS knob and key
settings are saved when you write the program,
combination, or multi-set.
Editing arpeggio settings that
appear in the display
You can make arpeggiator-related settings in the
PROG 0: Play, Arp. Play page or in the PROG 7:
Ed–Arp/Ctrls, Setup and Zone pages. The 0: Play,
Arp. Play page contains selected parameters
(taken from the 7: Ed–Arp/Ctrls, Setup page) that
are particularly effective for editing during a per-
formance. However, parameters other than
“Swing” can be controlled as described in “Arpeg-
gio controllers” (☞p.91).


