104
Song operating mode
Event Edit procedure
EVENT EDIT PROCEDURE
The Event Edit is the page where you can edit each single
MIDI event of the selected track. You can, for example,
replace a note with a different one, or change its playing
strength. Here is the general event editing procedure.
1. While in the Main page of the Song mode, load the Song
to edit (see “Main page” on page 88). If a Song is already
loaded or just recorded, this step is not needed.
2. Press MENU, and use one of the H VOLUME/VALUE
buttons to select the Event Edit section. The Event Edit
page appears (see “Page 24 - Event Edit” on page 102 for
more information).
3. Press SEQ1 PLAY/STOP to listen to the Song. Press
SEQ1 PLAY/STOP again to stop it.
4. Press PAGE+ to go to the Event Filter page, and turn
“Off” the filter for the event types you wish to see in the
display (see “Page 25 - Event Filter” on page 103 for
more information).
5. Press PAGE- to go back to the Event Edit page.
6. Press the A VOLUME/VALUE button (Trk), to select the
track to edit. The Go To Track window appears.
Use the TEMPO/VALUE controls to select a track, and
press ENTER to confirm (or EXIT to abort).
7. The list of events contained in the selected track will
appear in the display.
For more information on the event types and their val-
ues, see “Page 24 - Event Edit” below.
8. Use the B VOLUME/VALUE buttons to select the Posi-
tion line. Use these buttons or the TEMPO/VALUE con-
trols to change the event’s position.
9. Use the C VOLUME/VALUE buttons to select the Event
line. You may use the C VOLUME/VALUE buttons or
the TEMPO/VALUE controls to change the event type.
Use the G VOLUME/VALUE buttons, and the F3 and F4
function keys to respectively select the first and second
value of the parameter. Use the G VOLUME/VALUE
buttons or the TEMPO/VALUE controls to modify the
selected value.
10. In the case of a Note event, use the D VOLUME/VALUE
buttons to select the Length line, and use the same but-
tons, or the TEMPO/VALUE controls, to change the
event’s length.
• After having modified the shown event, you may scroll
to the next event with the H VOLUME/VALUE buttons
(Scroll to next), or to the previous event with the E/F
VOLUME/VALUE buttons (Scroll to previous).
• You may use the SHIFT + << or >> shortcut to go to a
different measure (see “SHIFT + << or >>” on
page 103)
• While the sequencer is running, you may use the
SHIFT + PAUSE shortcut to move the current event in
the display (see “SHIFT + PAUSE” on page 103).
• As described in step 3, you may press SEQ1 PLAY/
STOP to listen to the Song, and press SEQ1 PLAY/STOP
again to stop the sequencer.
11. Use the INSERT button to insert an event at the Position
shown in the display (a Note event with default values
will be inserted). Use the DELETE button to delete the
event shown in the display.
12. When the editing is complete, you may select a different
track (go to step 6).
13. When finished editing the whole Song, press EXIT to go
back to the Main page of the Song mode, and select the
Save Song command to save the Song the card. See “Save
Song page” on page 90 for more information on saving a
Song.
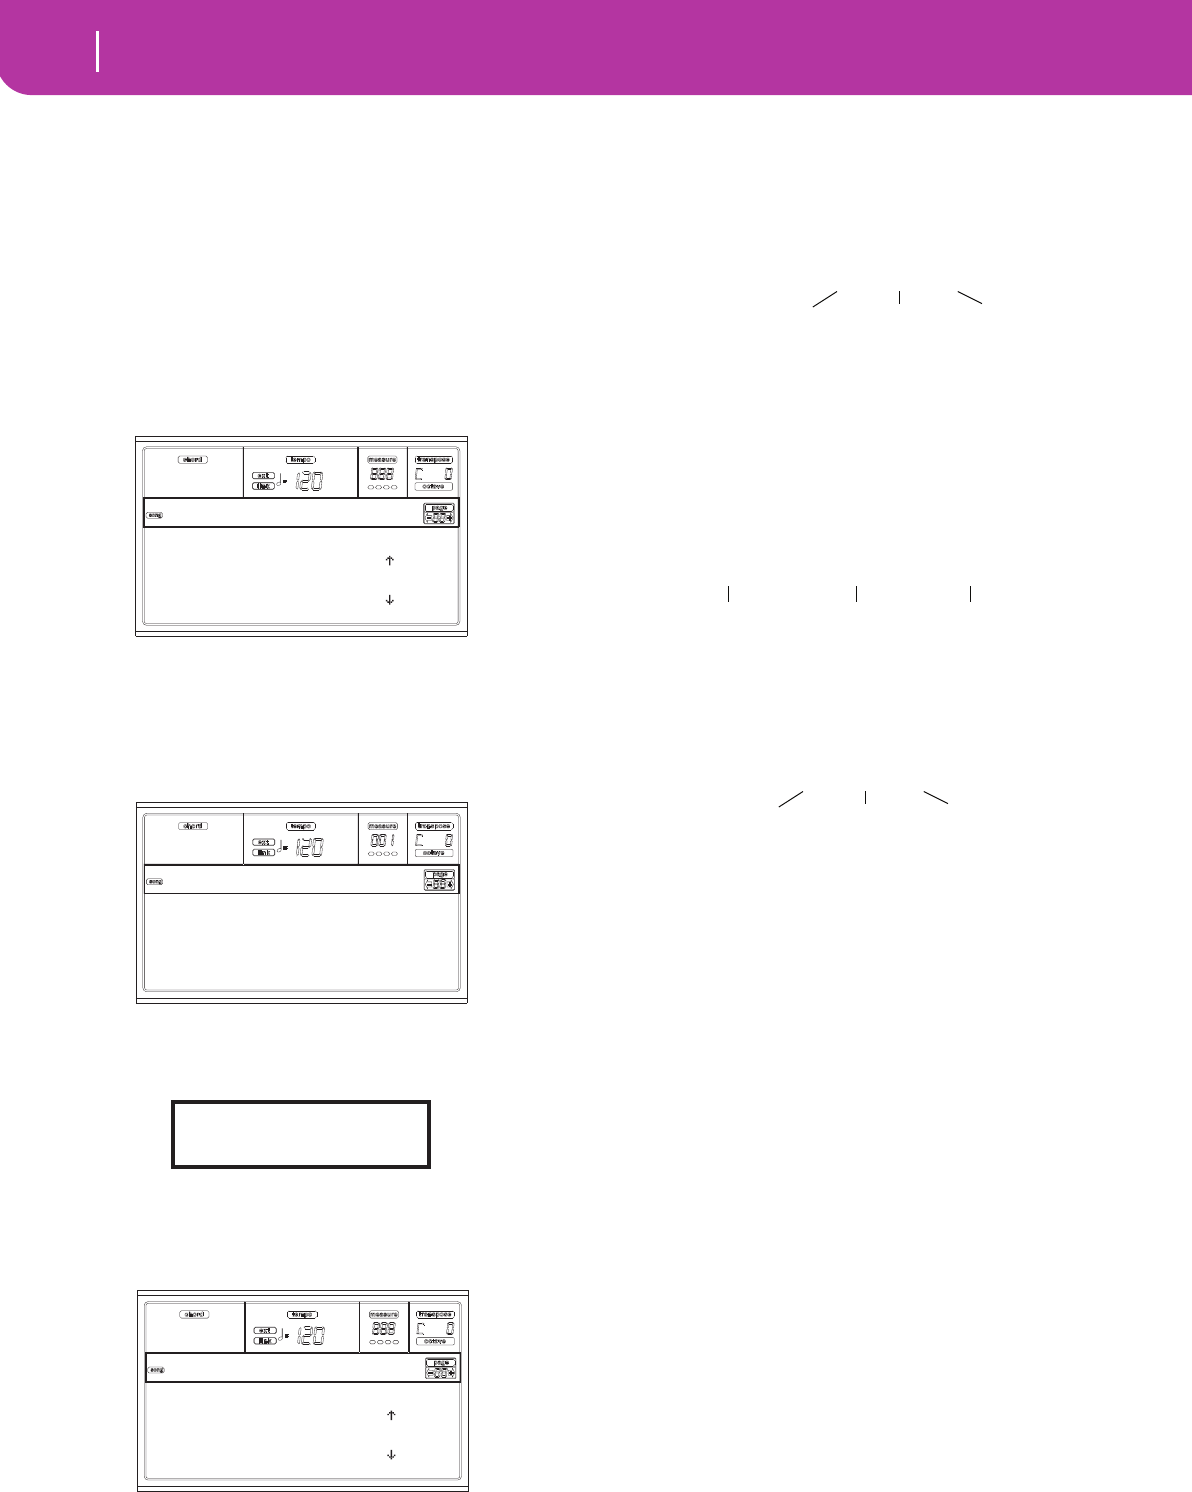
Trk: 1
Position: 001.01.000 |
Ev: Note G1 94
Lenght:000.00.110 |
Event Edit
Note: Off MTch: Off
Prog: Off PTch: Off
Ctrl: Off Bend: Off
T/Meter: Off PaCtl: Off
Edit:Ev.Filter
Go to Track: 1
Enter=Ok Exit=Cancel
Trk: 1
Position: 001.01.000 |
Ev: Note G1 94
Lenght:000.00.110 |
Event Edit
Position: 001.01.001
Measure Beat Tick
Event Type
First value
Second value
Ev: Note G1 94
Lenght:000.00.000
Measure Beat Tick


