31
Tutorial
4 - Recording a Song
8 Stop it.
Sure, the Song automatically stops when reaching the end.
But you can stop it before the end, just by pressing PLAY/
STOP again.
4 - RECORDING A SONG
The Backing Sequence mode is a fast and effective way of
recording a new Song, making full use of the features of the
Style Play mode. So, arm your recorder, and play live with the
Styles—a song will be ready in seconds!
1 First, enter Backing Sequence mode
Press B.SEQ to access the Backing Sequence mode. The Real-
time tracks, on the keyboard, will remain the same you
selected in the Style Play mode.
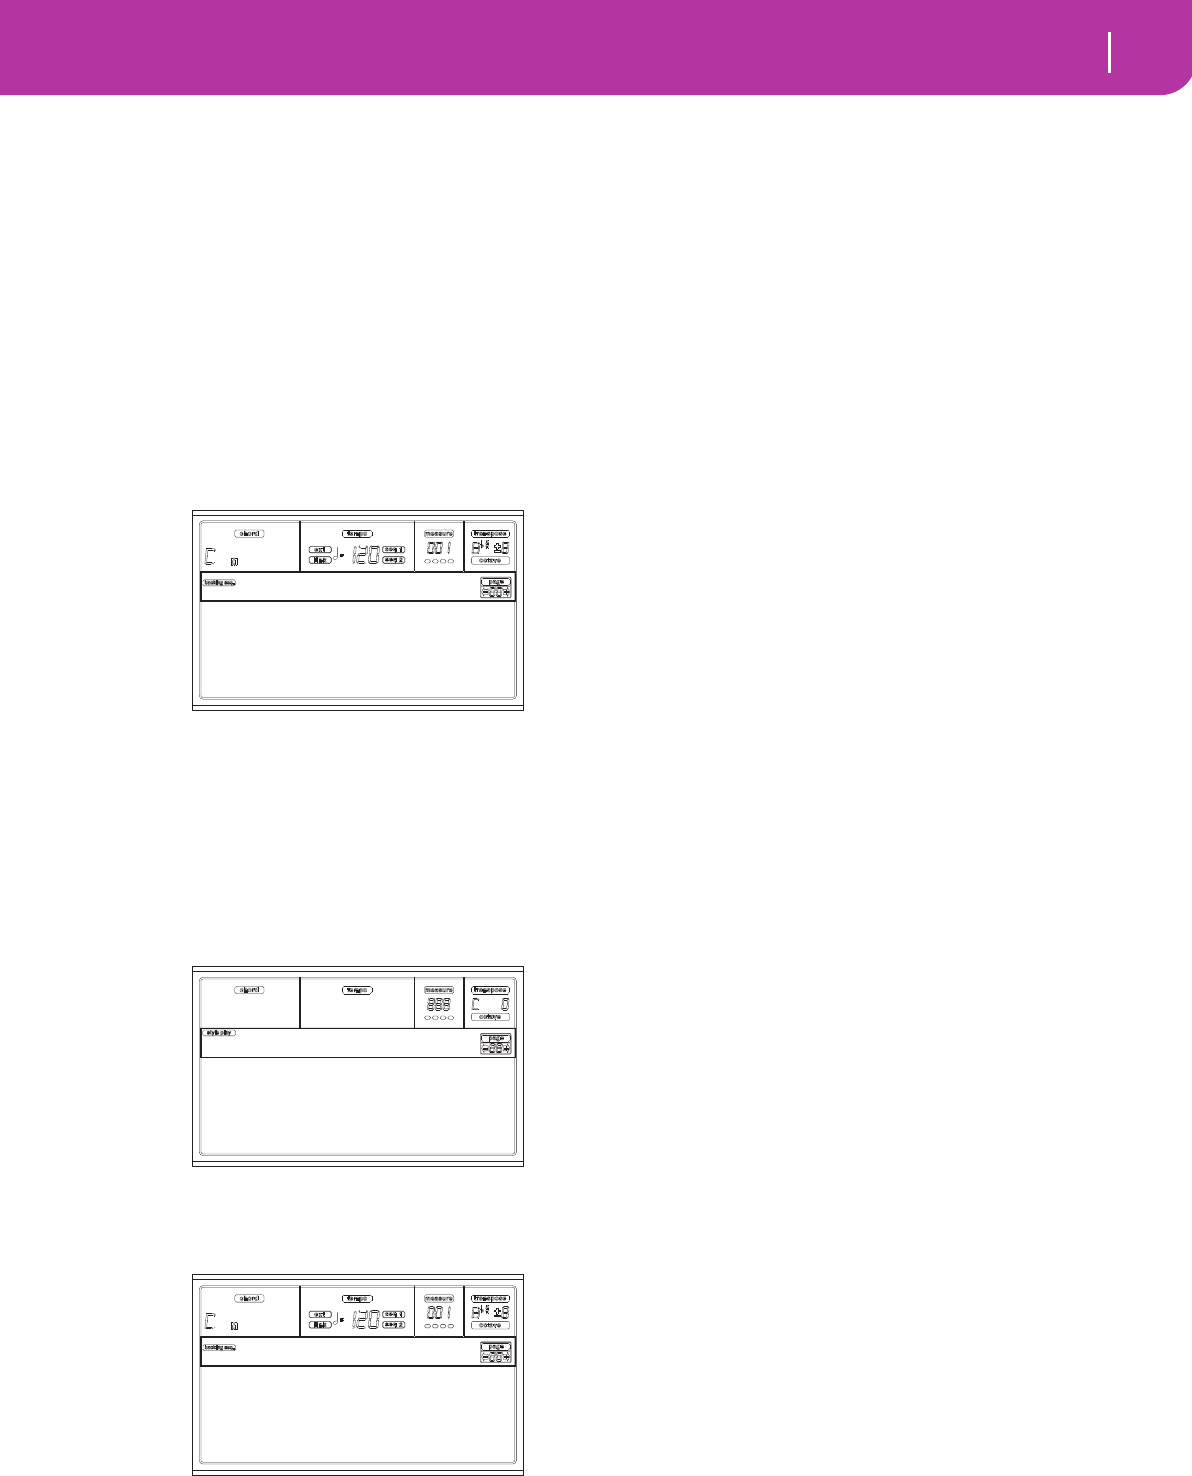
Don’t worry about this display: it’s something you don’t need
to learn at this point. You may find more information on it,
going to the Reference Guide (see “Backing Sequence operat-
ing mode” on page 82).
Suffice you to know this is the Backing Sequence Play page,
where you can load, play or save a Song.
2 Now, press RECORD.
You are prompted to select either the Realtime recording
mode, or the Chord/Acc Step recording mode.
3 Select the Realtime recording mode.
Simply press one of the A VOLUME/VALUE buttons. The
Record page appears.
4 If you think the selected Style is not what you
like for your backing tracks, select a different one.
Well, you should already know how to do it (see “Selecting a
Style” on page 26). But here is a fast reminder:
1. Select one of the Style rows in the STYLE section, using
the leftmost button.
2. Select one of the Style Banks, by pressing one of the but-
tons of the STYLE section.
3. Select one of the pages, using the PAGE buttons.
4. Select a Style, using the VOLUME/VALUE (A-H) but-
tons.
As you may guess, the Style Bank and number appear after
the “Style” parameter in the display.
5 And what about changing the Performance or
Single Touch Setting?
As above, you should know the story (see “Selecting a Perfor-
mance” on page 25, or “Selecting a Single Touch Setting
(STS)” on page 27). But, here is a short recap for the Perfor-
mances:
1. Press the PERFORM button to set the PROGRAM/PER-
FORMANCE section act as a Performance selector.
2. Select one of the Performance Banks, by pressing one of
the buttons of the PROGRAM/PERFORMANCE sec-
tion.
3. Select a Performance, using the VOLUME/VALUE (A-
H) buttons.
…and for the Single Touch Settings (STS):
• Press one of the SINGLE TOUCH SETTING buttons.
6 Ok, now we can go.
As you see, both the RT track and the Ch/Acc track are in
RECord mode. This means you can start recording all you
play in a realtime performance with the Styles. So,
PRESS START/STOP
WAIT FOR THE PRECOUNT TO REACH BAR 1
AND BEGIN PLAYING!
7 Play as if you were playing live.
You can do exactly what you do when playing with the Styles:
select a different Style, Performance, STS, different Variation,
a Fill, and Ending…
You can even start your recording with an Intro: just press
one of the INTRO buttons before pressing START/STOP to
start recording.
8 Stop the Song.
To stop the Song, press either START/STOP or one of the
ENDING buttons. The Song will stop, but the Recording will
still be on. So, you can start with another Song to be recorded
in the same session (go back to step 6, if you like).
Otherwise, finish the Recording, going to the next step.
9 Finish the recording.
All done, boys/girls? Yes? Fine! Then you may
PRESS PLAY/STOP (SEQ1)
and the Recording status will be gone. Both Backing
Sequence tracks (RT and Ch/Acc) will be set to the PLAY sta-
tus.
Load Song Metro:Off
Save Song Meter:4/4
Sel.Tempo Tempo:Auto
BS:New Song
Realtime Recording
Chord/Acc Step Mode
Record
Style:NewBossa 99%
Perf:01-01 Metro:On1
Resol:HI RT/Pad:REC
Sel.Tempo Ch/Acc:REC
Rec:NewSong


