Track editing
124
Basic procedure for track editing
Here is the basic procedure for using a track editing
command. The procedure is essentially the same for all
track editing commands.
■ Select the editing command
1
In the Work Navigate section, repeatedly
press the [EDIT] key.
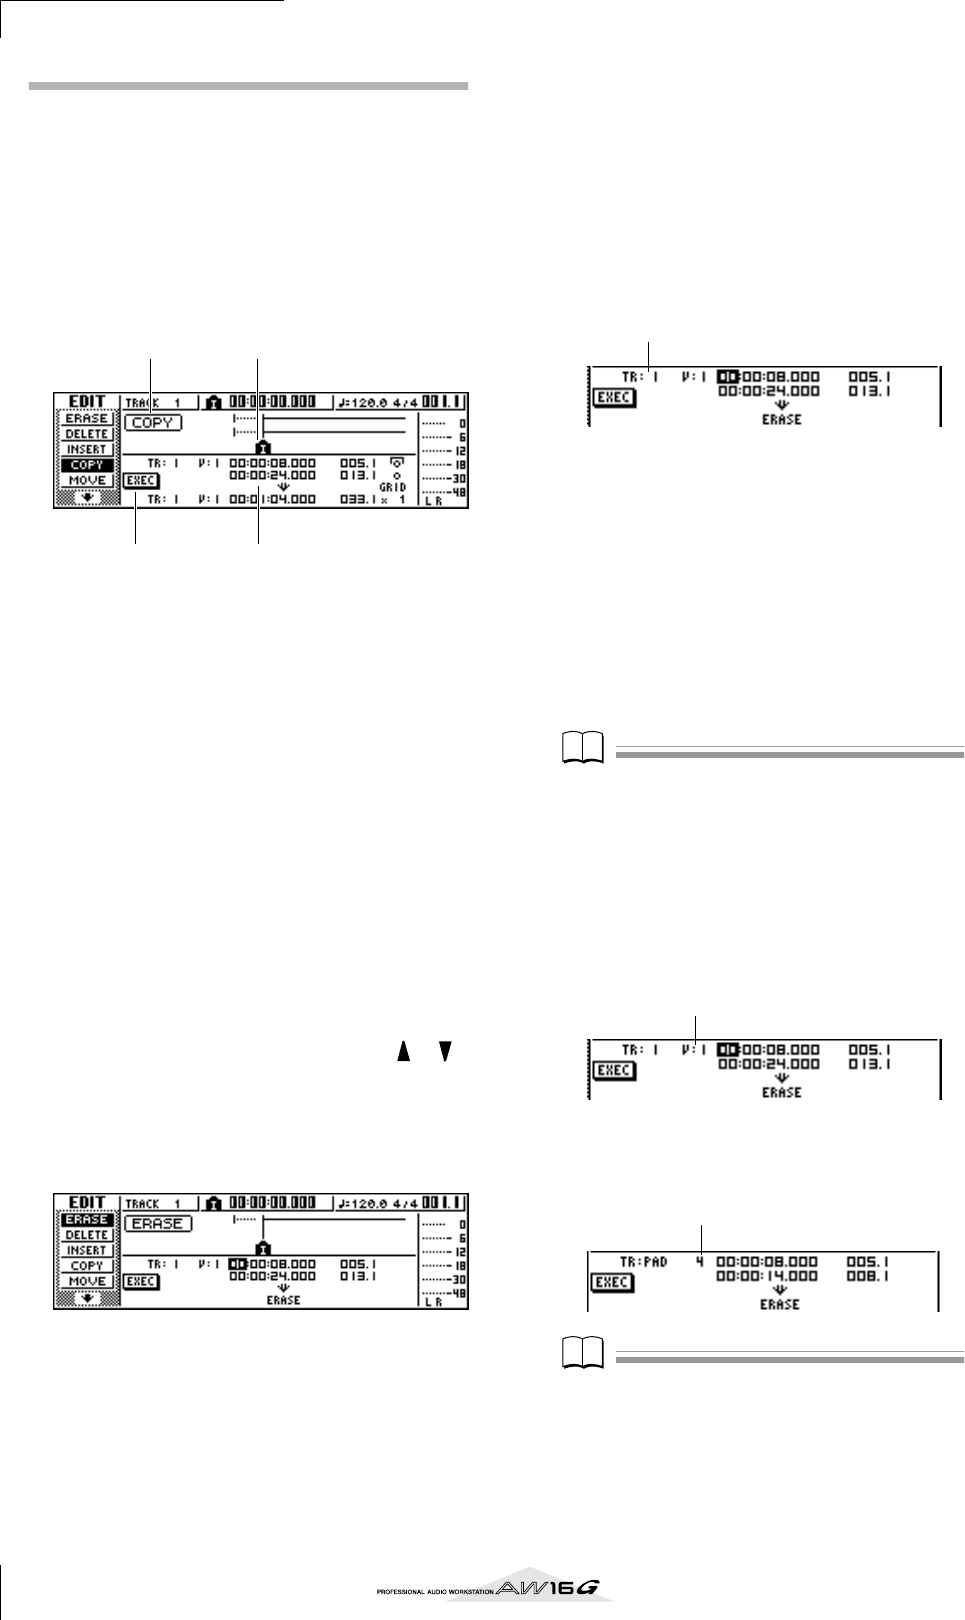
The EDIT screen will appear. This screen displays
the following information.
1 Editing command
Indicates the currently selected editing command.
B Locator/marker
Indicates the approximate location of the currently
set locate points and markers.
If the current track is selected as the virtual track to
be edited, the approximate range(s) of recorded
data will also be displayed.
C Parameters
Sets various parameters (track/virtual track number,
editing region, etc.) required in order to execute the
command. The type of parameters and the ranges of
the settings will depend on the command that is
selected.
D EXEC button
Move the cursor to this button and press the
[ENTER] key to execute the editing command.
2
Repeatedly press the [EDIT] key or hold down
the [EDIT] key and use the CURSOR [ ]/[ ]
keys to select the desired editing command.
The EDIT screen is divided into pages for each edit-
ing command. For example, a screen like the one
shown below will appear if you choose the ERASE
command.
■ Select the track(s) to edit
After you choose an editing command, the next step is to
specify the track(s) that will be edited.
3
To select the track for editing, move the cur-
sor to the TR (Track) field in the lower left of
the EDIT screen, and turn the [DATA/JOG]
dial.
For any command, the TR (Track) field will appear
in the lower left of the screen, allowing you to
select the track(s).
In the TR field you can select the following types of
data.
CLIP............................Sound clip
1–16...........................An audio track
1/2–15/16 ..................A pair of adjacent odd-numbered/
even-numbered audio tracks
STEREO ......................The stereo track
PAD ............................A pad track
ALL.............................Audio tracks 1–16 and pad tracks
1–4
SMPL..........................All samples of the quick loop sam-
pler
Note
The data that can actually be selected will depend on the
command.
4
Select the virtual track or pad that you want
to edit.
If you selected an audio track (1–16,1/2–15/16,
STEREO) in step 3, the V (V.TRACK) field will
appear at the right, allowing you to select the virtual
track number. Move the cursor to this field and
select a virtual track number 1–8.
If you selected PAD in step 3, a field allowing you
to select pad number will appear at the right. Move
the cursor to this field and select a number 1–4.
Note
For some commands, you will need to specify both
source and destination tracks.
4 3
1 2
Track number
Virtual track number
Pad number


