


27
Chapter 3
Listening to the demo song
When the AW16G is shipped from the factory, its hard disk contains
a demo song. This chapter explains how to play back the demo song
while you operate the faders and keys of the front panel.
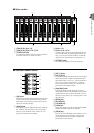
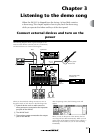
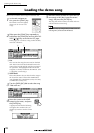
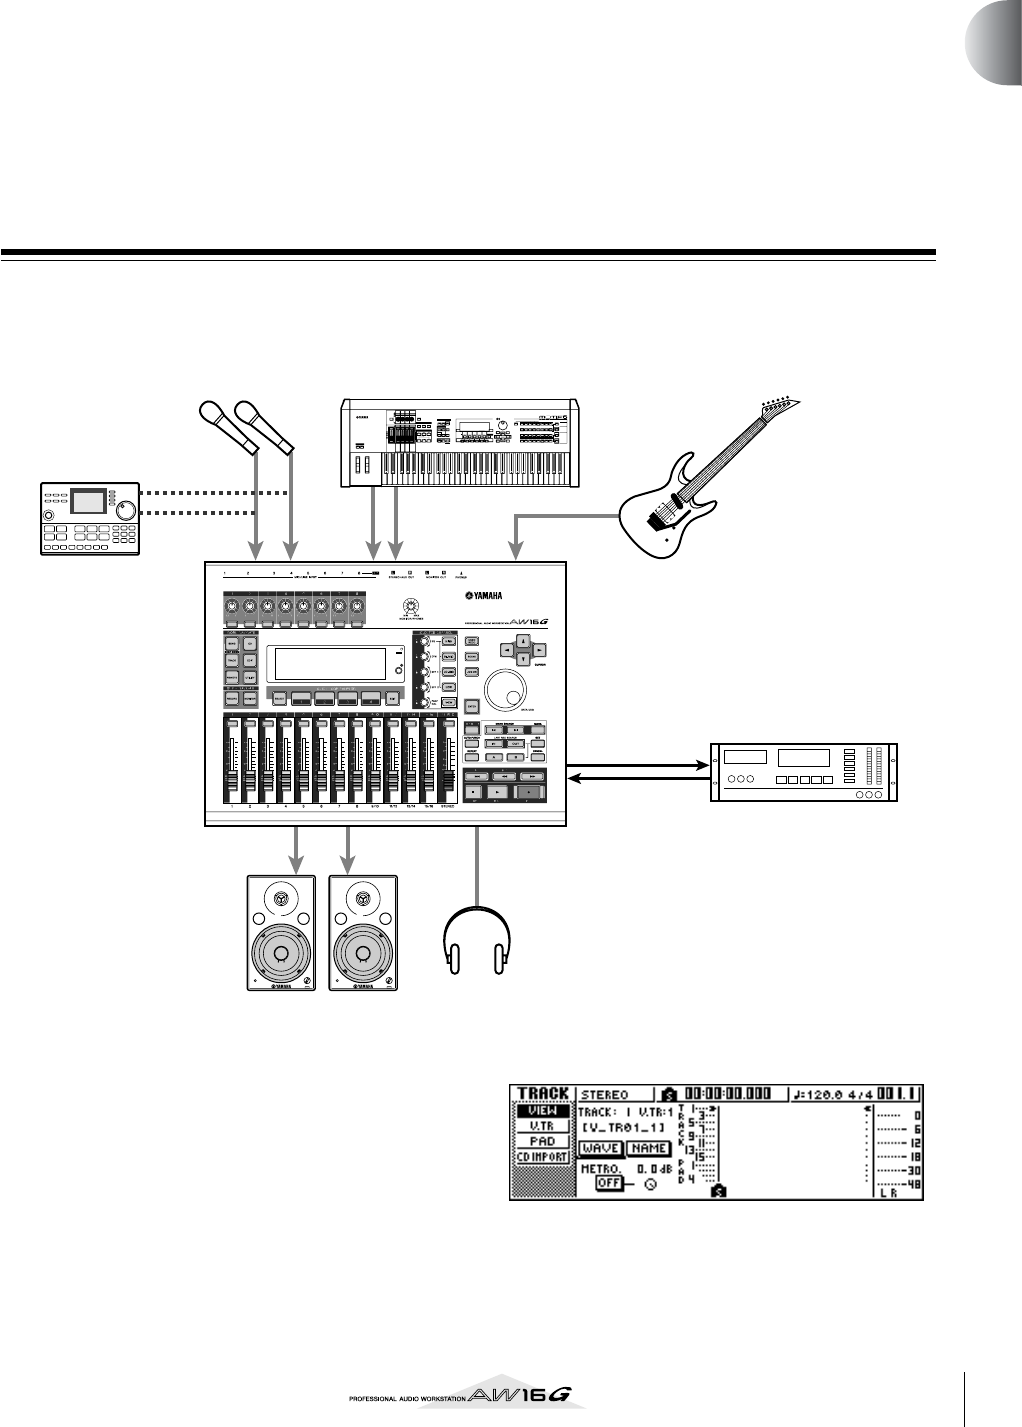
Connect external devices and turn on the
power
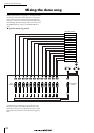
The following diagram shows a typical example of con-
nections to the AW16G. Connect your mics, instruments,
and external devices as shown in this diagram.
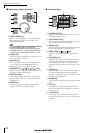
When you have finished making connections, turn on
the power switch of each device in the following order.
1 External devices such as audio sources or
effect processors connected to the input/out-
put jacks of the AW16G
B The AW16G itself
C The monitor system connected to the output
jacks of the AW16G
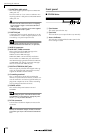
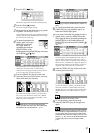
After the opening screen, the following screen will
appear.
When you turn on the power of the AW16G, the last-
used song will be loaded automatically. When you turn
on the power of the AW16G with the factory settings, a
blank song will be loaded, so you can start recording
immediately.
VOL VOL
MONITOR OUT
INPUT 1 2 3–8
INPUT 8
(HI-Z)
PHONES
DIGITAL
STEREO OUT
DIGITAL
STEREO IN
00.00.00.00
REC
SONG SCENE
MUSIC
PRODUCTION
SYNTHESIZER
Integrated
Sampling
Sequencer
Real-timeExternalControl
Surface
Modular
SynthesisPlug-in
System
Rhythm machine
SynthesizerMics
Headphones
Monitor system
DAT recorder, MD
recorder, etc.
Electric guitar/
Electric bass