133
Track editing
12
6
If necessary, move the cursor to the NAME
field, press the [ENTER] key, and input a file
name in the TITLE EDIT popup window.
For details on how to input a name, refer to page
24.
Note
• If you selected Tr1-16 as the export-source, the first six
characters of the song name + track number + “.WAV”
will automatically become the file name. This name
cannot be changed.
• In the file name you can use only uppercase alphabeti-
cal characters, numerals, and “_” (underscore). Lower-
case alphabetical characters used in a song name will
be converted to uppercase characters, and all symbols
other than alphabetical characters and numerals will be
converted to “_”.
• If you selected SMPL as the export-source, the filename
will automatically be “SMPL” + pad number + “_” +
bank number + “.WAV.” This name cannot be changed.
7
When you have finished setting the parame-
ters, move the cursor to the EXEC button and
press the [ENTER] key.
A popup window with “Execute EXPORT?” will
appear, asking you to confirm the operation.
8
To execute the export, move the cursor to
the OK button and press the [ENTER] key.
Exporting will begin. If you move the cursor to the
CANCEL button (instead of the OK button) and
press the [ENTER] key, the export operation will be
cancelled. (However, it is not possible to abort the
export process once it has been started.)
Only if you selected “Tr1-16” as the export-source,
the maximum of sixteen WAV files can be distrib-
uted between multiple volumes of media as they
are exported. (Even in this case, it is not possible to
write a single WAV file that is larger than the capac-
ity of the media.) When the “Exchange Next Media”
popup window appears, exchange the media and
press the [ENTER] key.
Tip!
• All WAV files will be written to the root directory.
• Since the AW16G does not have a concept of the real-
world date and time, dummy values will be written as
the file creation date and time of the WAV files.
Note
• If CD-R/RW media that contains no data is inserted,
WAV file export will begin.
• If CD-RW media that contains data is inserted, a mes-
sage of “Erase CD-RW media?” will appear, suggesting
that you erase the media. Move the cursor to the OK
button and press the [ENTER] key to erase the media, or
exchange the media.
• If media other than the above is inserted, it will auto-
matically be ejected, and a message of “Change Media,
Please.” will appear. If this message appears, exchange
the media.
•Tracks that do not contain data in the specified region
will not be exported.
Importing from an audio CD or
WAV file
CD audio data (CD-DA) or a WAV file from a CD-ROM
or CD-R can be imported (loaded) into an AW16G audio
track. After being imported, this data can be handled in
the same way as any recorded audio track.
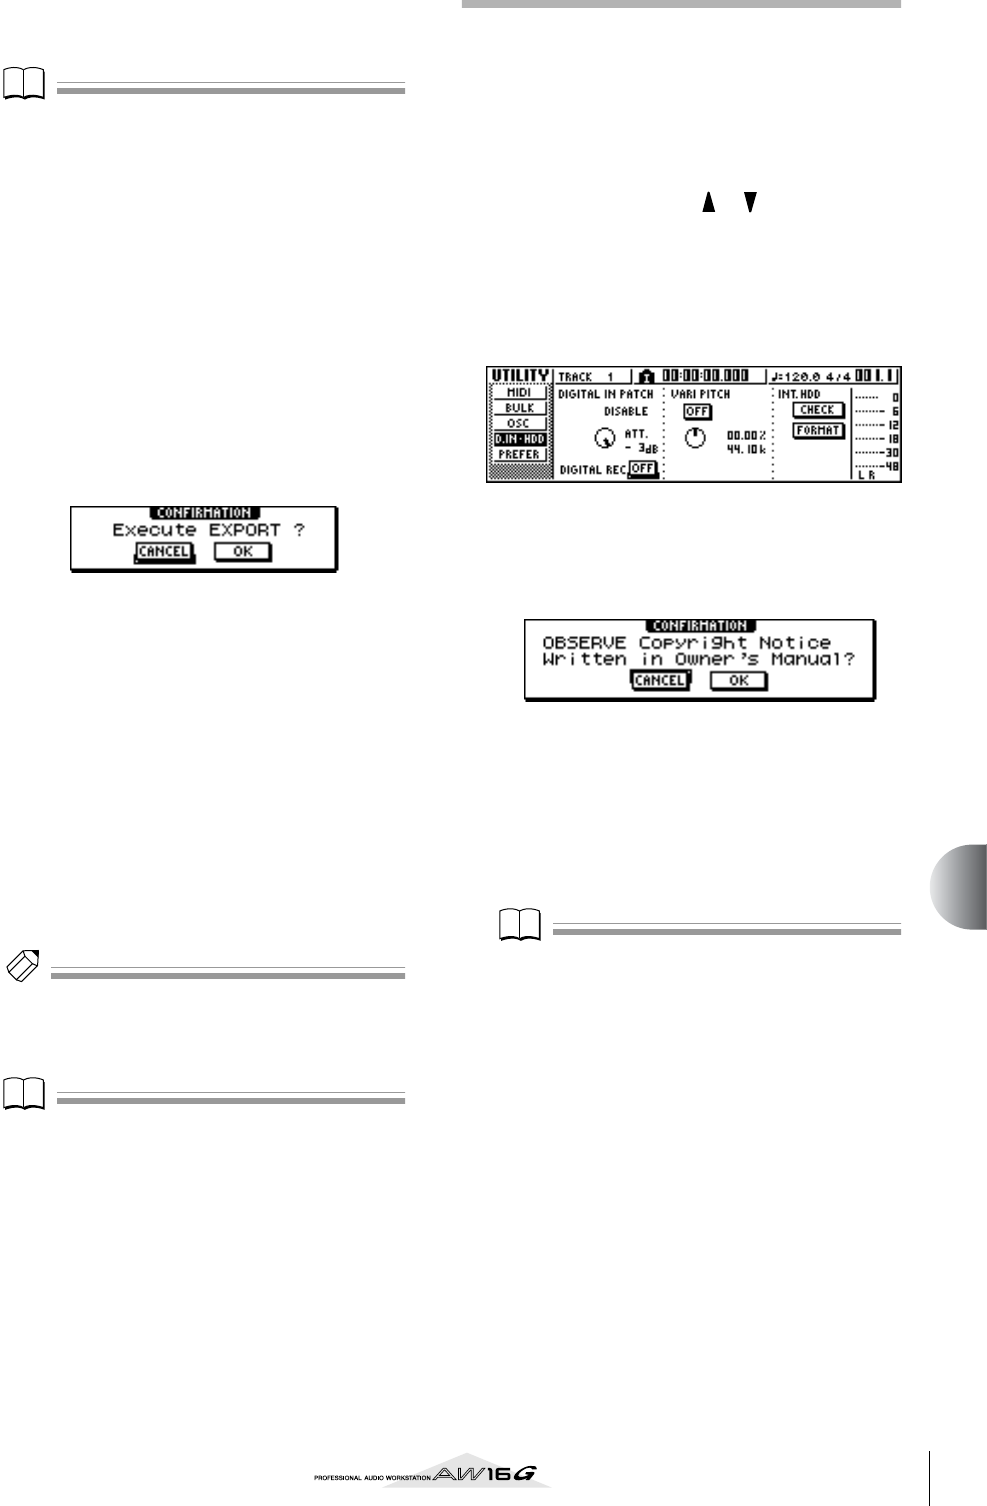
1
If you want to import from an audio CD,
repeatedly press the Work Navigate section
[UTILITY] key or hold down the [UTILITY] key
and use the CURSOR [ ]/[ ] keys to access
the D.IN • HDD page of the UTILITY screen.
Immediately after the AW16G is powered-on, it will
be set to prohibit digital recording from an external
source or importing from a CD. Before you can
import, you will need to disable this prohibition in
the D.IN - HDD page of the UTILITY screen.
2
Move the cursor to the DIGITAL REC button,
and press the [ENTER] key.
A message will ask you to confirm that you will
observe the applicable copyright laws.
3
Carefully read “Copyright Notice” (→ p. 5),
and if you accept these terms, move the cur-
sor to the OK button and press the [ENTER]
key.
The button display will change from OFF to ON,
and digital recording and importing from a CD will
be enabled.
Note
The DIGITAL REC button will return to the OFF setting
each time you turn on the power.


