


177
Sample Mode
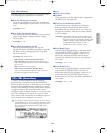
7Check the input level of the microphone or audio
device with the input level bar(s).
For setting the destination sample bank/number, (even
when FLS is selected for the sample bank in the Sample
Play mode) an empty DRAM sample number is
automatically selected. Therefore it is not necessary to
select a sample number.
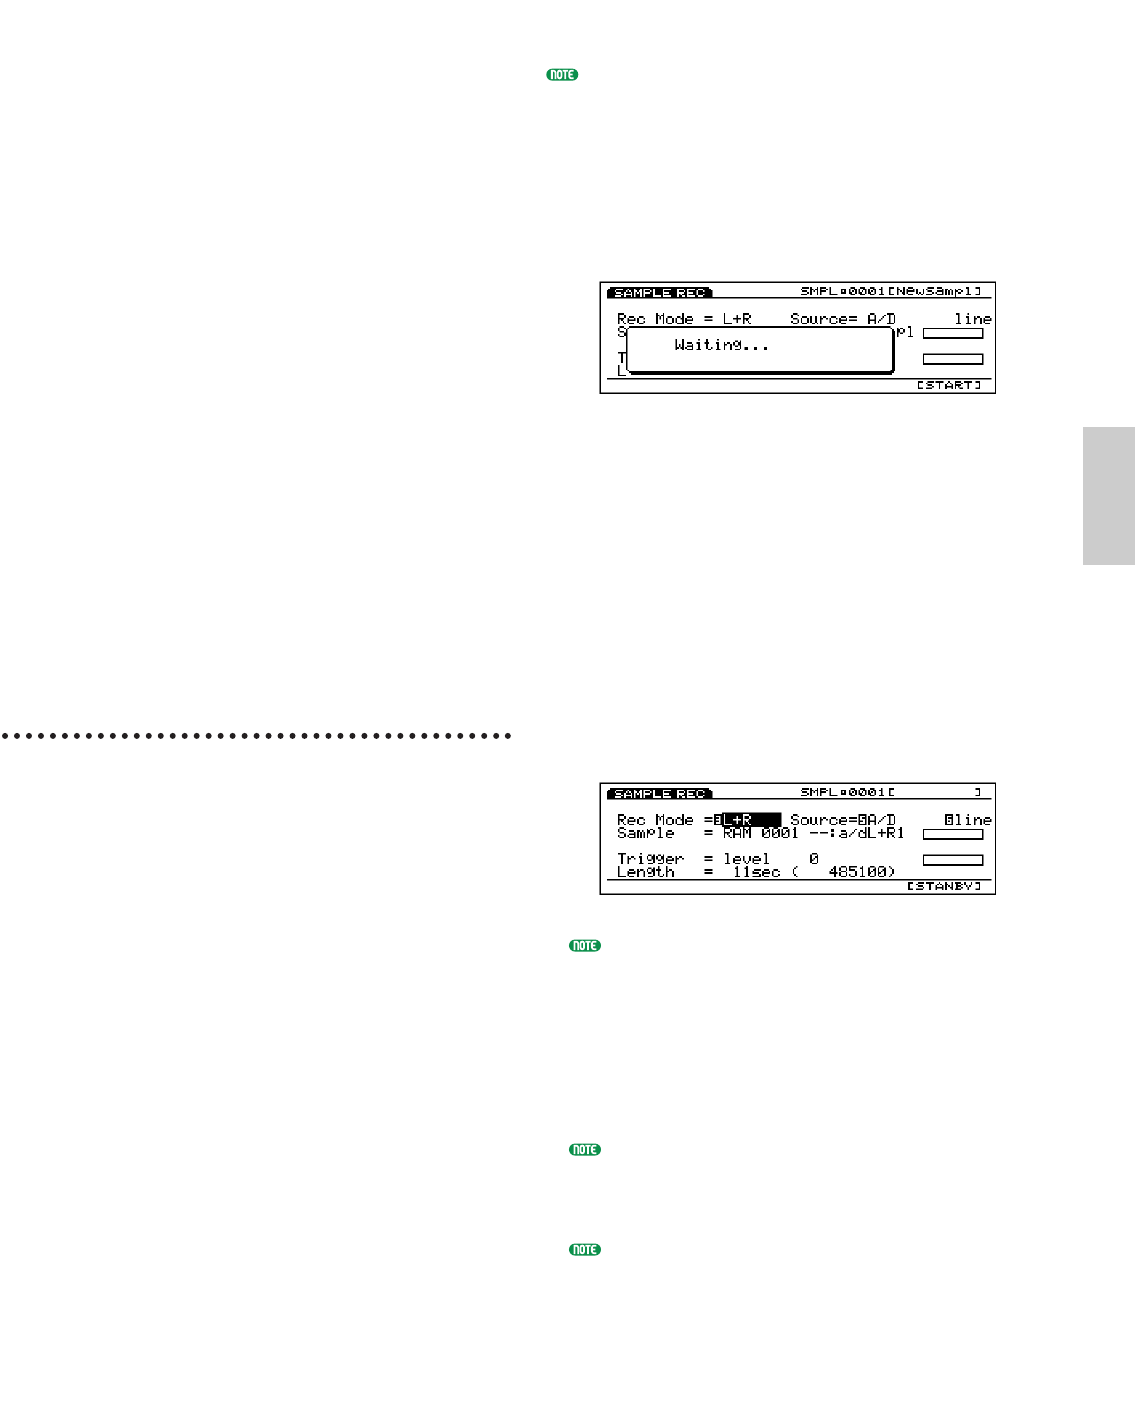
8Press [F8] (STANDBY) to engage sampling standby
status, and “Waiting...” will be displayed in the
screen.
9Start sampling using the trigger method specified in
step
5 above.
When “manual” is selected:
Press [F8] (START) to begin sampling.
When “level” is selected:
When the input signal from a microphone, for example,
passes the set value (trigger level), sampling automatically
begins.
When sampling is underway, “Now Recording...” is
displayed.
)Press [F8] (STOP) to stop sampling. The sampled
bank/number will be displayed.
If the set length of the sample is reached before you
press [F8] (STOP), sampling will automatically stop.
!Press [EXIT] to return to the Sample Play mode and
you can audition the newly recorded sample.
@To execute another sampling, repeat the above steps
1~!.
When the power is turned off, the data in the internal
memory is erased. Remember to save important sample
data to floppy disk or an external storage device (page
259).
You can edit the sampled data using the sample edit
function in the Sample Edit mode and the copy function
in the Sample Job mode. Also, in the Voice Edit mode
(page 76) you can use the sampled data as an
element/wave in creating your original voice.
Furthermore, you can assign the sampled data to each
key (keymap function on page 72) and play them on the
keyboard.
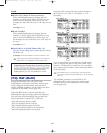
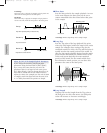
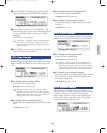
■ Trigger Level
When “level” is selected as the trigger method, this
parameter will be displayed. This parameter sets the
trigger level at which sampling begins. When the
input signal through A/D INPUT jack(s) passes the
set value (trigger level), sampling automatically
begins. When setting the trigger level, you can see
the value level move in the level bar as you adjust
the level. In this way you can compare the starting
trigger value with the input level bar, to confirm the
level at which sampling will begin.
❏ Settings: 0~127
■ Length
This parameter displays the available sampling time
(recording time). The time is displayed both in
seconds and words. The value set here determines
the length (amount of time) that the sample is
recorded.
❏ Settings: The length will differ depending on the amount
of DRAM and FLASH memory capacity. When
shipped from the factory, the EX5/5R/7 contains
1MB of DRAM and this provides for about 12
seconds of monaural recording.
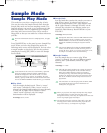
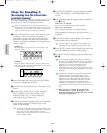
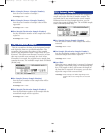
Steps for Sampling 1
(Sampling from an external device such
as a microphone)
First connect the microphone or audio device that you
will use in sampling to the A/D INPUT jack(s) (page
14).
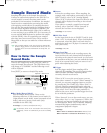
1When in the Sample Play mode, press [F8] (REC) to
enter the Sample Record mode.
2Set desired record mode and select “A/D” for the
Source.
3Set the parameter to the right of Source to “Mic” or
“Line” depending on the type of the input signal
level. When a microphone is connected, select Mic
(Mic Level). When an audio device such as a CD
player is connected, select Line (Line Level).
4Adjust the input gain with the [A/D GAIN] knob on
the front panel.
5Set the trigger method in the Trigger parameter.
When “level” is selected, continue by setting the
trigger level.
6Confirm the available sampling time (recording time)
in the Length parameter. (If necessary,) set the
length of the sampling.
Sample/E/qx 5/21/98 11:39 AM Page 177