


Reference [Creating a CD]
ZOOM MRS-802
119
Loading data from an audio CD
The MRS-802 can read audio data from an ordinary audio
CD inserted in the CD-R/RW drive and record these data on
any track of the internal recorder. The data can then be
handled and edited in the same way as other tracks. This is
convenient for example to use drum or guitar phrases from a
sampling CD.
Data can be read only as entire audio CD tracks. Specifying
a range is not possible. If you want to use only a part of a
track, perform trimming of unwanted portions after loading
(
→ p. 49).
1.
Insert the disc from which to load audio data into
the CD-R/RW drive.
2.
Perform steps 2 - 5 of “Playing an audio CD” and
select the desired track of the CD.
3.
Press the REC [
O
] key.
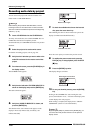
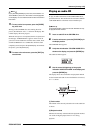
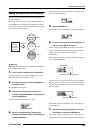
4.
Turn the dial to select the track for recording the
data.
Only odd-numbered/even-numbered pairs of mono tracks
(1/2, 3/4, 5/6, 7/8) or the master track (MASTER) can be
selected.
5.
Press the [ENTER] key.
The recording destination is selected, and the indication
“READ CD SURE?” appears on the display. (When the
track already contains data, the indication “OverWrt?” is
shown.)
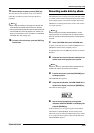
6.
To carry out the read process, press the [ENTER]
key once more.
Loading data from the audio CD starts. When loading is
complete, the unit returns to the condition of step 4.
7.
To return to the main screen, press the [EXIT] key
several times.
Backup and restore
This section explains how you can use the CD-R/RW drive
in the MRS-802 to back up a project to a CD-R/RW disc and
how to restore a project from a disc backup.
NOTE
On a MRS-802 without preinstalled CD-R/RW drive, creating
a backup CD as described here is not possible.
Saving a single project to CD-R/RW
disc
You can select any project and save it on a CD-R/RW disc
for backup.
HINT
If the size of the project is larger than the capacity of the CD-
R/RW disc, you can create a backup spanning multiple
volumes.
1.
Insert a CD-R or CD-RW into the CD-R/RW drive.
To back up a project, use a blank CD-R/RW disc or a CD-
RW disc that has been completely erased.
2.
From the main screen, press the [CD-R/RW] key in
the display section.
The CD-R/RW menu appears.
3.
Use the cursor left/right keys to bring up the
indication “CD-R/RW BACKUP” on the display, and
press the [ENTER] key.
The display shows the backup/restore menu.
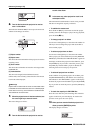
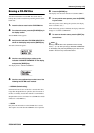
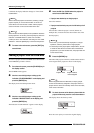
4.
Verify that “BACKUP SAVE” is shown on the
display, and press the [ENTER] key.
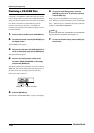
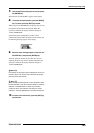
The display changes to a screen for selecting the project to
be backed up.
READ DST
READ DST
TR 1/2
TR 1/2
BACKUP
BACKUP
SAVE
SAVE
SAVE
SAVE
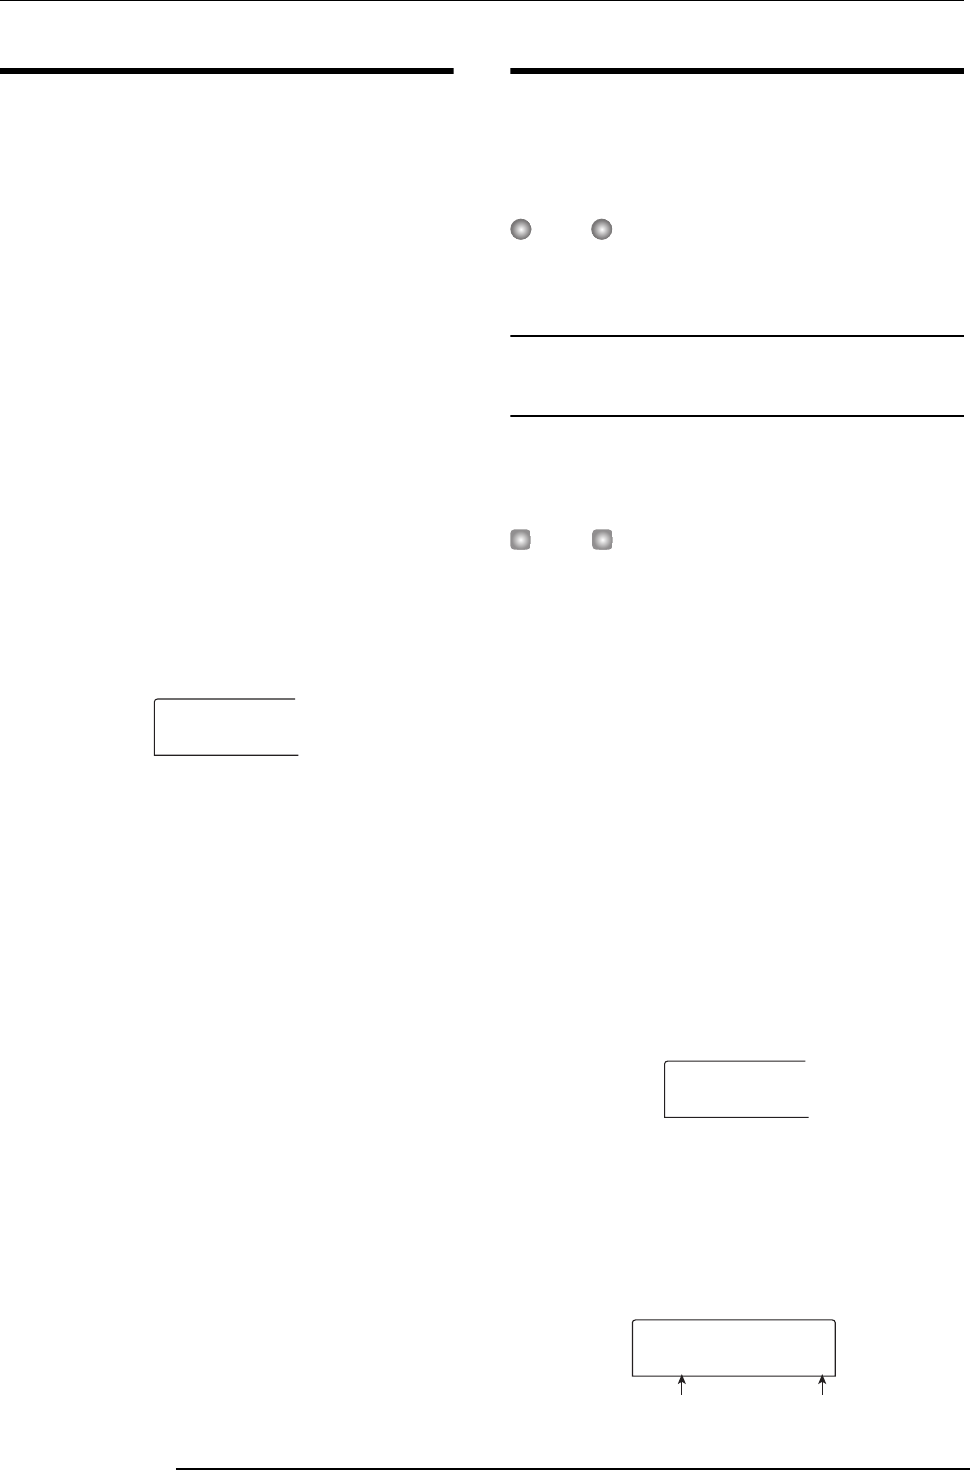
PRJ001
PRJ001
1
Project name Project numbe
r