


Reference [Creating a CD]
ZOOM MRS-802
120
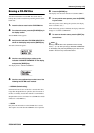
5.
Turn the dial to select the project, and press the
[ENTER] key.
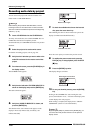
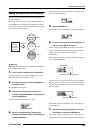
This selects the project that will be backed up. The display
now shows the space required for the backup in MB
(megabytes).
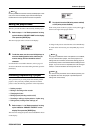
6.
Press the [ENTER] key.
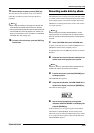
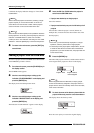
The name of the directory to be used for backup appears.
A “directory” (also called “folder”) is a hierarchical unit that
will be created on the backup media when the backup is
executed. All data for one project are stored in the same
directory.
When the backup is executed, a new directory is created on
the CD-R/RW disc with the name “PROJxxx” (where xxx is
the project number). This name can be edited if desired.
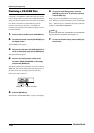
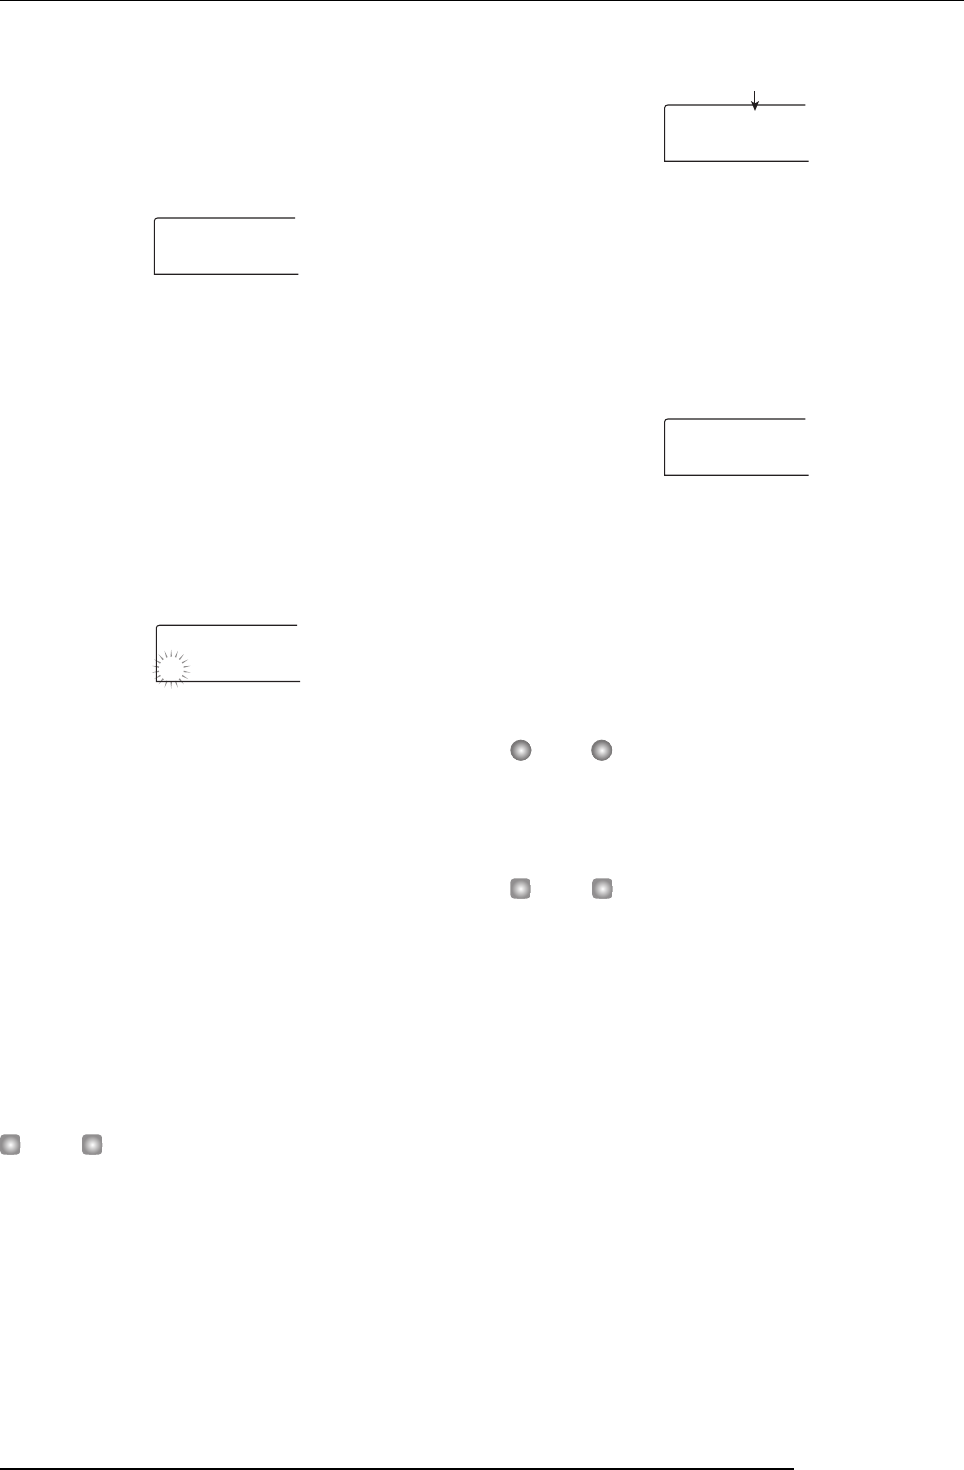
7.
If you want to edit the backup destination directory
name, use the cursor left/right keys to move the
flashing position and turn the dial to select a
character.
The following characters can be used.
Numerals: 0 - 9
Letters: A - Z
Symbols: _ (underscore)
8.
Press the [ENTER] key.
The indication “SAVE SURE?” appears on the display.
HINT
If you press the [EXIT] key at any point during steps 4 - 7, you
can return to the previous step.
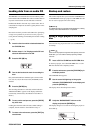
9.
To execute the backup, press the [ENTER] key. To
cancel, press the [EXIT] key instead.
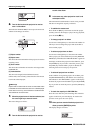
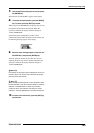
When backup starts, the disc number and the indication
“BURNING” appear on the display.
When backup is finished, the display shows “SAVE
COMPLETE”.
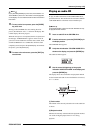
If the project size is larger than the capacity of one CD-R/
RW disc, the disc will be ejected after it has been filled up,
and the display changes as follows.
10.
When the above message appears, insert a new
CD-R/RW disc, and press the [ENTER] key.
The backup operation resumes. If more than two discs are
required, the above steps will be repeated. When backup is
finished, the display indication changes to “SAVE
COMPLETE”.
NOTE
When a backup spans several discs, the discs must be used
in the same order for restore. Be sure to note the disc number
on the case and label of the disc.
HINT
When the disc has been ejected, it also is possible to abort
the backup operation. To do this, press the [EXIT] key while
the indication “CHANGE DISCxxx” (where xxx is the disc
number) is shown. The indication will change to “SAVE
CANCEL?”. Press the [ENTER] key to terminate the process.
11.
To return to the main screen, press the [EXIT] key
several times.
PRJ SIZE
PRJ SIZE
108MB
108MB
DirName
DirName
PROJ001
PROJ001
DISC001
DISC001
BURNING
BURNING
Disc number
CHANGE
CHANGE
DISC002
DISC002