


Reference [Mixer]
ZOOM MRS-802
75
5.
Repeat step 4 as necessary to complete the new
name.
6.
To carry out the store process, press the [STORE]
key or the [ENTER] key.
The current mixer and effect settings will be saved as a
scene. When the process is completed, the unit returns to the
screen of step 2. If you wish to cancel the process, you can
press the [EXIT] key to return to the previous screen.
7.
Press the [EXIT] key to return to the main screen.
Recalling a saved scene
This section explains how to recall a scene that was saved to
memory.
1.
Press the [SCENE] key in the control section.
The right side of the display indicates the scene number that
will be recalled.
2.
Turn the dial to select the scene to recall.
3.
To recall the selected scene, press the [ENTER]
key. If you wish to cancel the process, press the
[EXIT] key.
If you press the [ENTER] key, the scene is recalled and the
unit returns to the condition of step 1. If you press the
[EXIT] key, the unit returns to the main screen.
By pressing the [EDIT] key after selecting a scene, you can
edit the name of the scene.
Switching scenes automatically
By assigning a scene to a mark (→ p. 42) that was placed at
a desired location in the song, you can cause scenes to
switch automatically. This is convenient when you want to
change the mix or the effect settings as the song progresses.
1.
Move to the point in the song where you want to
change the mix, and press the [MARK] key in the
control section.
A mark is entered at this point. Repeat this step to enter
marks at all other points where you want to change the mix.
2.
Save the mix to be used at the start of the song as
well as all other mix settings as scenes.
When creating a mix for a specific range, using functions
such as the marker function to locate points (→ p. 43) and
the A-B repeat function (→ p. 44) is convenient.
3.
Verify that the recorder is stopped, and press the
ZERO [
U
] key in the transport section to return to
the beginning of the song.
The beginning of the song (counter zero location) already
contains the mark number zero. First you will assign the
starting scene to this mark.
4.
Press the [MARK] key.
When you press the [MARK] key at a location where a mark
has been assigned, a screen will appear in which you can
assign a scene to the corresponding mark.
HINT
• If you press the [MARK] key at a location where a mark has
not yet been assigned, a new mark will be assigned to that
location.
• If a dot is shown at the lower right of the mark number, this
means that the mark matches the current location.
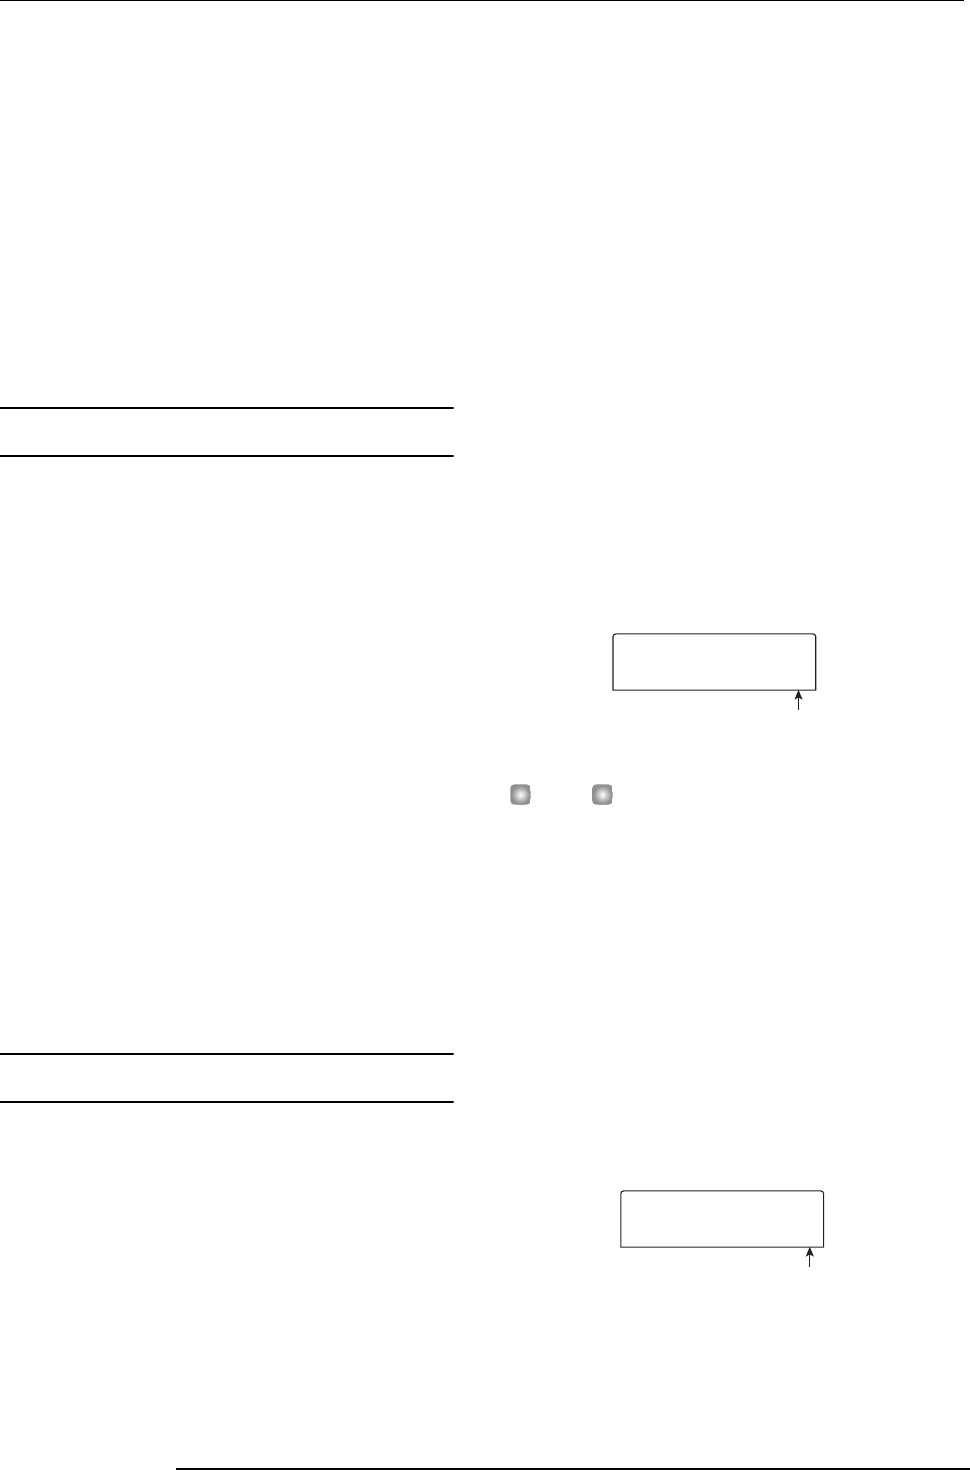
5.
Turn the dial to select the number of the scene you
want to assign to this mark, and press the [ENTER]
key.
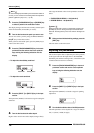
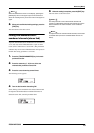
The scene will be assigned to the mark. The following
screen shows an example of scene number 1 being assigned
to mark number 0.
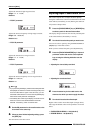
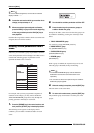
Scene number
MARK ED
MARK ED
SCENE
SCENE
00
0
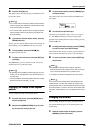
Scene numbe
r
MARK ED
MARK ED
SCENE
SCENE
00
1