9
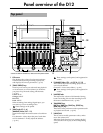
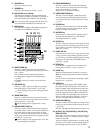
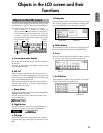
8 [CURSOR] key
This key moves the cursor.
9 [POWER] key
This key turns the power on/off. (→p.17)
10 HDD/CD-RW access indicator
This indicator will light when the internal hard
disk is being accessed for recording or playback, or
when the internal CD-R/RW drive is operating.
Never move the D12 or apply physical shock to it
when this HDD/CD-RW access indicator is lit.
11 MIDI indicator
This indicator will light when MIDI messages are
received from the MIDI IN connector.
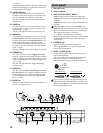
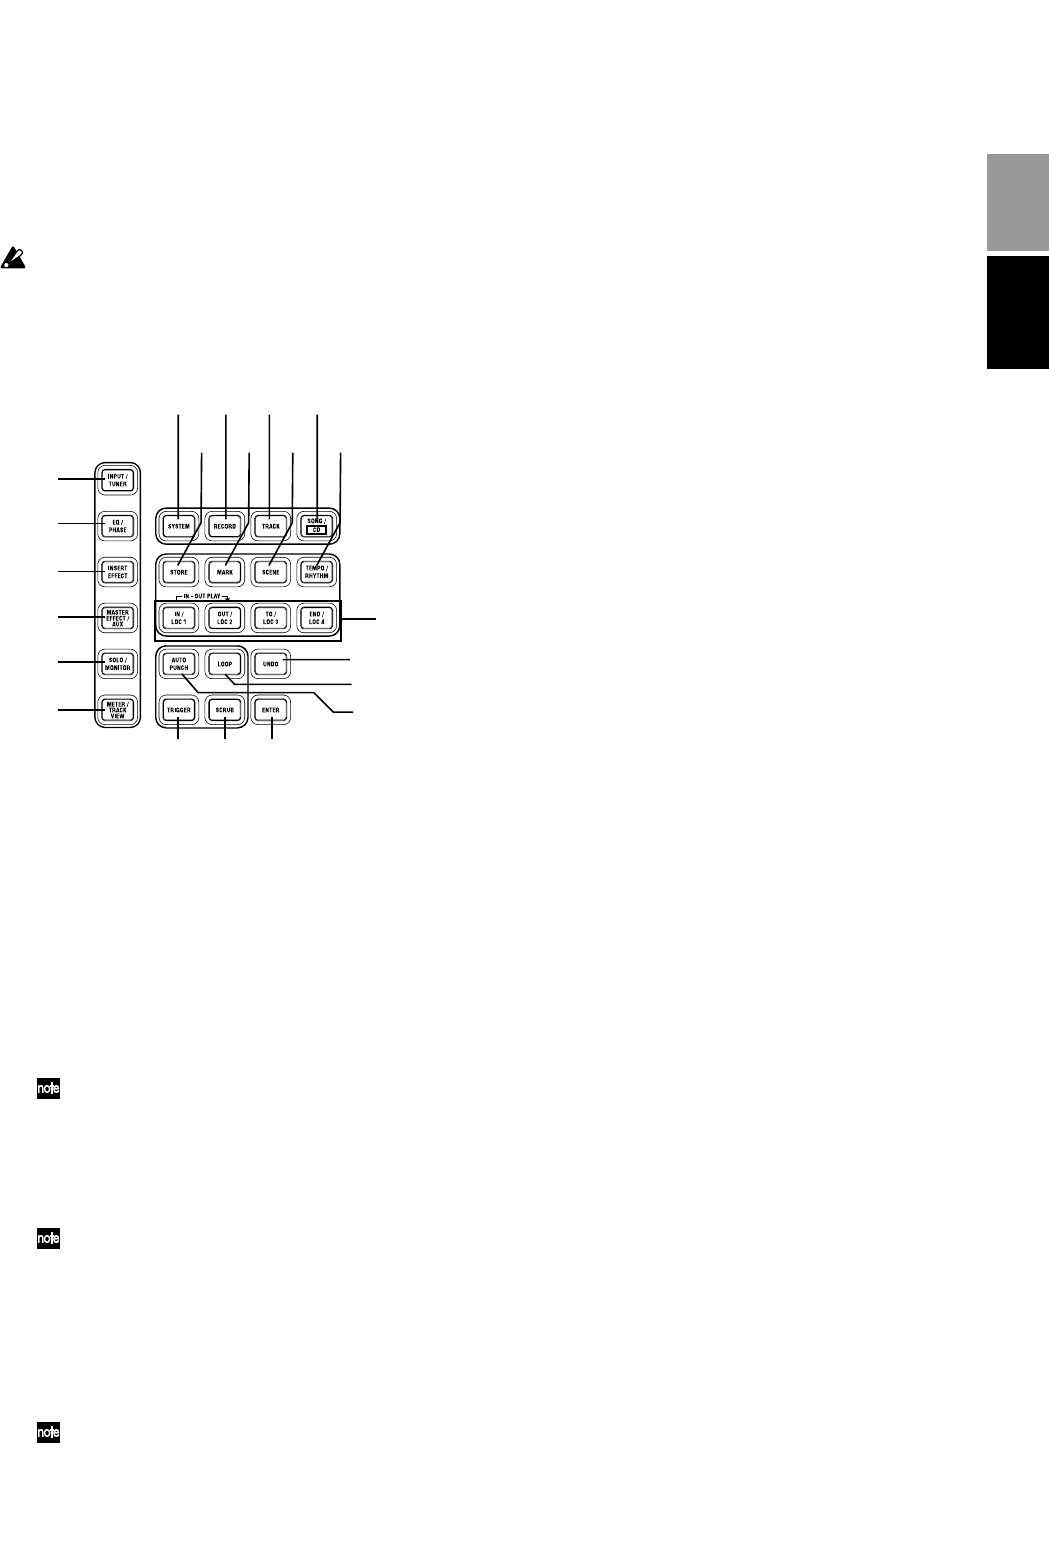
12 [INPUT/TUNER] key
This key is used to select the mixer channel to
which the audio signal from each input jack will be
sent. (→p.23)
This is also used when adjusting the EQ (for
recording) that is applied to the analog inputs.
(→p.102)
In addition, this key is used to access the tuner.
(→p.103)
13 [EQ/PHASE] key
This key is used to specify the EQ (for track play-
back) and phase of each channel. (→p.37, 104)
These settings can be paired, and registered in
a scene.
14 [INSERT EFFECT] key
This key is used to select the location of an insert
effect, to select the effect type, and to select and edit
effect programs. (→p.43, 105)
These settings can be registered in a scene.
15 [MASTER EFFECT/AUX] key
This key is used to select and edit effect programs
for master effects 1 and 2, and to set the send levels
from each channel to the master effects. In addi-
tion, it is used to set the send amount to an external
effect, and to select and edit effect programs for the
final effects. (→p.45, 107)
These settings can be registered in a scene. The
send settings can be paired.
16 [SOLO/MONITOR] key
This key is used to solo an individual channel,
send, or return. It is also used to select an audio
source for monitoring. (→p.109)
When solo is on, the LED will blink.
17 [METER/TRACK VIEW] key
This key is used to display volume data (level
meters) during recording and playback, and to
view audio event data in each track (track view).
(→p.111)
18 [SYSTEM] key
This key is used to make foot switch and MIDI-
related settings, to manage data on disk, and to
backup or restore data. (→p.75)
19 [RECORD] key
Press this key to make recorder settings such as
selecting the recording source or the bounce
recording method etc. (→p.80)
20 [TRACK] key
This key is used to select the virtual track for each
track, to perform track editing operations such as
copy or delete, and when importing or exporting
WAV files. (→p.81)
21 [SONG/CD] key
Press this key to create a new song, rename/select
a song, perform a song editing operation such as
copy or move, perform program playback of songs,
or produce an audio CD (a CD-R/RW drive is
required). (→p.88)
22 [STORE] key
Press this key to register the time location for a
locate point, a mark, or a scene. (→p.35, 91)
23 [MARK] key
Register the desired time location in a song as a
Mark, so that the registered time can be recalled
instantly.
It is also used to edit marks by renaming or delet-
ing them etc. (→p.36, 92)
24 [SCENE] key
This key is used to register [CHANNEL] fader,
[PAN]/[BALANCE] knob, EQ or effect send set-
tings as a scene at the specified time location in a
song. If the Scene Read setting is on during play-
back, the registered scenes will be selected auto-
matically at the corresponding times. Scenes can
also be sorted, renamed, or deleted. (→p.39, 92)
This key will light when Scene Read is “On.”
25 [TEMPO/RHYTHM] key
This key is used to set the tempo for a song, create a
tempo map, and turn the rhythm function on/off.
(→p.61, 94)
This key will light when the Rhythm function is on.
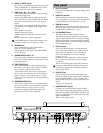
26 [IN/LOC1] key, [OUT/LOC2] key, [TO/LOC3] key,
[END/LOC4] key
These keys are used to register a desired time loca-
tion within a song, or to instantly jump to a regis-
tered time location.
The time locations registered here are used as the
punch-in/out locations, and the editing range for
track editing operations such as copy or delete.
12
13
14
15
16
17
18
22
26
29
28
27
30 31
32
19
23
20
24
21
25
Introduction
Panel overview of
the D12


