54
Procedure for reversing track data (Reverse)
Here’s how to reverse the IN–OUT region of track 1,
and copy it three times to the TO location of track 2.
1 Register the IN, OUT, and TO times. (→p.97)
2 Select the Reverse command.
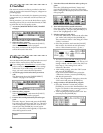
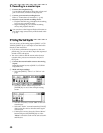
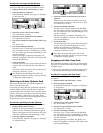
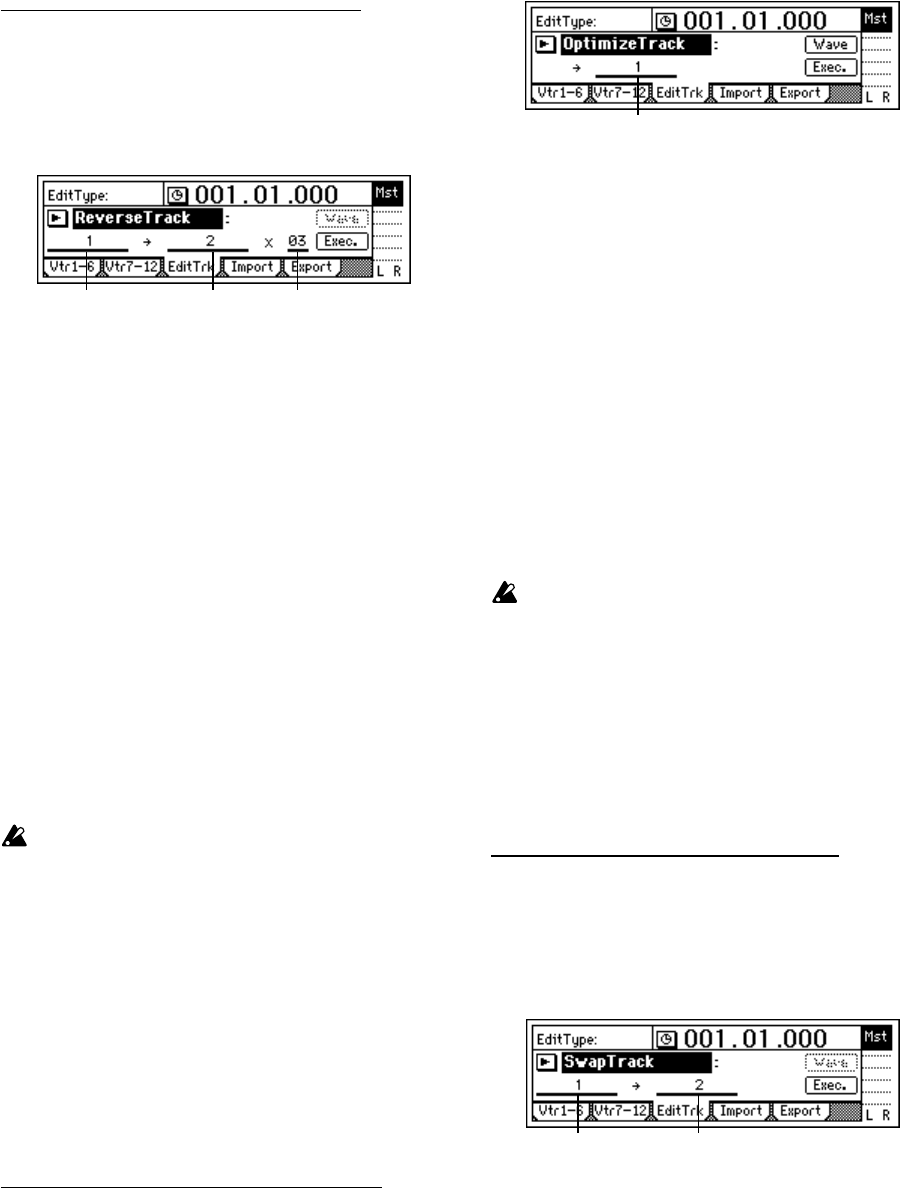
In the [TRACK] “EditTrk” tab page, set “EditType”
to “ReverseTrack.”
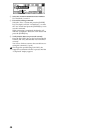
3 Select the reverse source track number.
Set “SourceTrack” to track 1.
4 Select the reverse destination track number.
Set “DestTrack” to track 2.
5 Specify the number of times the data will be cop-
ied.
Set “Times” to 3.
6 Execute the editing command.
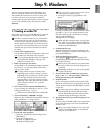
Select the “Exec.” button and press the [ENTER]
key. The display will ask “AreYouSure?,” so select
the “Yes” button and press the [ENTER] key to exe-
cute the command.
When processing is completed, the display will
indicate “Completed.” Select the “OK” button and
press the [ENTER] key.
7 Verify the results.
Press the [TO/LOC3] key to play back from the TO
location, and verify that the data was edited cor-
rectly.
You can use Undo to return to the state before exe-
cuting the command. (→p.99)
The longer the specified range (IN–OUT), the
longer this command will take to process until the
“Completed” display appears.
Optimizing track data: Optimize Track
This command optimizes the specified region (IN–
OUT) of recorded track data.
If recording or editing has been performed repeatedly
in short lengths of time so that the data has become
fragmented, the disk will have to be accessed more fre-
quently, which may cause skips in the sound or indica-
tions of “DiskBusy” and failure to play back. If this
occurs, you can optimize the area of fragmented data so
that playback can occur normally.
Procedure for optimizing track data (Optimize)
Here’s how to optimize the IN–OUT region of track 1.
1 Register the IN and OUT times.
Register the IN location slightly earlier than the
point where the “DiskBusy” indications begin to
appear, and register the OUT location at the point
where these indications stop appearing. (→p.97)
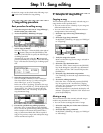
2 Select the Optimize command.
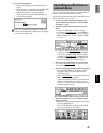
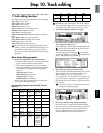
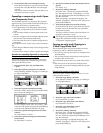
In the [TRACK] “EditTrk” tab page, set “EditType”
to “OptimizeTrack.”
3 Select the number of the track that you wish to
optimize.
Find the track whose data you believe to be frag-
mented (in this example we will use track 1), and
set “DestTrack” to track 1.
4 Execute the editing command.
Select the “Exec.” button and press the [ENTER]
key. The display will ask “AreYouSure?,” so select
the “Yes” button and press the [ENTER] key to exe-
cute the command.
When processing is completed, the display will
indicate “Completed.” Select the “OK” button and
press the [ENTER] key.
5 Verify the results.
Press the [IN/LOC1] key to play back from the IN
location, and verify that the playback is correct,
without any indications of “Disk Busy.”
You can use Undo to return to the state before exe-
cuting the command. (→p.99)
The longer the specified range (IN–OUT), the
longer this command will take to process until the
“Completed” display appears.
Swapping track data: Swap Track
This command exchanges (swaps) the specified region
(IN–OUT) of recorded track data with the same region
of another track.
• Data can be swapped not only between single tracks,
but also between multiple tracks simultaneously.
Procedure for swapping track data (Swap)
Here’s how to exchange the IN–OUT regions of track 1
and track 2.
1 Register the IN and OUT times. (→p.97)
2 Select the Swap command.
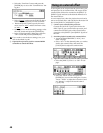
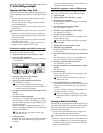
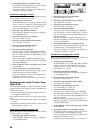
In the [TRACK] “EditTrk” tab page, set “EditType”
to “SwapTrack.”
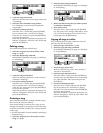
3 Select the swap source track number.
Set “SourceTrack” to track 1.
4 Select the swap destination track number.
Set “DestTrack” to track 2.
5 Execute the editing command.
Select the “Exec.” button and press the [ENTER]
key. The display will ask “AreYouSure?,” so select
the “Yes” button and press the [ENTER] key to exe-
cute the command.
When processing is completed, the display will
indicate “Completed.” Select the “OK” button and
press the [ENTER] key.
DestTrack TimesSourceTrack
DestTrack
DestTrackSourceTrack


