


90
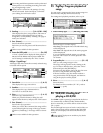
No writing and delete operations can be performed
when protect is on, including recording, track edit-
ing, and registering a scene.
When protect is turned on, the settings of a song
will also be stored. Fader and EQ etc. will reflect
your editing, but will not be stored.
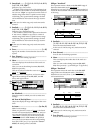
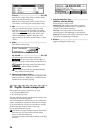
2. DestSong .................................[(I, A...G/001...100)]
This displays the drive, song number, and name of
the song that will be protected. If you wish to
change this, use the [SONG] “SelSong” tab page to
make your selection.
3. Exec. (Execute)........................................................
Execute the delete operation.
Each time you execute, protect will be turned on or
off.
Undo is not available for this operation.
4. Protect On/Off Symbol...............................[On, Off]
A “lock” symbol will be displayed when protect is
On, and will be hidden when protect is Off. The
on/off setting is switched by the “Exec.” button.
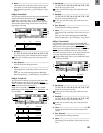
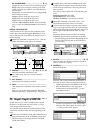
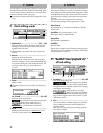
EditType: “CopyAllSongs”
All songs of the drive where the currently selected song
is located will be copied.
2. SourceDrive ................................................(I, A...G)
This displays the copy source drive.
3. DestDrive..................................................[(I, A...G)]
This displays the copy destination drive.
Use “Drive” to select the drive.
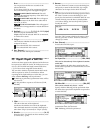
4. Drive ......................................................... [I, A…G]
Select the copy destination drive.
When you press this button, a dialog box will
appear. Select the drive, and press the “OK” button.
5. Exec. (Execute)........................................................
Execute the copy operation.
When you execute this command, the songs will be
copied following the last song on the copy destina-
tion drive (“DestSong”). No songs will be overwrit-
ten.
Undo is not available for this operation.
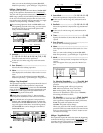
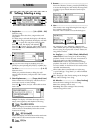
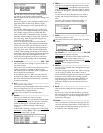
P3 PrgPlay: Program playback of
songs
You can create a program play list to arrange songs in a
desired order, and play them consecutively.
For settings and playback procedure, refer to p.33.
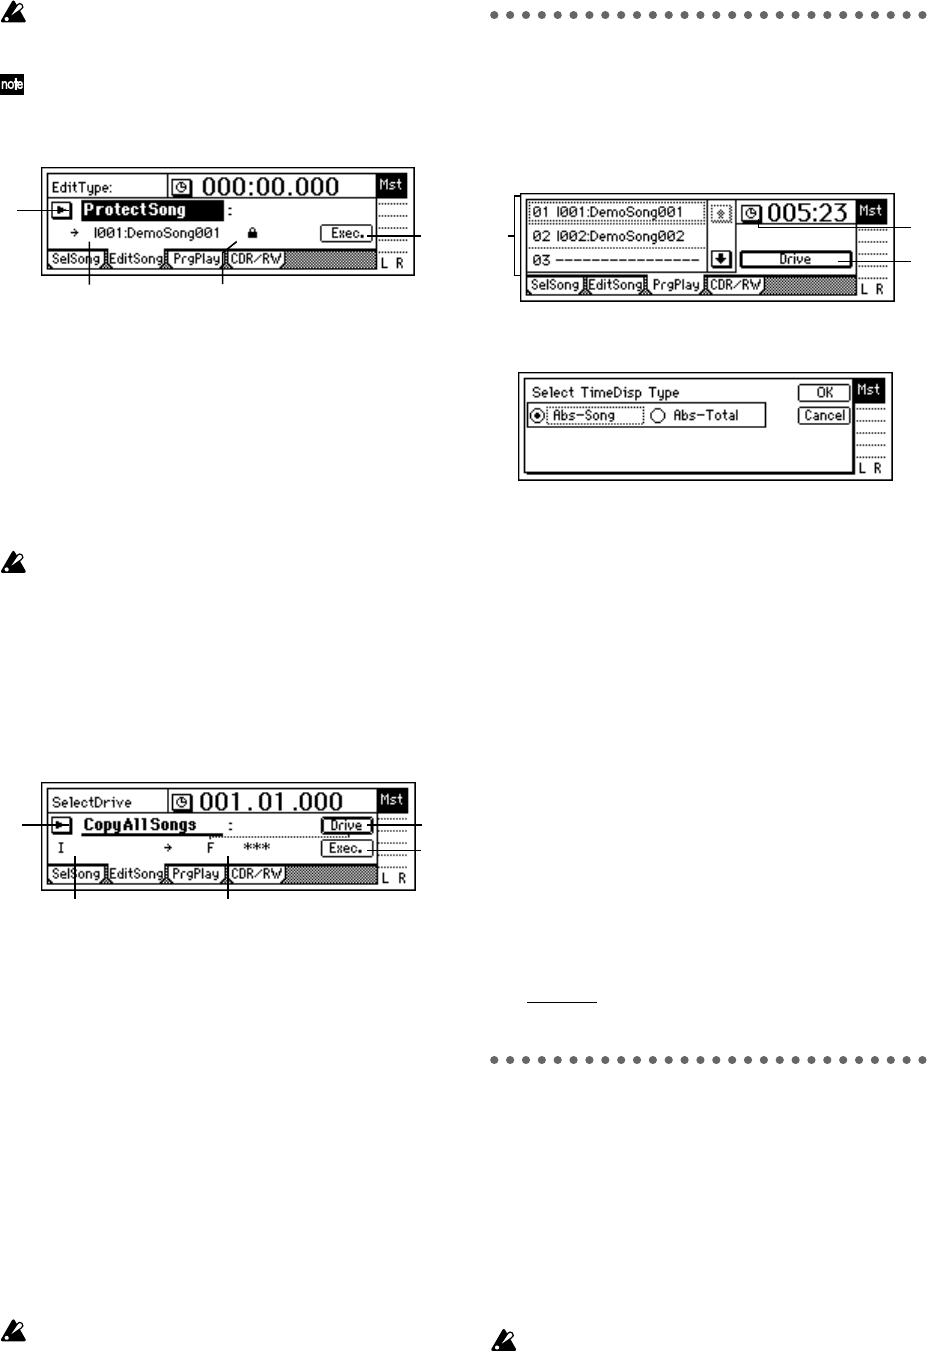
1. Select TimeDisp Type...............[Abs–Song, Abs–Total]
Select the type of counter display.
Abs–Song: The elapsed time of the individual song
will be displayed.
Abs–Total: The elapsed time of the entire program
will be displayed.
If you are satisfied with the setting you selected,
press the “OK” button. To cancel, press the “Can-
cel” button.
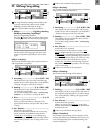
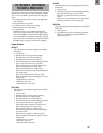
2. ProgramPlay List ........................................[01…99]
Here you can arrange songs in a list.
The songs will be played in order, starting at the
top. To select a different drive, select the “Drive”
button and press the [ENTER] key.
From the left, this display shows the play list num-
ber, drive, song number, and song name.
If the list contains a play list number without a
song, that number will be skipped, and the next
song in the play list will be played.
3. Drive..........................................................[I, A…G]
Select the drive.
For details on drive numbers (“I”–”G”), refer to
“Drive ID
.” (→p.22)
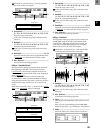
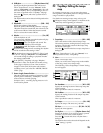
P4 CDR/RW: Creating and
playing a CD-R/RW
If a CDRW-1 (sold separately) is installed in the D12 or
if a commercially available CD-R (CD Recordable)
drive is connected, you will be able to create an audio
CD. (→p.49)
The first through last events of tracks 1 and 2 of the cur-
rently selected song will be written to the CD-R/RW.
Here you can also play back the CD-R/RW that you
created.
Some audio CD players are unable to play back a
CD-R/RW disc.
1
3
4 2
1
5
2 3
4
2
1
3