Operation–Quick Start
10
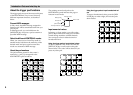
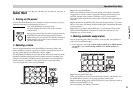
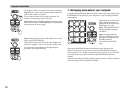
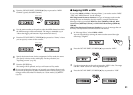
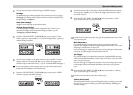
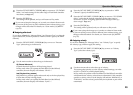
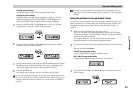
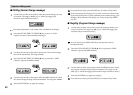
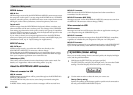
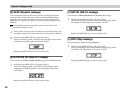
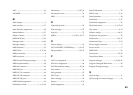
Step 3. Release the [SETTING] key.
The OCTAVE SHIFT/CURSOR [√] key will light red,
and the [®] key will light green. Red indicates that
there are no further pages in that direction, and green
indicates that further pages exist in that direction.
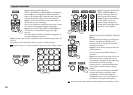
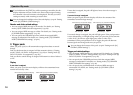
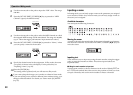
Step 4. Use the main encoder to select the number of
the encoder you want to assign.
Since we’re making an assignment for encoder 1, make
sure that the main display indicates “Encodr#1”.
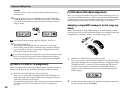
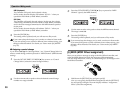
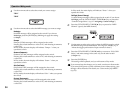
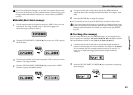
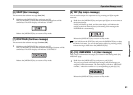
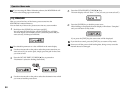
Step 5. Press the OCTAVE SHIFT/CURSOR [®] key.
You will move to the MIDI message select page.
(☞p.20)
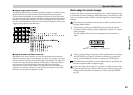
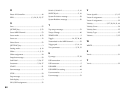
The main display will show the MIDI message that is
currently assigned to encoder 1.
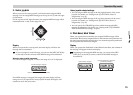
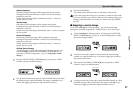
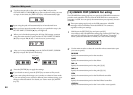
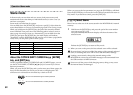
Step 6. Use the main encoder or the pads to select control change number 10.
(☞p.20)
The contents of the sub-display above encoder 1 will also change.
Alternatively, you can use the pads to input the control change number.
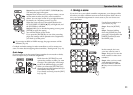
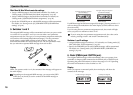
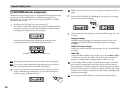
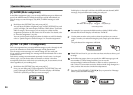
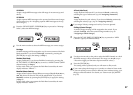
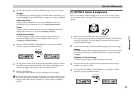
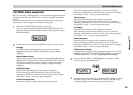
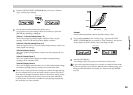
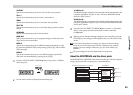
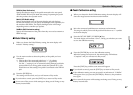
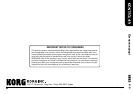
Step 7. Next, press the OCTAVE
SHIFT/CURSOR [√] key to
return to the page where you
select the encoder to assign.
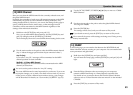
Step 8. Set the encoder number
to “Encodr#2” and set the
control change number to 15.
Note that the sub-display above
encoder 2 is also updated.
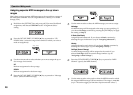
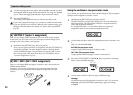
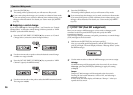
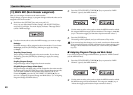
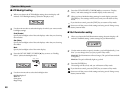
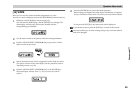
Step 9. Press the OCTAVE SHIFT/CURSOR
[®] key.
The MIDI channel setting page will appear.
Since we just made an assignment for
encoder 2, here we will specify the MIDI
channel for encoder 2.
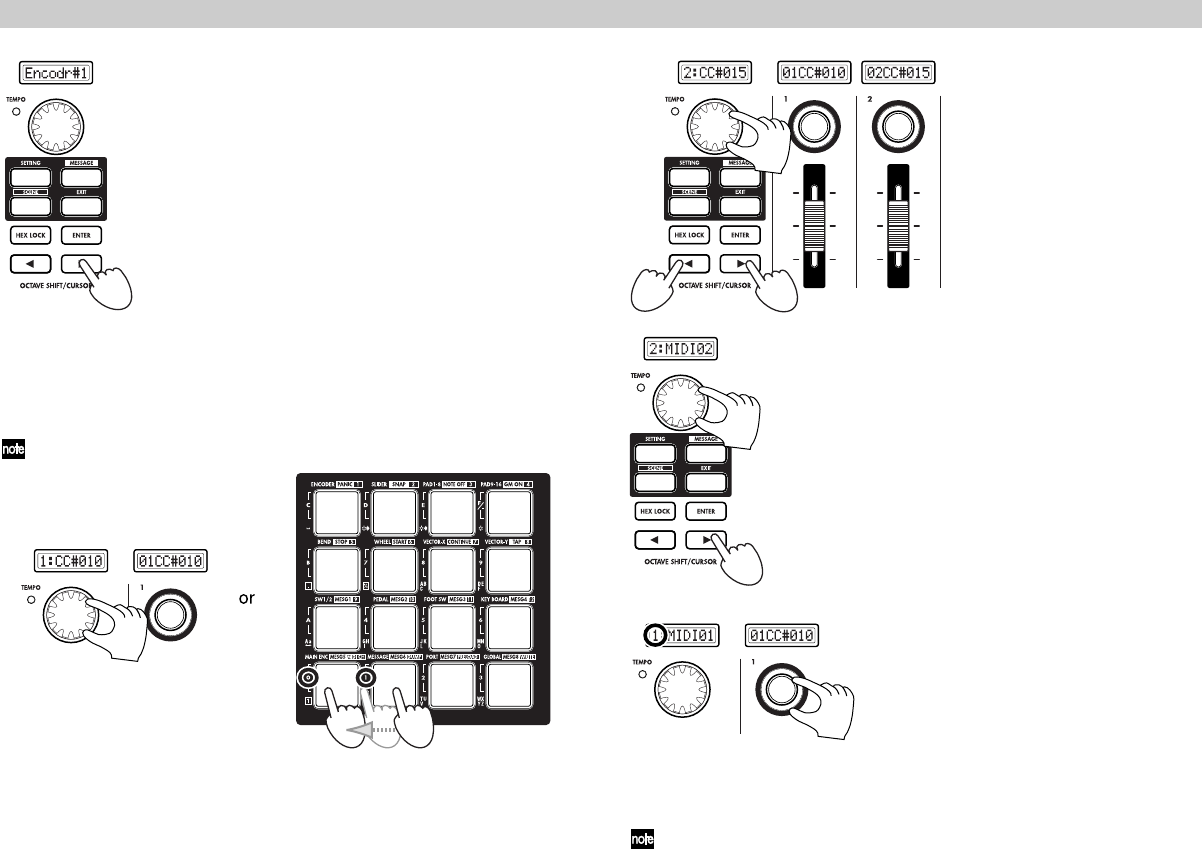
Step 10. Use the main encoder to select the
desired channel.
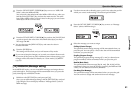
Next we’ll specify the MIDI channel for
encoder 1.
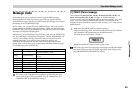
Step 11. We are back in the page where you
select the encoder to assign, but you can
also make the setting by directly operating
the controller you want to assign.
Rotate encoder 1, and notice that both the
main display and the encoder 1 display
change.
You can use also this method in the MIDI
message select page to quickly edit the
assignments. You can also change the
assignments for two or more encoders at
once while watching the sub-displays.
You can use the same method to make assignments for sliders as well.
3
6
7
5
6, 8
9
10
11