


Operation–Setting mode
27
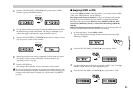
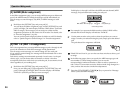
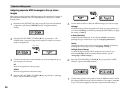
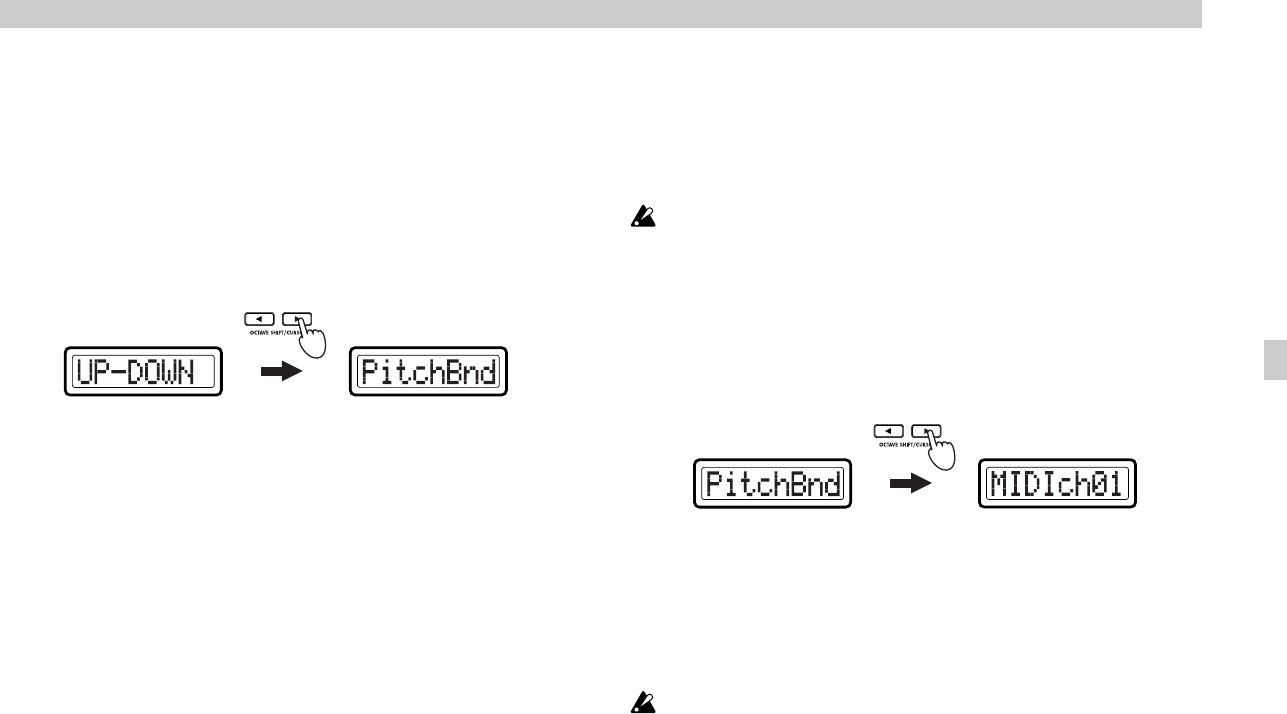
UP-DOWN
Assign a single MIDI message to the full range of movement (up and
down).
UP/DOWN
Assign separate MIDI messages to the upward and downward ranges
of movement. (☞p.28 “Assigning separate MIDI messages to the up/
down ranges”)
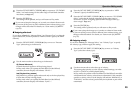
3
Press the OCTAVE SHIFT/CURSOR [®] key to proceed to “Message
Select” (select the MIDI message).
4
Use the main encoder to select the MIDI message you want to assign.
NoAssign
No MIDI message will be assigned to up/down movement of the Pitch
Bend controller. If you choose NoAssign, continue by pressing the
[ENTER] key to apply the setting. (☞Step 7)
PitchBnd (Pitch Bend)
Assign pitch bend. If you choose PitchBnd, continue by pressing the
OCTAVE SHIFT/CURSOR [®] key to move to “MIDI Channel” (MIDI
channel setting). (☞Step 5)
In Play mode when you operate the Pitch Bend controller, the main
display indicates “PBend---”.
MastrBal (Master Balance)
Assign master balance. Master Balance messages [F0, 7F, 7F, 04, 02, vv,
mm, F7] (device ID fixed at 7Fh) will be transmitted. If you choose
MastrBal, continue by pressing the [ENTER] key to apply the setting.
(☞Step 7)
In Play mode when you operate the Pitch Bend controller, the main
display indicates “MstBl---”.
A.Touch (AfterTouch)
Assign keyboard aftertouch. If you choose A.Touch, continue by
selecting the type of aftertouch. (☞p.29 “Assigning aftertouch”)
Velocity
Assign keyboard or pad velocity. If you choose Velocity, continue by
selecting the velocity type. (☞p.29 “Assigning velocity”)
If you assign Velocity, settings such as Key Curve are ignored.
CtrlChg# (Control Change)
A control change message will be assigned to the switch. If you
selected CtrlChg#, select the control change number. (☞p.30
“Assigning a control change”)
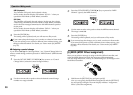
5
Press the OCTAVE SHIFT/CURSOR [®] key to proceed to “MIDI
Channel” (specify the MIDI channel).
6
Use the main encoder or the pads to select the MIDI channel on which
the MIDI message will be transmitted. The range is 1–16 (ch). (☞p.4
“About the trigger pad functions–Input numerical values”)
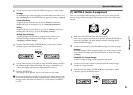
7
Press the [ENTER] key.
The setting will be updated, and you will return to Play mode.
If you want to keep the changes you’ve made, save them in Scene mode.
If you turn off the power or select a different scene without saving, your
changes will be discarded. For details, see “Scene mode–[16] WRITE”
(☞p.55).
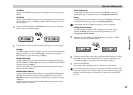
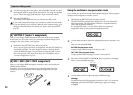
(Green)(Red)
(Green)(Green)
Settin
g
mode