Operation–Setting mode
24
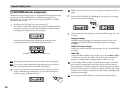
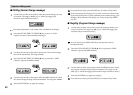
[2] SLIDER (Slider assignment)
In the Slider assignment page, you can assign MIDI messages to sliders and
specify the MIDI channel on which the messages will be transmitted, etc.
You can assign a control change (CC#), RPN, or NRPN message to each
slider.
1
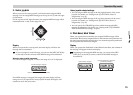
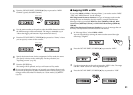
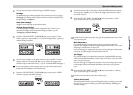
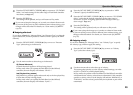
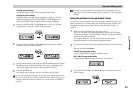
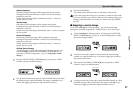
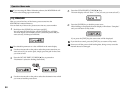
Hold down the [SETTING] key and press pad [2].
You will be in the Slider assignment page, and the [SETTING] key and
pad [2] will light. The main display indicates “Slider Select” (select the
slider to assign). The messages you can assign to a slider and the
assignment procedure are the same as for an encoder. For details, refer
to “Encoder assignment” (☞p.20).
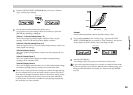
You can use the Quick Assign procedure for sliders as well. For details,
refer to “Quick-assign for control changes” in “Encoder assignment.”
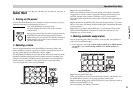
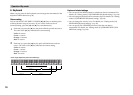
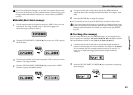
[3] PAD 1–8 (PAD 1–8 assignment)
PAD 1–8 assignment lets you assign MIDI messages to pads 1 through 8, and
specify the channels on which these messages will be transmitted.
You can assign a note message or a control change (CC#) to each pad.
If you assign a control change, the message will be transmitted with a value
of either 0 or 127.
Pad velocity settings are maintained separately for each scene. As the pad
velocity type, you can choose either to transmit a velocity value that
corresponds to the force with which you strike the pad, or to transmit a fixed
value regardless of your striking force.
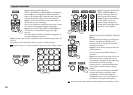
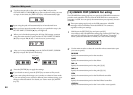
1
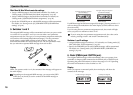
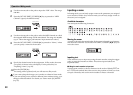
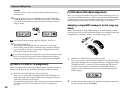
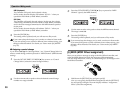
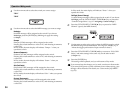
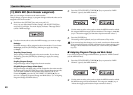
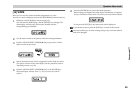
Hold down the [SETTING] key and press pad [3].
Now you can make pad [1]–[8] assignments. The [SETTING] key and
pads [1] through [8] will light/blink. The main display will indicate
“PAD# 01” (select the pad that you want to assign).
Sub-displays 1 through 8 will show the MIDI transmit channel, MIDI
message, and pad transmission setting for each pad.
For example if you operate the fifth encoder or slider, PAD#5 will be
selected and the main display will indicate “PAD# 05”.
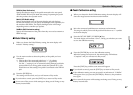
2
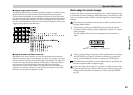
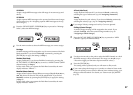
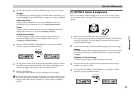
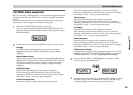
Use the main encoder or the pads to select the pad that you want to
assign. To make your selection using the pads, simply press the desired
pad.
The pad selected for assignment will blink.
If both SW1 and 2 are lit, you can also use these switches to select a pad
to assign.
In the following pages where you specify the MIDI message type and
note number or control change number, you can use the
correspondingly-numbered encoder or slider to select a parameter or
edit a value. It’s convenient to use the slider to make large changes in a
value, and use the encoder to make fine adjustments.
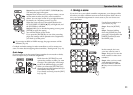
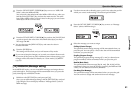
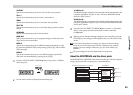
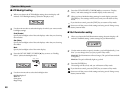
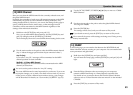
3
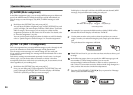
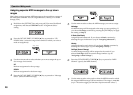
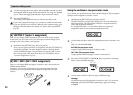
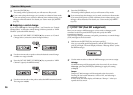
Press the OCTAVE SHIFT/CURSOR [®] key to proceed to “Message
Select” (select the MIDI message).
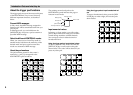
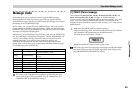
MIDI channel
Note number
or
Control change number
MIDI message type
Pad operation type
(Green)(Red)