


234
MOTIF Reference
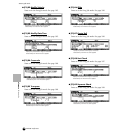
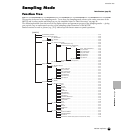
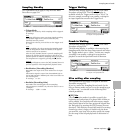
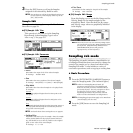
Sampling Record mode
Reference Sampling mode
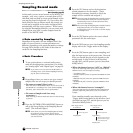
Sampling Record mode
Basic Operation (page 58)
In this mode, you can record sounds to the MOTIF (for
example, your voice, a guitar, or sounds from a CD),
edit them, and use them to create special Sample voices
you can play from the keyboard. Or, if you enter this
mode from the Song or Pattern mode, the sounds you
record can be assigned to the tracks and played back
automatically with the song or pattern. What’s more,
by using the Resampling function, you can create new
samples from your edits, or make samples from the
sounds of the MOTIF itself.
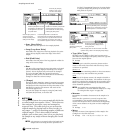
◆ Data created by Sampling
Regardless of the mode, the raw Sampled data is the
same, of course. However, various parameters are
different, depending on the particular mode or settings.
See page 59 for details on the kinds of data that are
created in the Sampling function.
◆ Basic Procedure
1 To use a microphone or external audio source,
make all the appropriate connections. For details,
see “Analog input” and “Digital input” on page 23.
n If you want to use the sound of the MOTIF as a
recording source (with the Resampling function),
step #1 above is unnecessary.
2 Depending on how you want to use your created
sample, there are two ways you should proceed:
• To create a normal (User) voice —
Enter the Voice or Performance mode. To use the sound of
the MOTIF as a recording source (with the Resampling
function), select the desired voice or performance.
• To create a Sample track in a song
or pattern —
Enter the Song or Pattern mode and select the desired song
or pattern.
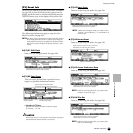
3 Press the [INTEGRATED SAMPLING] button to
call up the Setup display in the Sampling Record
mode. (The indicator lights.)
n Even when you enter the Sampling Record mode,
the indicator of the previous mode’s button
remains lit, allowing you to confirm which mode
you entered from.
4 Press the [F1] button and set the destination-
related parameters for the sample. (These
determine the memory location to which the
sample will be recorded and assigned.)
n When entering the Sampling Record mode from the
Voice/Performance mode, the recorded sample is
automatically stored to the Waveform and User
voice set in this display.
n When entering the Sampling Record mode from the
Song/Pattern mode, the recorded sample is
automatically stored to the track set in this display
as a Sample voice.
5 Press the [F2] button and set the source-related
parameters for the audio input.
6 Press the [F6] button to go to the Sampling standby
display and set the Trigger mode in this display.
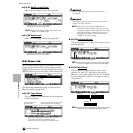
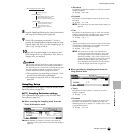
7 Press the [F6] button again to start sampling, and
play the input source at the proper time. How and
when you should play the source depends on the
settings made in step #5 above (and described
on page 236), and the process you use (described
briefly below).
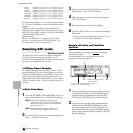
• When the Source is set to “A/D” or “digital”:
Any of the following audio input jacks/terminals on the
MOTIF can be used for sample recording:
- A/D INPUT jacks
- mLAN terminals (when the optional mLAN8E has been
installed)
- DIGITAL IN jack (when the optional AIEB2 has been
installed)
- OPTICAL IN jack (when the optional AIEB2 has been
installed)
• When the Source is set to “resample”:
The sound generated by the MOTIF itself (Song/Pattern
playback, keyboard performance) can be recorded as a
sample.
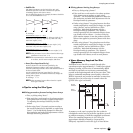
How sampling actually starts depends on the
Trigger mode setting made in step #6 above (and
described on page 237), and the process you use
(described briefly below).
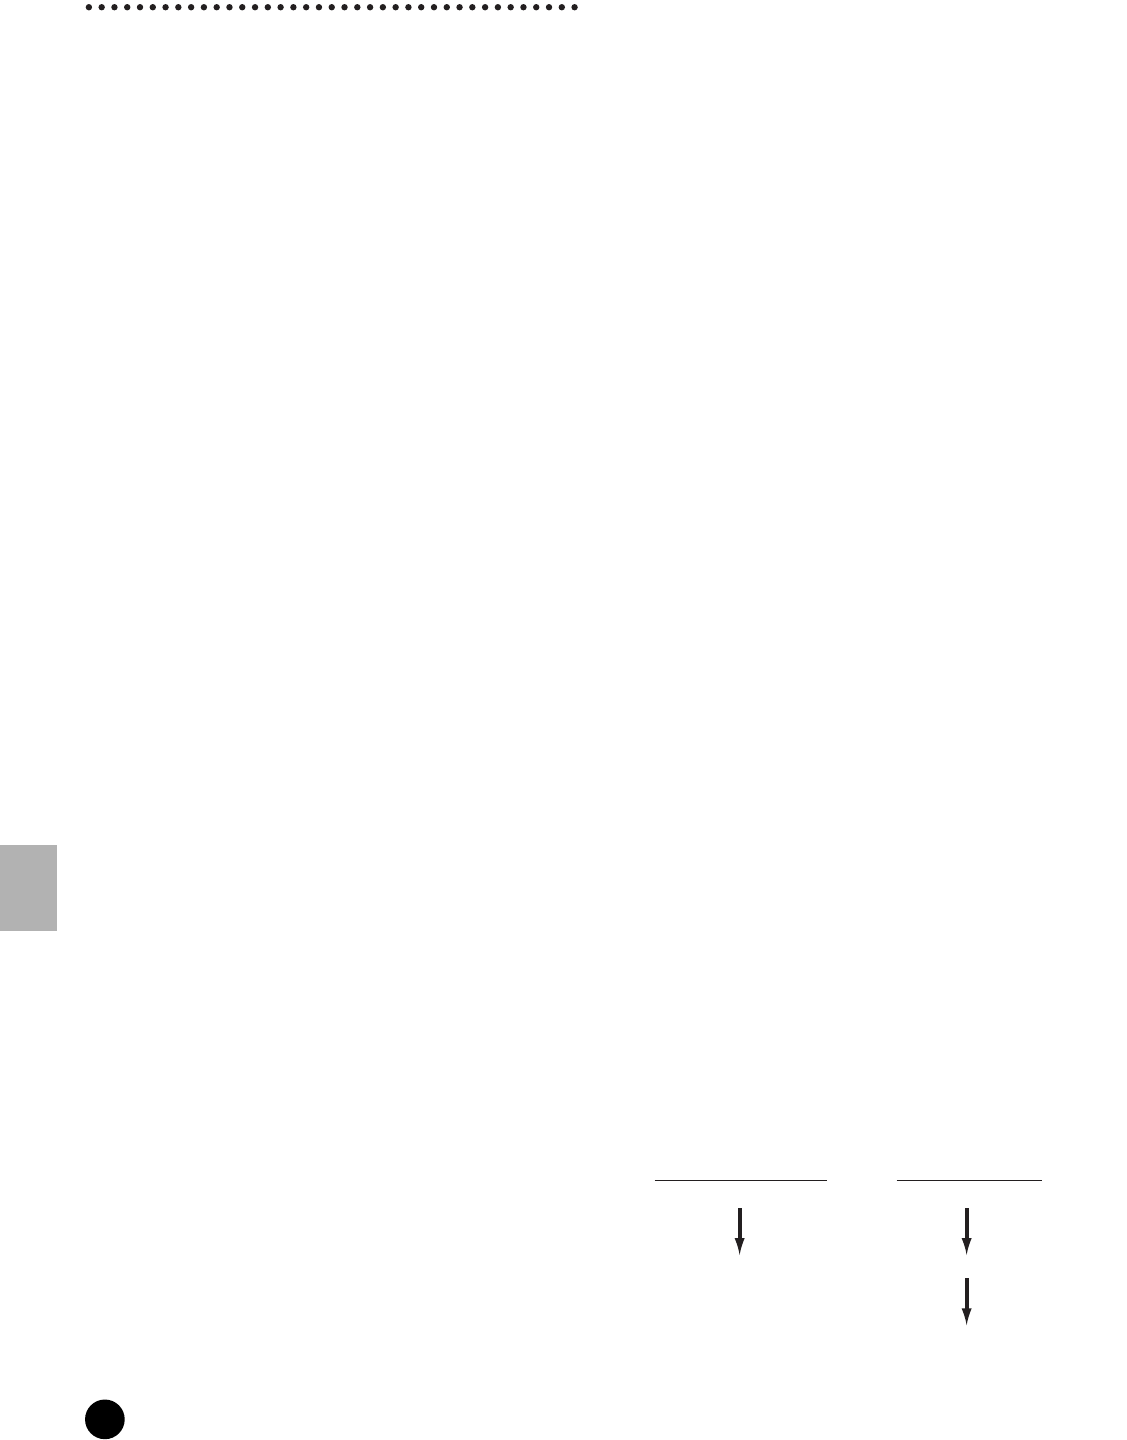
When Trigger mode is
set to “Manual”:
When Trigger mode is
set to “Level”:
Sampling Standby Sampling Standby
Sampling Start
Sampling Start
Tr igger Waiting
Press the [F6] button. Press the [F6] button.
When the level of the input
signal exceeds the Trigger
level, sampling starts.