


88
Detailed Settings for Each Function ([EDIT])
Chorus adds depth and spaciousness to the sound. You can select
whether to use this as a chorus effect or a delay effect.
You can set the amount of Chorus applied separately for each
individual tone (p. 71).
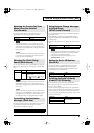
Chorus Type
You can select the chorus type.
When you change the Chorus Type, the Chorus parameters will be
automatically adjusted to the optimal values. Rather than setting the
chorus parameters one by one, you can make the settings more easily
by first setting the Chorus Type and then changing only the
necessary parameters.
The way the [CHORUS/DELAY] indicators light changes with the
selected type.
Selecting the Output Destination
(OUT PUT SELECT)
This selects the output mode for the chorus sound.
Other Chorus Settings
You can make even more detailed chorus/delay settings.
When you select a Chorus Type, a number of parameters unique to
that type are displayed. Refer to p. 144 for the values that can be set.
This is a stereo compressor (limiter) that is applied to the final
output.
With separate settings for the high-frequency range, midrange, and
low-frequency range, this reduces inconsistencies in volume levels
by compressing the sound when the volume exceeds a preset
volume level.
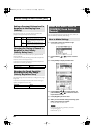
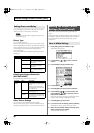
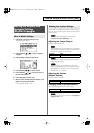
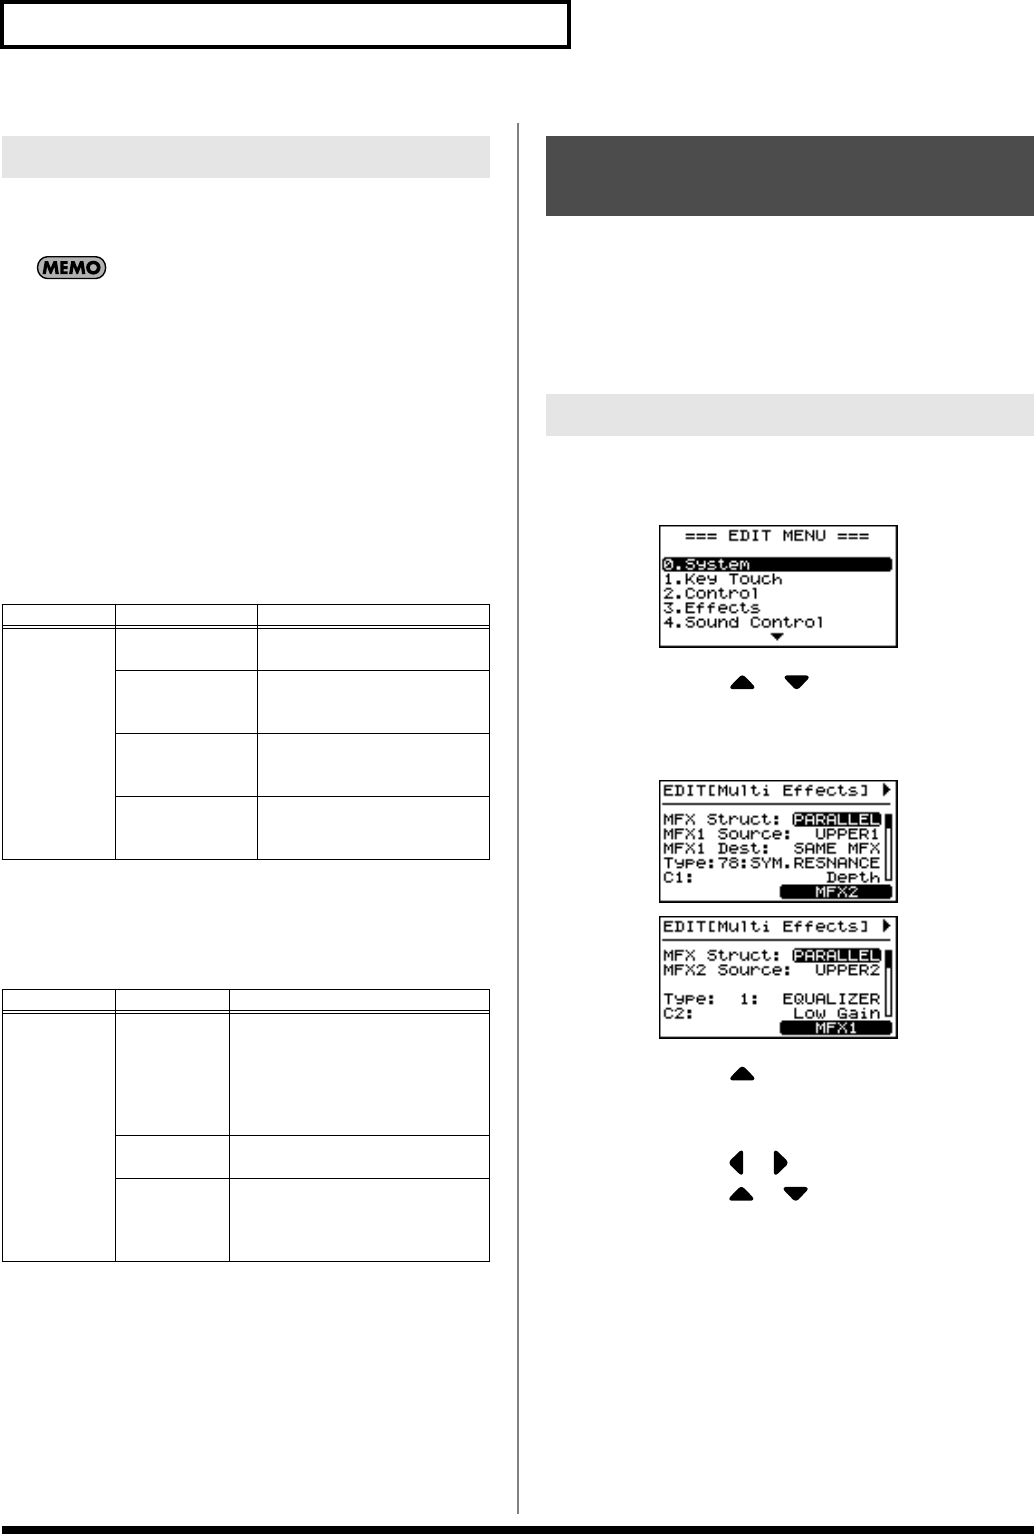
1.
Press [EDIT], getting the indicator to light.
The Edit Menu screen appears.
fig.05-10g
2.
Press CURSOR [ ]/[ ] to select “4.Sound
Control.”
3.
Press [ENTER] to display the Edit screen.
fig.05-11g
4.
Press CURSOR [ ] to select “Type.”
5.
Press [INC]/[DEC] to set the type of compressor.
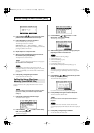
6.
Press CURSOR [ ]/[ ] to switch screens, and
press CURSOR [ ]/[ ] to move the cursor to
the parameter to be set.
With certain parameters, pressing [F2 (L-M-H)] selects the low-
frequency range, midrange, or high-frequency range.
7.
Press [INC]/[DEC] to set the value.
8.
If you want to save this settings, press [F1(WRITE)].
The settings are written to Sound Control Type “USER.”
9.
When you have finished making the settings, press
[EDIT], extinguishing its indicator.
You are returned to the Tone screen.
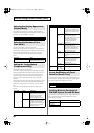
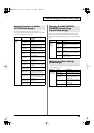
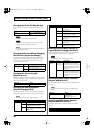
Setting Chorus and Delay
Parameter Value Description
Chorus Type OFF Chorus or Delay is not used.
The indicator does not light.
CHORUS Normal Chorus.
The “CHORUS” indicator
remains lit.
DELAY Normal Delay.
The “DELAY” indicator
remains lit.
GM2 CHORUS This is a GM2 reverb.
The “CHORUS” indicator
flashes.
Parameter
Value Description
Output
SELECT
MAIN The chorus sound is output
without being passed through the
reverb.
The chorus sound without the
reverb applied to it is mixed with
the reverb sound.
REVERB The chorus sound is output with
reverb applied to it.
MAIN+
REVERB
The chorus sound without the
reverb applied to it is mixed with
the chorus sound to which reverb
has been applied.
Making the Sound Control
Settings (Sound Control)
How to Make Settings
RD-700SX_e.book 88 ページ 2006年3月23日 木曜日 午後2時52分