Panel descriptions
16
r
G-70 Music Workstation
Press the [WHOLE] button to assign one or several
sounds to the entire keyboard (without a split). See
page 56.
Z
VOCAL HARMONIST section
The buttons and knobs in this section are used to set
the Vocal Harmonist function, the microphone level
and the effects applied to the signals received via the
Vocal Harmonist MIC INPUT socket. See page 42.
a
TONE section
The TONE buttons allow you to select one of 16 inter-
nal Tone families. You can then use the display to
specify the desired sound within that family.
The [SRX¥EXPANSION] button is only available after
you install an optional wave expansion board into the
G-70.
Note: SRX sounds can be assigned to the following Keyboard
parts: UP1/2/3, LW1/2, and MBS.
Press the [HARMONIC¥BAR] button to activate the
“Harmonic Bar” section whose sound can be set using
the assignable sliders (T) that double as virtual
drawbars.
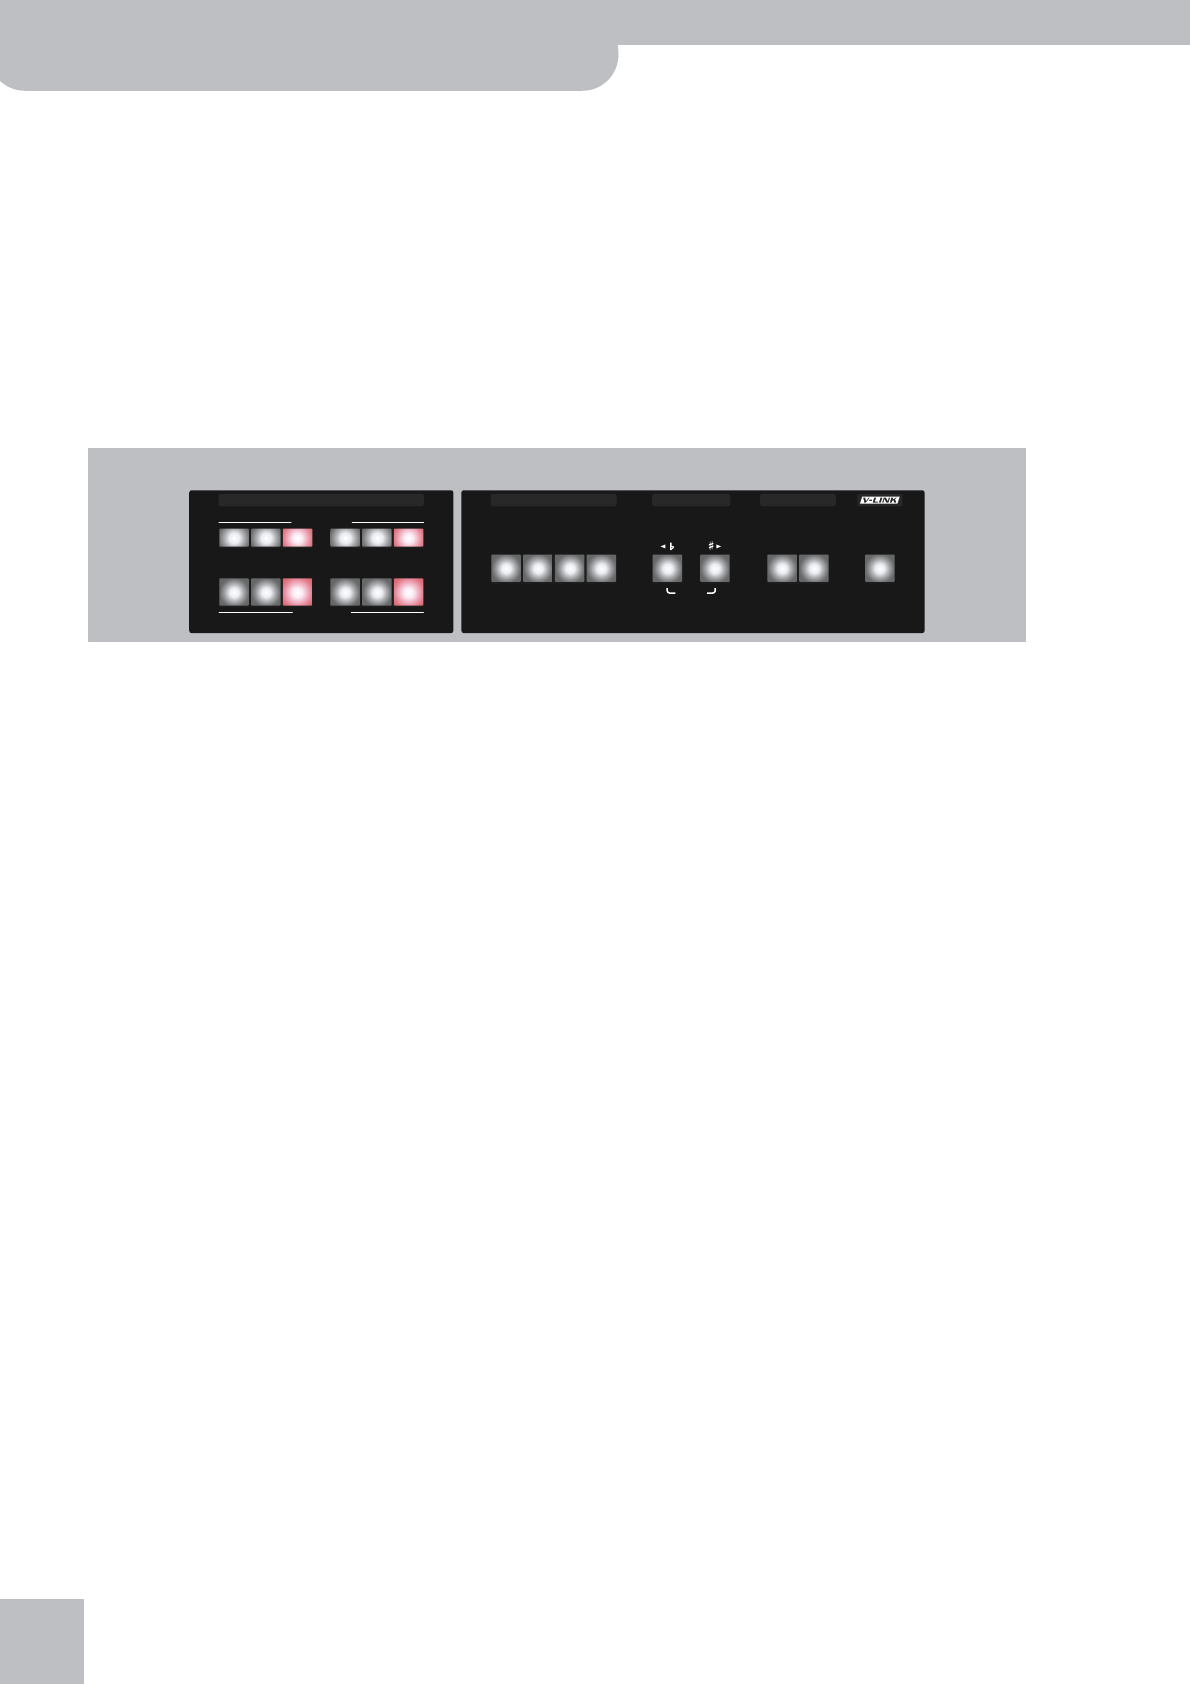
b
KEYBOARD PART section
The TONE ASSIGN buttons are used to specify the
Keyboard part you wish to assign a different sound to
page 29. “Keyboard parts” are the parts you can play
yourself. The G-70 contains many other parts that
are played “automatically” by the Arranger or
Recorder.
The PART ON/OFF buttons allow you to switch the
desired Keyboard parts on and off.
c
ONE TOUCH section
These buttons allow you to select the desired One
Touch memory. There are four memories per internal
Music Style and the 120 Link memories. They work a
lot like the User Programs, because they assign dif-
ferent sounds and effects settings to the Keyboards
parts and carry out some other changes. See page 78.
d
TRANSPOSE section
These buttons allow you to transpose the G-70 up
([]) or down ([ƒ]) in semitone steps. You can also
specify which parts are to be transposed (page 58).
If neither button lights, no manual transposition is
used.
e
TONE EFFECTS section
Press the [MULTI¥FX] button to add a different effect
to the Keyboard parts page 100. (This processor is
also available for the D Beam and the MELODY INTELL
parts.)
Press the [MELODY¥INTELLIGENCE] button (so that it
lights) to add an automatic counter-melody (second
and third voice) to your solos or melodies (see p. 76).
f
V-LINK button
Press this button to take advantage of the G-70’s V-
LINK functionality for controlling video material via
certain performance functions and the right-most
keys on the G-70’s keyboard. By using V-LINK-com-
patible video equipment, visual effects can be easily
linked to, and made part of the expressive elements
of a performance. By connecting the G-70 to an
optional Edirol DV-7PR or V-4, you can switch images
in synchronization with music, or use the G-70’s per-
formance functions or right-most keys to switch
clips, control playback speed, etc.
bcdef
PART ON/OFF
MBS LW 2 LW 1
UP 3 UP 2 UP 1
TONE ASSIGN
CANCEL
1234
MULTI
FX
MELODY
INTELL
KEYBOARD PART
TRANSPOSEONE TOUCH
TONE EFFECTS


