Using the performance functions
62
r
G-70 Music Workstation
● Filter Up—The cutoff frequency of the Tone assigned to
the selected part can be raised (so that the sound
becomes brighter).
Note: Depending on the value you set for TVF Cutoff
(page 127), this parameter may have no audible effect. That
is also the case of Tones whose cutoff frequency is already
preset to the maximum value.
● Filter Down—The cutoff frequency of the Tone assigned
to the selected part can be lowered (so that the sound
becomes mellower).
Note: Depending on the value you set for TVF Cutoff
(page 127), this parameter may have no audible effect. That
is also the case of Tones whose cutoff frequency is already
preset to the minimum value.
● Modulation—Select this function if you want the After-
touch to duplicate the modulation function of the
BENDER/MODULATION lever.
● Pitch Up—By pressing a key even further down, you can
bend the notes up to two semi-tones up.
● Pitch Down—By pressing a key even further down, you
can bend the notes up to two semi-tones down.
● Volume Up—This setting allows you to increase the vol-
ume of the selected part using the Aftertouch.
● Volume Down—This setting allows you to decrease the
volume of the selected part using the Aftertouch.
Note: The Aftertouch settings apply to the Keyboard part in
question, so that selecting another sound for such a part
does not mean that the values will be reset to “0”.
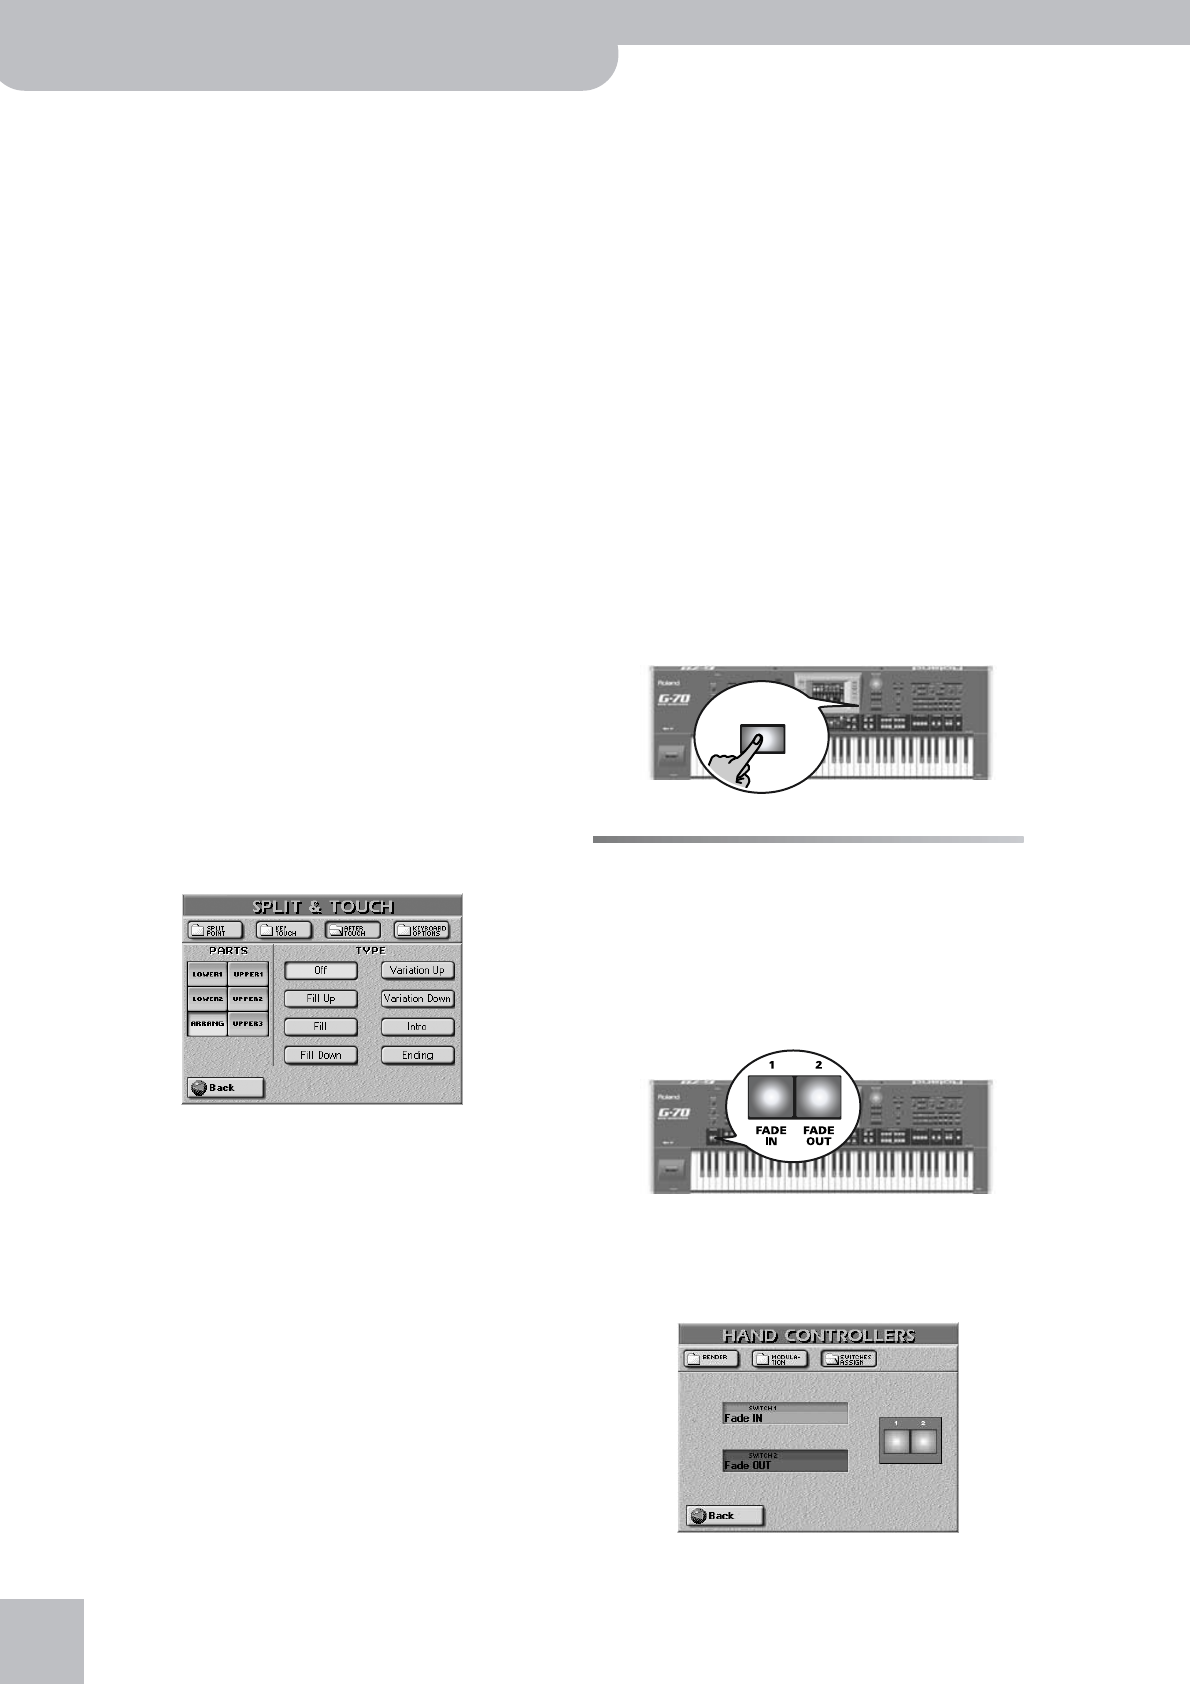
■If you press ARRANG
You can also use the Aftertouch functionality for
controlling Arranger playback. If you press the
[ARRANG] field on the SPLIT & TOUCH/AFTER TOUCH
page, the display looks as follows:
Note: Selecting “ARRANG” does not cancel the Aftertouch set-
tings you may have made for the Keyboard parts.
Note: Even Aftertouch messages generated outside the chord
recognition area (see below) will trigger the selected switching
function.
● Off—The Arranger does not respond to Aftertouch mes-
sages.
● Fill Up—Triggers the Fill-In that takes you to the next
Variation (i.e. from MAIN “1” to “2”). You can use this
function up to three times to jump to the most complex
level (“Variation 4”). If you then use the Aftertouch
again, however, nothing happens. You cannot cycle back
to the lowest level (“Variation 1”).
● Fill Remain—This also starts a Fill-In but does not switch
to another MAIN pattern.
● Fill Down—Triggers the Fill-In that takes you to the pre-
vious Variation (i.e. from MAIN “2” to “1”). You can use
this function up to three times to jump to the simplest
level (“Variation 1”). If you then use the Aftertouch
again, however, nothing happens. You thus cannot cycle
back to the highest level (“Variation 4”).
● Variation Up—You can cause the Arranger to select the
next Music Style Variation (i.e. to go from MAIN “1” to
“2”). You can use this function up to three times to jump
to the most complex level (“Variation 4”).
● Variation Down—You can cause the Arranger to select
the preceding Music Style Variation (i.e. to go from MAIN
“4” to “3”). This time, however, no Fill-In is played before
the next Variation starts. You can use this function up to
three times to jump to the simplest level (“Variation 1”).
● Intro—The Aftertouch can be used to select the INTRO
pattern of the active Music Style. This selects the Intro of
the currently active Variation level (1~4).
● Ending—The Aftertouch can be used to select the END-
ING pattern of the active Music Style. This selects the
Ending phrase of the currently active Variation level (1~
4).
(5) Press the [EXIT] button to return to the main page.
ASSIGN SW buttons
The ASSIGN SW buttons [1] and [2] allow you to quickly
access a function you would normally have to select
via the display (which may involve several steps).
At first, ASSIGN SW [1] is used to start a Fade In, while
ASSIGN SW [2] starts a Fade Out. See page 138 for
details.
Holding [1] or [2] down for more than a second takes
you to a display page where you can assign other func-
tions to these buttons. The ASSIGN SW functions can be
written to a User Program.
EXIT


