Recording your music
G-70 Music Workstation
r
55
Saving your song
A song you save to becomes a Standard MIDI File that
can be played back with the G-70, but also with any
other SMF-compatible sequencer.
There are two ways of saving new or edited songs:
• Via the [DISK¥&¥MEDIA] button and the related menu
(see p. 204).
• By pressing the [SAVE] field on the 16-track page.
Note: Whenever you leave the 16-track Sequencer page by
pressing the [EXIT] button, the display shows a “Song has been
changed…” message that asks you whether you want to save
your changes. Press the [YES] field and proceed.
Here, we will show you how to save your song using
the [SAVE] field.
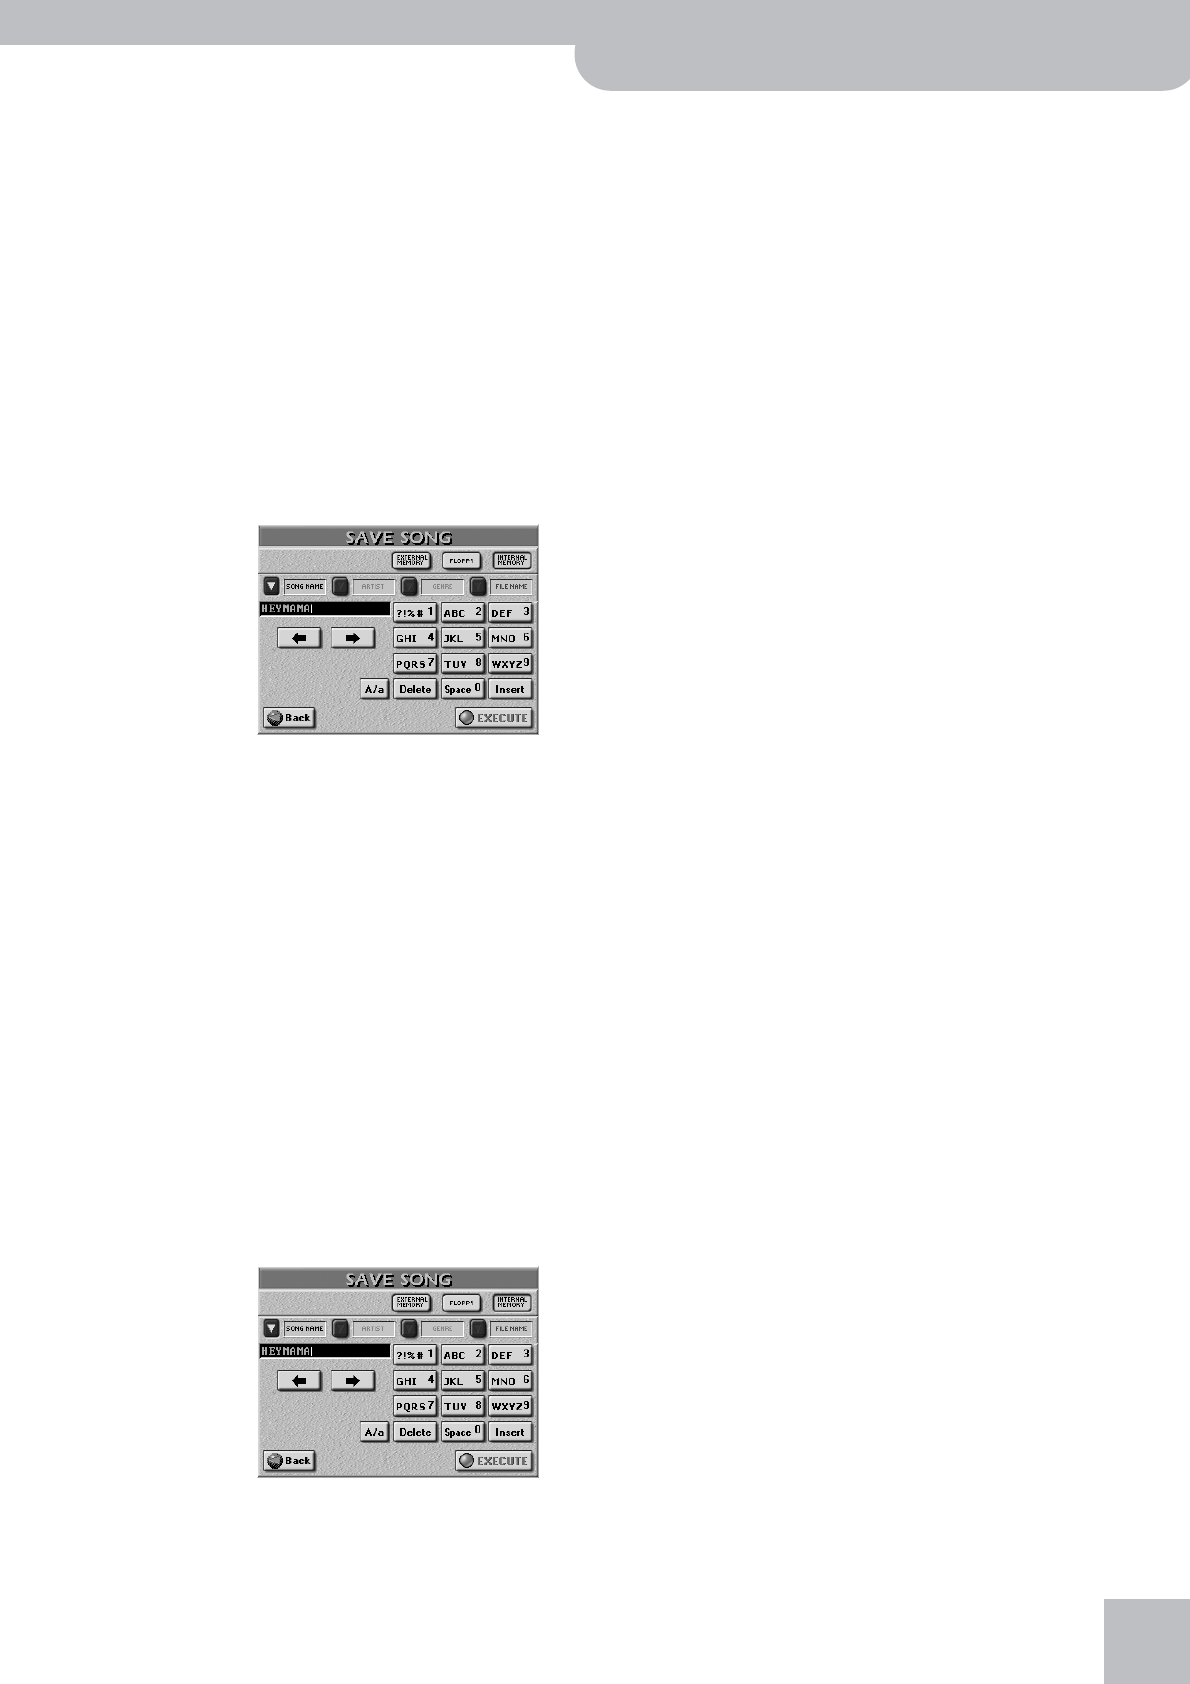
(1) On the 16-track main page, press the [SAVE] field.
The display now responds with:
(2) Specify where you want to save your song:
• Press the [INTERNAL¥MEMORY] field to select the
G-70’s internal memory as target (this is a 50MB
storage area similar to a hard disk).
• Insert a floppy disk into the drive and press the
[FLOPPY] field.
• Press the [EXTERNAL¥MEMORY] field. This option is
only available if you insert a memory card into the
G-70’s PCMCIA slot.
If your floppy disk or memory card does not seem to
work, try formatting it, then try again. See “Format”
on p. 209.
Note: If you want to save the song under its current name, or
the name assigned by default (“New Song”), you can skip steps
(4)~(5).
You need to give your song two names: a SONG
NAME, and a FILE NAME. The FILE NAME is the name
the G-70 uses for locating the song. The SONG
NAME, on the other hand, is displayed in the Song
Finder.
(3) Press the [SONG¥NAME] button icon.
(4) Enter the name:
• Move the cursor to the desired position using [ø] and
[˚].
• Enter the character for that position using the alpha-
numeric keypad. In many instances, you will have to
press the desired field several times to select the
desired character.
• Use the [A/a] field to alternate between capitals and
small letters.
• Press the [Delete] field to delete the character indi-
cated by the cursor. Press and hold it to clear all
characters.
• Press [Space] to insert a space.
• Press [Insert] to insert a character at the current posi-
tion. All characters behind this position move one
position further to the right.
(5) Press the [FILE¥NAME] field and enter the file name.
See p. 86 for details. Here, you can only enter 8 char-
acters. All characters will be capitals.
(6) Press the [EXECUTE] field to save your song.
The display tells you that the data are being saved,
after which it returns to the “SAVE SONG” page.
(7) Press the [EXIT] button to return to the main page,
or the RECORDER [16-TRACK¥SEQUENCER] button
to add even more tracks.


