Editing 16-track songs
G-70 Music Workstation
r
173
This is a very important step for Roland tone genera-
tors. If the checksum is wrong or missing, the entire
string will be ignored.
Note: The checksum is only calculated for SysEx strings of a
certain length (more than 7 bytes).
• Use the [0]~[9] and [A]~[F] fields to enter the value for
the selected (white-on-blue) byte. (“A” stands for 11,
“B” for 12, “C” for 13, “D” for 14, “E” for 15, and “F” for
16.)
• Press the [DELETE] field to remove the selected byte.
All subsequent bytes will move one position to the
left.
• Press the [INSERT] field to insert a “00” at the current
position. The originally selected byte –and all subse-
quent bytes– move one position to the right. You can
then replace the inserted “00” with the value you
need to insert.
• Press the [SEND] field to transmit the SysEx string in
its current state to the tone generator.
This allows you to check the result before confirming
it.
• Press the [EXECUTE] field to confirm your settings
and use the string you entered.
Press [CLOSE] if you don’t want to use the SysEx mes-
sage after all.
By pressing [EXECUTE] or [CLOSE], you return to the
MASTER TRACK EDIT page.
Press [Back] to return to the 16-track Sequencer’s
main page, or bear with us, for there are still a few
items that need explaining…
You probably noticed the buttons in the right half of
the MASTER TRACK EDIT page. They allow you to
reduce or expand the number of events of the MAS-
TER track.
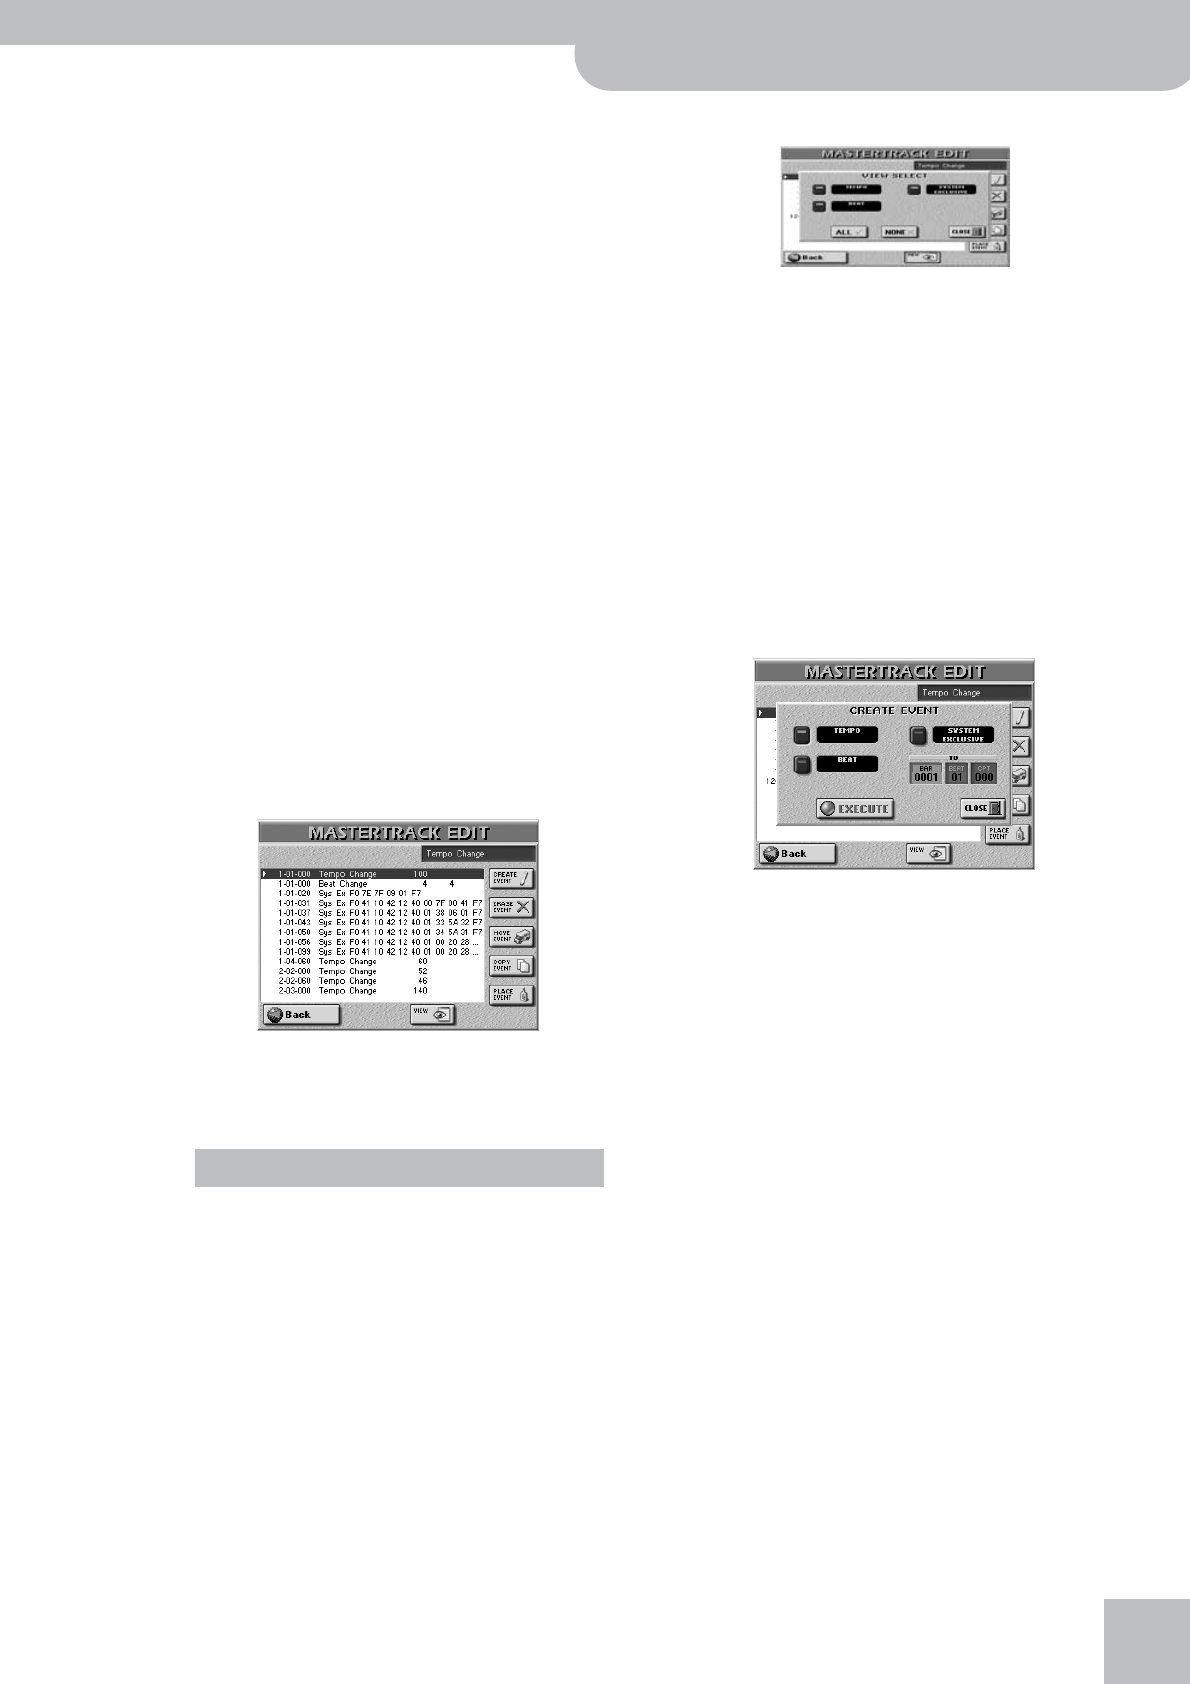
■VIEW
Press this button icon if the list of MASTER track
events has become so long that finding the events
you wish to edit takes too much time for comfort.
The following pop-up appears:
• Switch on the button icons of the events you want to
see in the list (the icons in question must light green).
[TEMPO] refers to tempo events, [BEAT] to time sig-
nature changes, and [SYSTEM¥EXCLUSIVE] to SysEx
strings.
• Press [ALL] to switch on all button icons, or [NONE] to
switch them all off, in which case the MASTER TRACK
EDIT list only contains the “End of Data” message,
which is probably not what you need.
• Press [CLOSE] to close the pop-up window without
applying your changes.
■CREATE EVENT
Press this button icon to add a new event to the
MASTER track. The following pop-up appears:
• Press the button icon that corresponds to the kind of
event you want to add to the list.
[TEMPO] refers to tempo events, [BEAT] to time sig-
nature changes, and [SYSTEM¥EXCLUSIVE] to SysEx
strings.
• Specify the position where your new event should be
inserted by pressing the [BAR] field and entering the
desired value using the [DATA÷ENTRY] dial or the
[DEC]/[INC] buttons.
• Press the [EXECUTE] field to confirm your settings
and add the new event.
Press [CLOSE] to close the pop-up window without
applying your changes.
Other edit operations


