Quick Start
48
r
G-70 Music Workstation
Note: See page 107 for an in-depth discussion of the effects
settings.
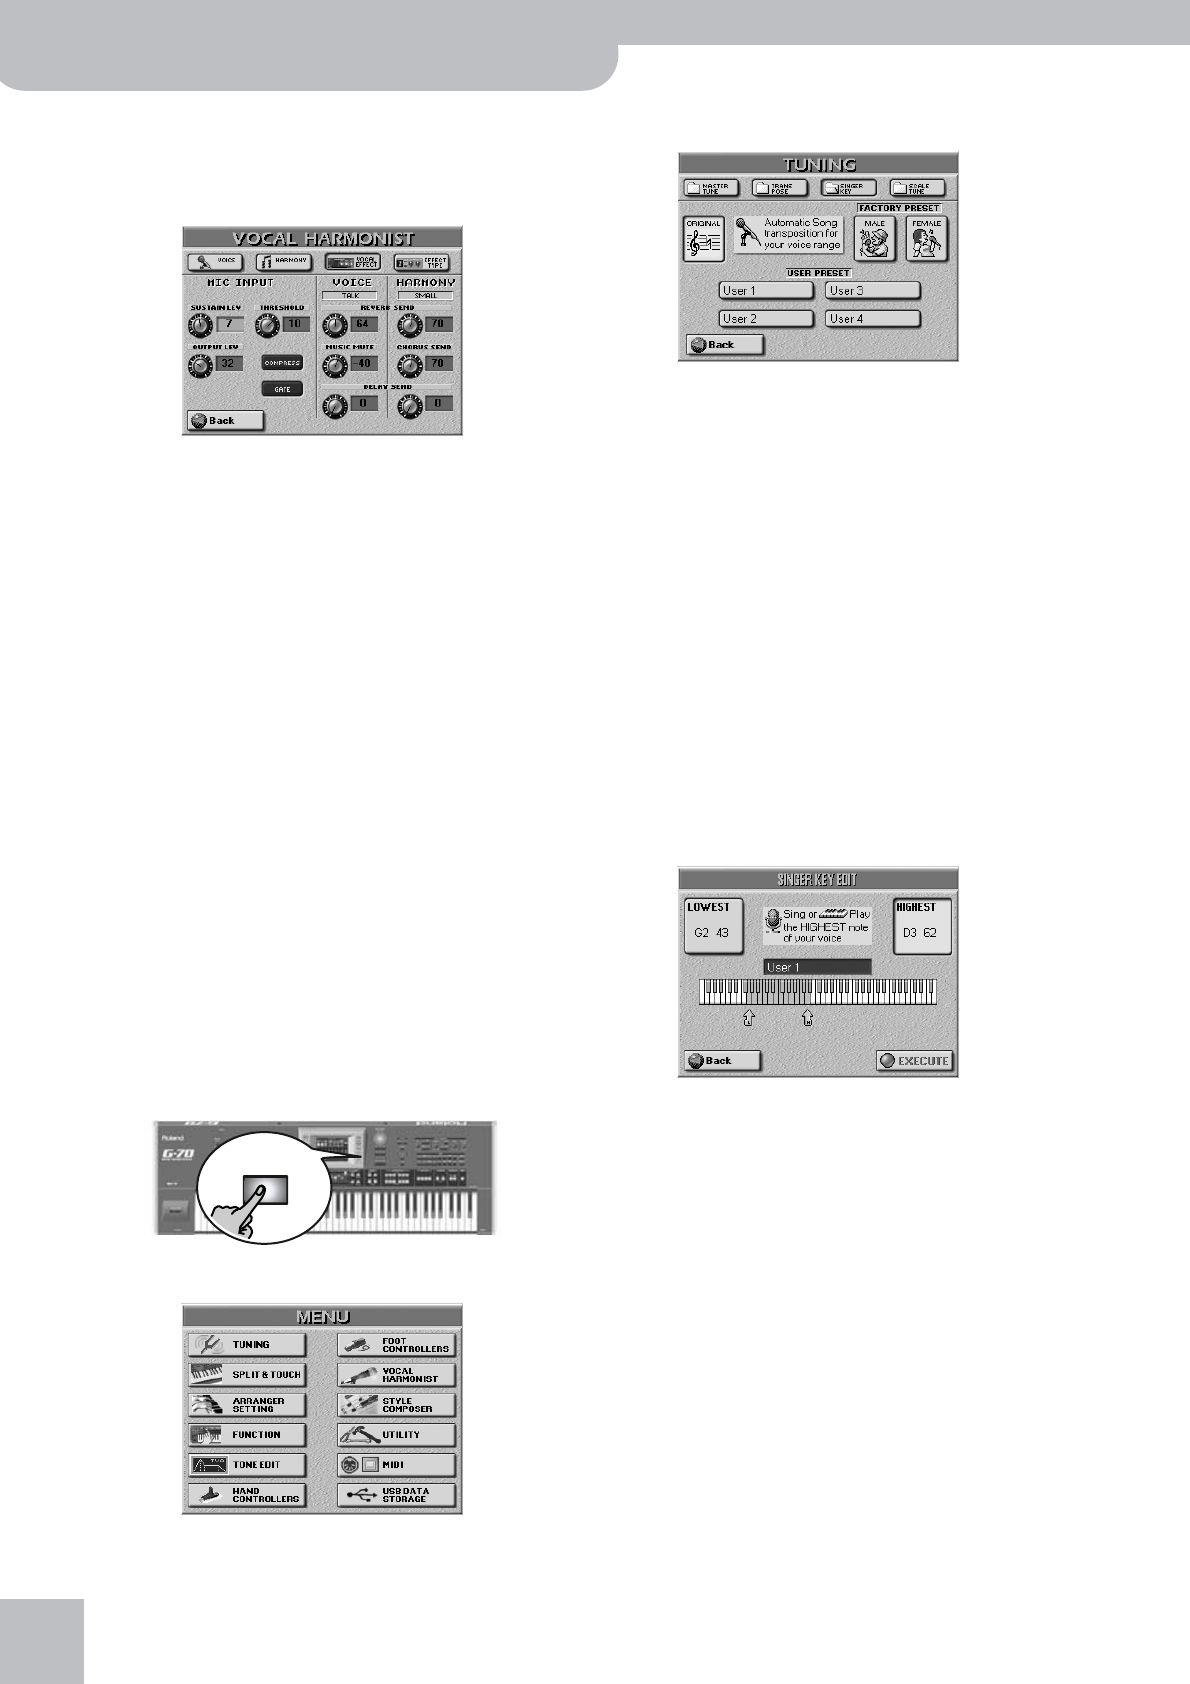
(3) Press and hold the [TALK] button.
The display changes to:
(4) Press the [MUSIC¥MUTE] field and set the desired
value with the [DATA÷ENTRY] dial.
The smaller the value, the softer the song’s and Key-
board parts’ volume will be. Select “0” if you do not
want the music to be any softer than it already is.
The [REVERB¥SEND] and [DELAY¥SEND] fields allow
you to add some reverb and/or delay to your voice.
While some reverb (values between “10” and “40”, for
example) could be useful, delay should probably only
be used as “effect”, because it tends to blur your
announcements.
Note: See page 107 for details about these effects.
Automatic transposition (Singer Key)
→ Only available for Standard MIDI File playback
Here’s yet another revolutionary function of your G-70:
based on information you select or input, it can change
the key of all songs you play back in realtime, thus
allowing you (or a guest singer) to sing all songs in a
comfortable range. This function is called “Singer Key”.
(1) For the sake of clarity, first select a song (see p. 38)
and press [PLAY÷STOP¥®÷ª] to start playback.
Pay attention to the song’s key.
(2) Press [PLAY÷STOP¥®÷ª] again to stop playback, and
[TOP¥|√] to return to the beginning.
(3) Press the [MENU] button.
The display changes to:
(4) Press the [TUNING], then the [SINGER¥KEY] field.
This page contains three presets: [ORIGINAL] means
that the song is not transposed, while [MALE] and
[FEMALE] adapt the song’s key to the “typical” range
of a male or female voice.
(5) Press the [MALE] or [FEMALE] field (depending on
whether you’re a man or a woman).
(6) Press the [PLAY÷STOP¥®÷ª] button to start playback.
The song may now be playing in a different key. If it is
not, the melody falls within the “typical” range you
have just selected.
Note: This automatic transposition only works if track/MIDI
channel “4” of the song you play back contains the melody
part.
(7) Press [PLAY÷STOP¥®÷ª] again to stop playback, and
[TOP¥|√] to return to the beginning.
That may still have been too high or too low for com-
fort… So here comes the best part:
(8) Press one of the USER PRESET fields, and then
[EDIT].
Note: The [EDIT] field only appears after pressing one of the
USER PRESET fields. The latter are four memories where you
can store your own range settings.
(9) Press the [HIGHEST] field (if it is not already
selected).
(10) Sing the highest note you can muster effortlessly
(you can sing it several times).
If you connected a microphone, a [CAPTURE] field
appears. Press that field to confirm the note you
want the G-70 to recognize. (This field does not
appear if you enter the pitch via the keyboard.)
If you have no microphone handy, you can also play
this note on the keyboard.
The G-70 recognizes the pitch and displays the name
of the corresponding note.
(11) Press the [LOWEST] field and repeat step (10), tak-
ing care to sing your lowest possible note.
MENU


