


Using the mixer functions & effects
96
r
G-70 Music Workstation
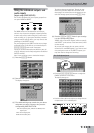
The D BEAM part refers to the sounds that are gener-
ated when you use the D Beam controller after
selecting the DJ GEAR, SOUND EFX or INSTRUMENT
mode (scratches, sound effects, other “noises”). See
page 64 for details.
Note: The left-most slider (EFFECT) does nothing while
“VOLUME” is selected.
(4) After setting these levels, you can use the
[BALANCE] knob to establish the correct balance
between the Keyboard parts and the Recorder/
Arranger.
“Mixing”, as you may know, entails a lot more than
just getting the balances right. It also involves speci-
fying the stereo placement of sounds and the
amount of effect that should be applied. So here we
go…
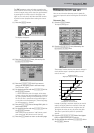
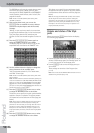
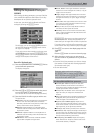
(5) Press the [PAN¥POT/VOLUME] button again to
assign the PANPOT function to the sliders.
The display page still looks as shown in (2), yet the
emphasized area is shifted to the “PANPOT” row:
(6) Use the 9 sliders below the display to change the
stereo placement of the available parts.
“L63” corresponds to hard left, “0” to dead center,
and “R63” to hard right.
Note: The left-most slider (EFFECT) does nothing while “PAN
POT” is selected.
Note: The slider functions can also be selected by pressing any
control in the desired row (VOLUME, PANPOT, REVERB or CHO-
RUS). You can then use the [DATA÷ENTRY] dial and the [DEC]/
[INC] buttons to directly edit the parameter of the assigned
part. (You can even press the [DATA÷ENTRY] dial and enter the
desired value via the on-screen display.
(7) Press the [CHORUS÷REVERB] button once or twice
to assign the REVERB function to the sliders.
This allows you to specify how much reverb should be
applied to the part in question. The effects parame-
ters themselves can be edited on an Effect page (see
below).
Note: At this stage, the EFFECT slider (far left) can be used to
set the output level of the Reverb processor. Setting this
parameter to “0” means that you no longer hear the effect in
question. By contrast, setting the REVERB control of a Key-
board part to “0” means that only the part in question is no
longer processed by the effect, while the remaining Keyboard
parts are.
(8) Press the [CHORUS÷REVERB] button once or twice
to assign the CHORUS function to the sliders.
This allows you to specify how much chorus should
be applied to the part in question. The effect parame-
ters themselves can be edited on an Effect page (see
below).
Note: At this stage, the EFFECT slider (far left) can be used to
set the output level of the Chorus processor. Setting this
parameter to “0” means that you no longer hear the effect in
question. By contrast, setting the CHORUS control of a Key-
board part to “0” means that only the part in question is no
longer processed by the effect.
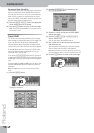
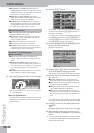
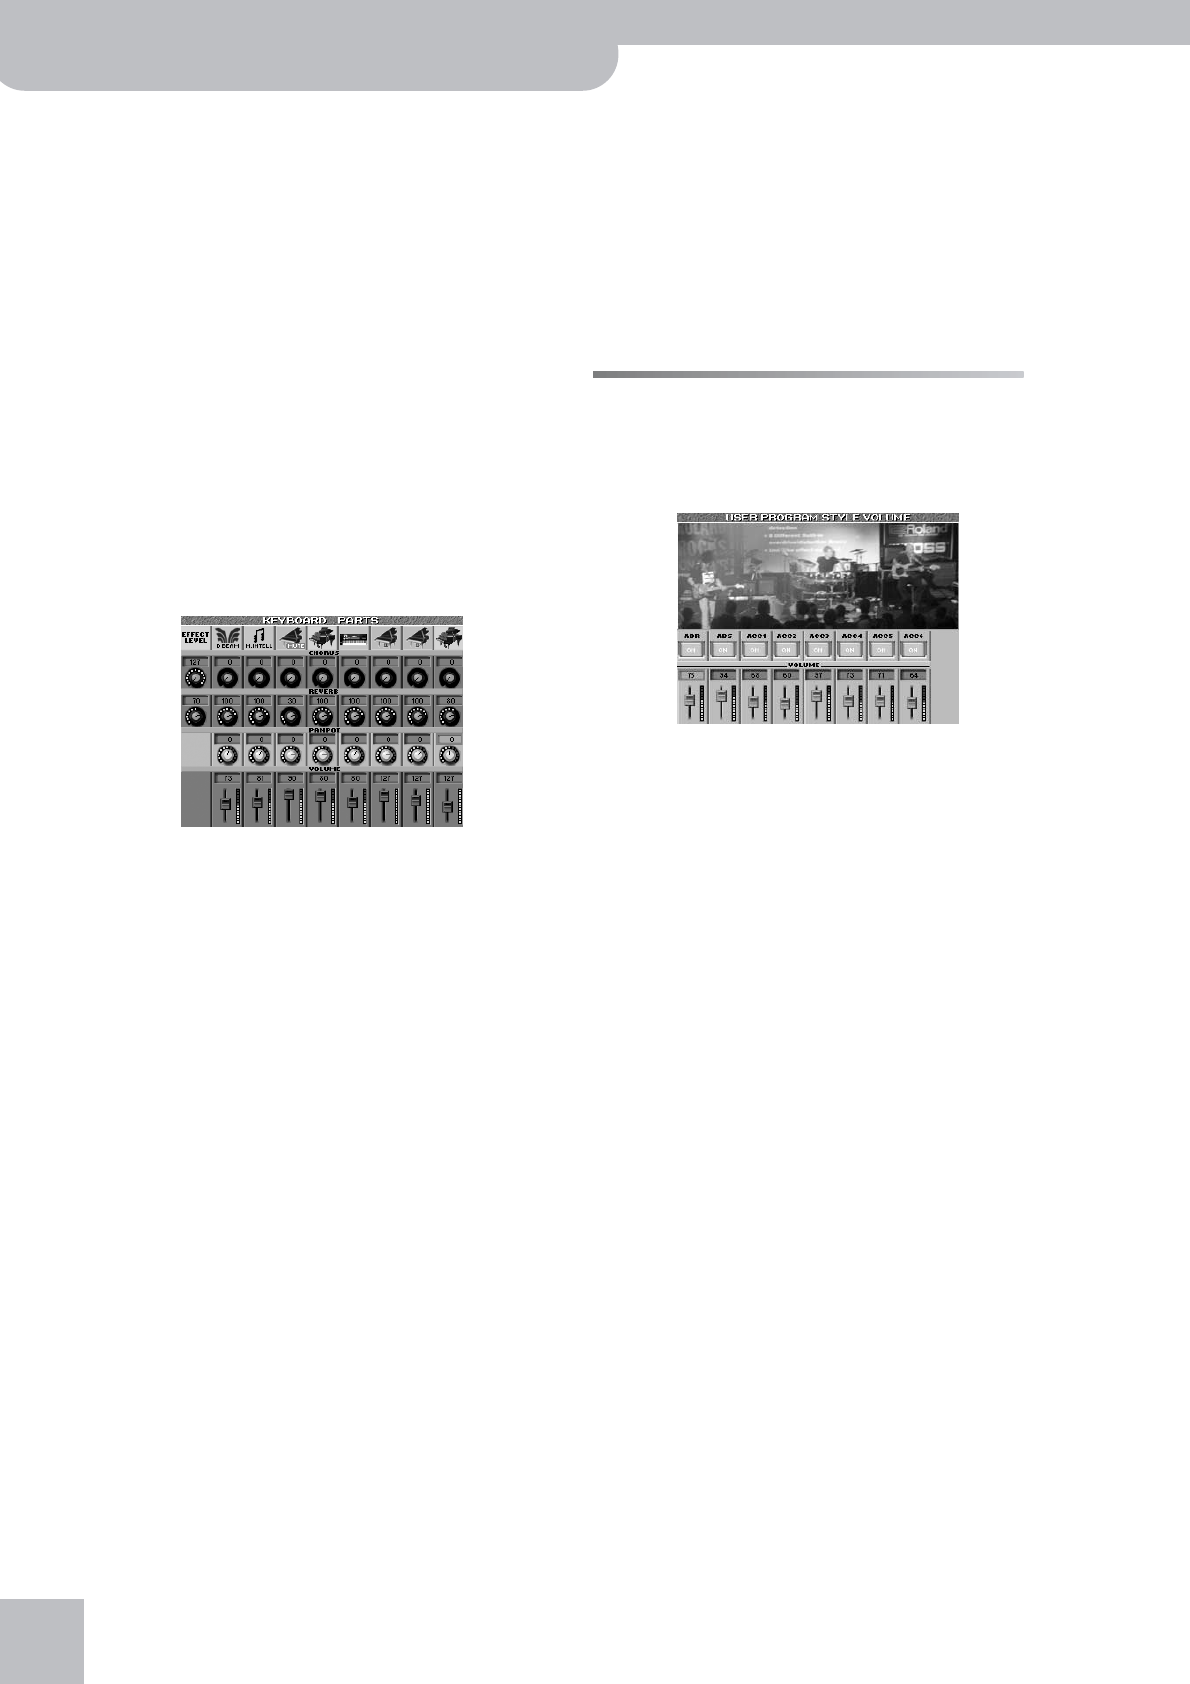
Volume and status of the Style
parts
When you press the [STYLE] button below the display,
the following page appears:
• Use the assignable sliders below the display to set the
volume of the Arranger parts. See “Arranger parts” on
p. 74 for the function of the Arranger parts.
• Use the [ON÷OFF] fields to mute Arranger parts you
do not need.
These settings can saved to a User Program (see
p. 111).
Note: You can also use the MAKEUP TOOLS functions for more
detailed mixing functions (see p. 124).