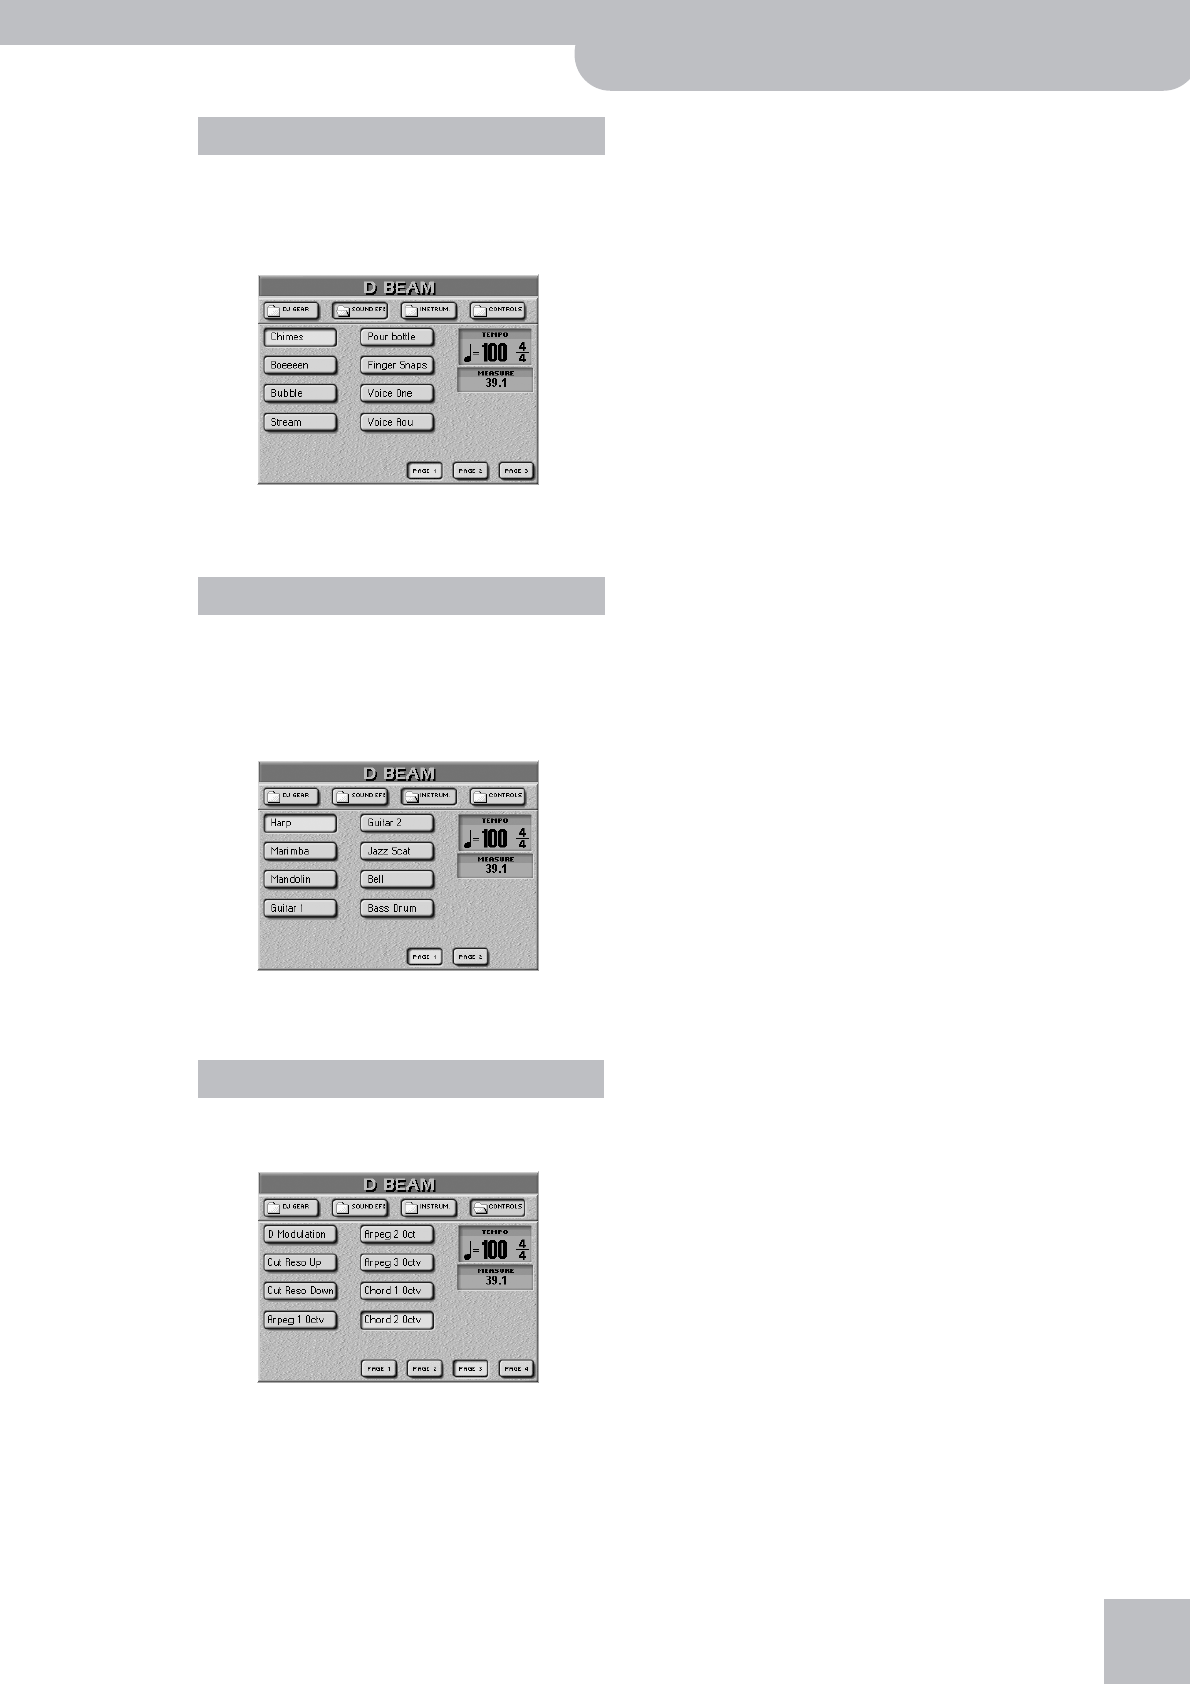
Using the D Beam Controller
G-70 Music Workstation
r
65
Here, you can select various “noises” to be added to
your music simply by moving your hand over the D
Beam. We will not try to describe them: just try them
out!
If necessary, use the [PAGE¥1]~[PAGE¥3] fields to go
to another page.
In this case, the D Beam will play musical notes. The
pitch and chords of those patterns depend on the
notes you play on the keyboard. Please try out the
options on offer. It’s the quickest way to find out
how they sound and work.
If necessary, use the [PAGE¥1] and [PAGE¥2] fields to
switch pages.
The options on this page allow you to control one of
the G-70’s functions:
If necessary, use the [PAGE¥1]~[PAGE¥4] fields to go
to another page.
Note: If you plan to use the D Beam Controller while control-
ling the Arranger, it is probably a good idea to activate its Hold
function (page 80).
● Start/Stop Style—Depending on the current condition
of the Arranger (running or stopped), one move inside
the D Beam’s range stops (or starts) it. A second move-
ment will start (or stop) it again.
● Start/Stop Song—Depending on the current condition
of the Recorder (running or stopped), one move inside
the D Beam’s range stops (or starts) it. A second move-
ment will start (or stop) it again.
● Fade OUT—Fade Outs are extremely popular in pop
music, and the G-70 allows you to end a song just like
the original. To do so, move your hand inside the D
Beam’s range. The volume then gradually decreases until
it reaches zero.
● Auto Fill—Allows you to switch the [AUTO¥FILL¥IN] but-
ton (and function) on and off.
● Fill Up—Triggers the Fill-In that takes you to the next
Variation (i.e. from MAIN “1” to “2”). You can use this
function up to three times to jump to the most complex
level (“Variation 4”). If you then use the D Beam again,
however, nothing happens. You thus cannot cycle back
to the lowest level (“Variation 1”).
● Fill Down—Triggers the Fill-In that takes you to the pre-
vious Variation (i.e. from MAIN “2” to “1”). You can use
this function up to three times to jump to the simplest
level (“Variation 1”). If you then use the Aftertouch
again, however, nothing happens. You thus cannot cycle
back to the highest level (“Variation 4”).
● ADrum On/Off—This setting allows you to switch the
Arranger’s ADrums part on and off using the D Beam
Controller. There are also combined on/off options (see
below).
● ABass On/Off—This setting allows you to switch the
ABass part on and off using the D Beam Controller.
● Accomp On/Off—This setting allows you to switch the
Accompaniment parts (ACC1~6) on and off using the D
Beam Controller.
● ABs+ADr On/Off—This setting allows you to use the D
Beam for switching on and off the ABass and ADrums
parts.
● ABs Acc On/Off—This setting allows you to use the D
Beam for switching on and off the ABass and ACC1~6
parts.
● ADr Acc On/Off—This setting allows you to use the D
Beam for switching on and off the ADrums and ACC1~6
parts.
● Tempo Up—Select this option to increase the current
Arranger or Recorder tempo. By moving your hand out-
side the D Beam’s range, you return to the previous
tempo value.
● Tempo Down—Select this option to increase decrease
the current Arranger or Recorder tempo. By moving your
hand outside the D Beam’s range, you return to the pre-
vious tempo value.
Note: Options marked with a “º” only apply to the currently
active Keyboard parts.
● Pitch Upº—By moving your hand over the D Beam, you
can generate a value between “64” (no Pitch Bend) and
“127” (maximum upward bend). As soon as you move
your hand outside the D Beam’s reach (higher than
±40cm above the “eyes” or further to the left or right),
the value returns to “64” (no Pitch Bend). The maximum
bend interval is two semi-tones.
Sound EFX
Instrum
Controls


