


Advanced Keyboard part functions
90
r
G-70 Music Workstation
7. Advanced Keyboard part functions
Upper 3 Split
On p. 57, you learned how to split the keyboard into a
left half with the LW1, LW2, and possibly also the MBS
part, and a right half with the UP1, UP2 and/or UP3
part.
You can program an additional split between the UP1/
UP2 and the UP3 parts, which is great for playing ques-
tion-and-answer types of melody lines with a brass
sound for Upper3, for example, and a clarinet or flute
for Upper1. The possibilities are as follows:
The default split point is located at the G5 (lowest note
of the UP3 part).
Note: This function is also available in WHOLE Keyboard Mode.
In effect, the G-70 allows you to play at least three
sounds assigned to three separate keyboard areas. On
top of that, you can select the Arranger’s chord recog-
nition area, i.e. the notes that feed the Arranger
(page 80). Here is how to activate the UPPER 3 SPLIT
function:
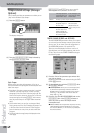
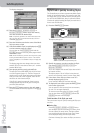
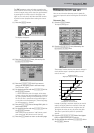
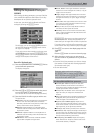
(1) On the main page, press the [SPLIT] field.
You can also select this page by pressing
[MENU]‰[SPLIT&TOUCH] field‰[SPLIT¥POINT] field.
The display changes to:
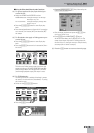
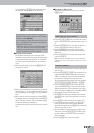
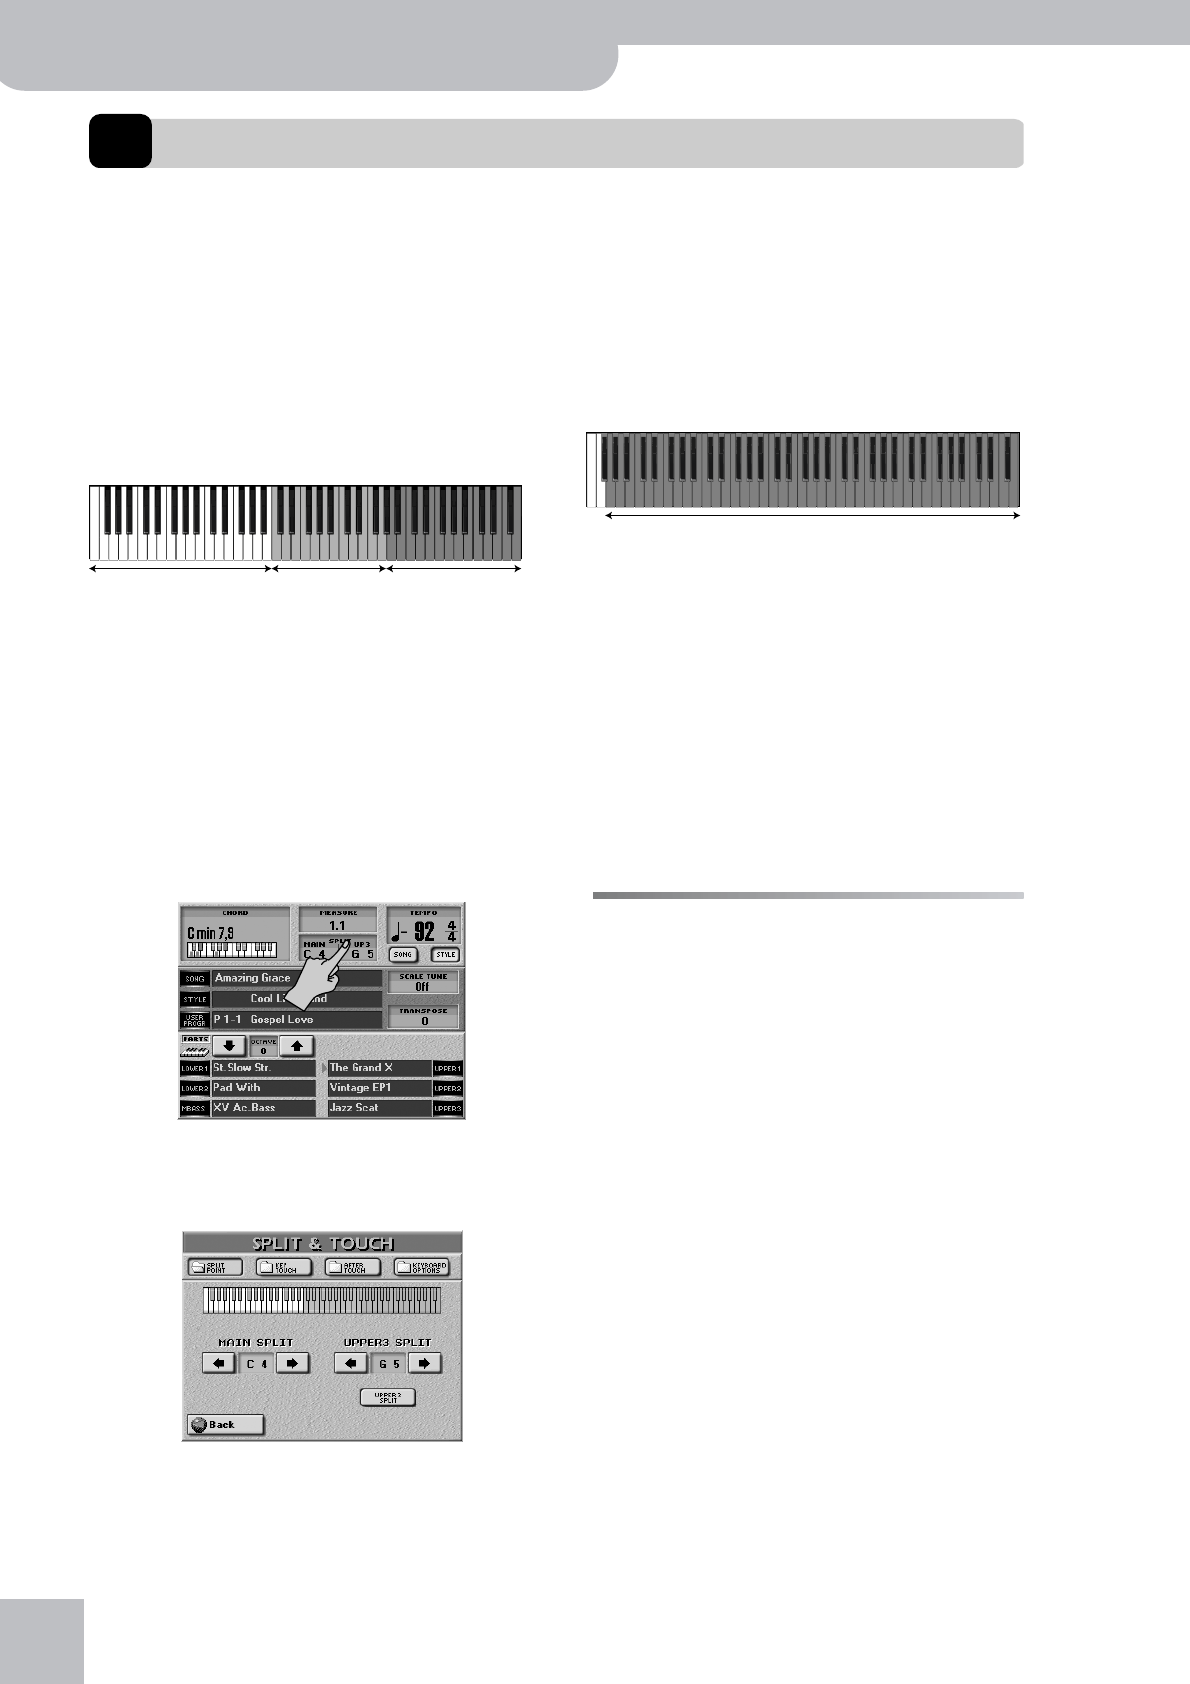
(2) Press the [UPPER¥3¥SPLIT] field so that it “lights”.
The keyboard is split at the G5, with the UP1 and UP2
parts to the left (orange), and the UP3 part to the
right (blue) of this second split point.
See p. 29 for how to assign the desired sound to the
UP3 part.
Note: UP3 SPLIT only works if the UP1 or UP2 part is active. It
is impossible to use an Upper 3 split without using the Upper1
or Upper2 part. If UP1/2/3 are off, the UPPER 3 SPLIT function
is not used.
If you don’t agree with this split point (G5), you can
change it to any note between the F#1 and G7.
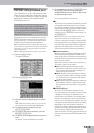
(3) Use the UPPER 3 SPLIT POINT [ø][˚] fields to set the
desired split point.
Note: If you are satisfied with your split point, you should save
it to a User Program (see p. 111).
(4) Press the [EXIT] button to return to the main page.
The UPPER 3 SPLIT function can be cancelled in sev-
eral ways:
• Press the [UPPER¥3¥SPLIT] field again so that it “goes
dark”.
• Switch off UP1 and/ or UP2.
• Switch off the UP3 part.
Tuning Upper 2: Coarse Tune and
Fine Tune
The UP2 part can be used as full-fledged solo or melody
sound, or to “fatten” the sound of UP1 (or UP3).
By layering we mean that every time you press a key in
the right half of the keyboard (in SPLIT mode, p. 57) or
anywhere on the keyboard (WHOLE mode), you trigger
two Tones: the one assigned to UP1 (or UP3) and the
one assigned to UP2. To layer the UP1 (or UP3) and UP2
parts, you need to switch them both on. See page 28
for details.
The following parameters allow you to transpose
(Coarse) or to detune (Fine) the Upper2 part relative to
the Upper1 (or Upper3) part. Though this is also possi-
ble when the UP1 (UP3) part is off, detuning or shifting
the UP2 part would not be very meaningful.
You could use COARSE to program an interval of a fifth
(7 semitones) for UP2, which is especially effective for
brass sounds and guitar power chords.
Do not forget to activate both the UP1 (or UP3) and
UP2 parts when you want to take advantage of the
COARSE and FINE parameters. If only the UP2 part is
active, your solos may sound flat.
Note: In WHOLE mode, these parameters can also be used for
layer effects involving the UP2 (which is detuned) and the LW1 or
LW2 part (which are not detuned).
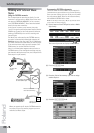
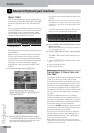
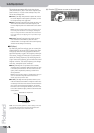
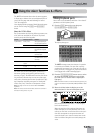
LW1 + LW2 (+ MBS)
(+ Arranger control)
Upper 1 and/or
VariPhrase part
Upper 2
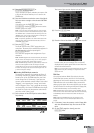
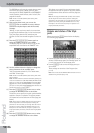
LW1 + LW2 (+ MBS)
(+ Arranger control)
Upper 1 and/or
Upper 2
Upper3
Possible range for UPPER 3 SPLIT