90 Captured curves
Running captured curves
Models SE and DL
Running captured curves
Capturing a curve allows you to take a snapshot of the current octave noise
profile. Once the captured curve is selected and applied, the SoundPro will
automatically calculate the captured curve results with the STI-PA
measurement.
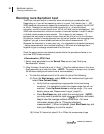
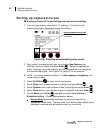
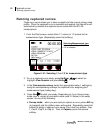
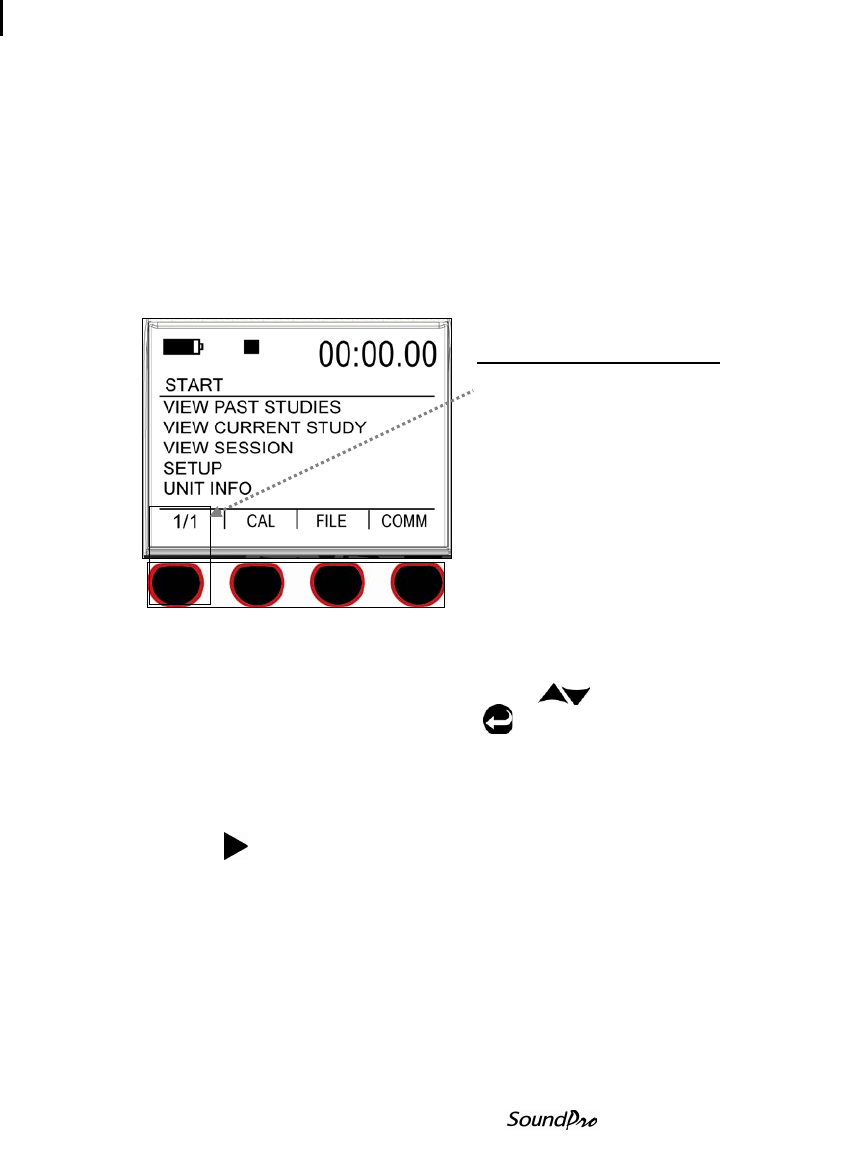
1. From the Start screen, select either 1/1 octave or 1/3 octave for the
measurement type. (Repeatedly press first softkey.)
Figure 6-10: Selecting 1/1 or 1/3 for measurement type
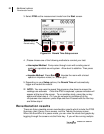
2. To run a captured curve study, press Up/Down to select (or
highlight) View Session and press Enter .
3. In the View session screen, select the appropriate meter 1 settings by
using the corresponding softkeys for response time, weighting and
measurement type (lookup key).
4. Press Run to start your study. Depending on if you chose survey
mode (see “a” below) or evaluation mode (see “b” below) in the setup
screen, do one of the following:
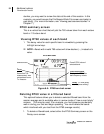
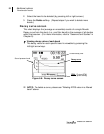
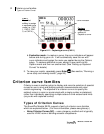
a. Survey mode: when you are ready to capture a curve, press Altf key
(on keypad) and the softkey menu will expand. Repeatedly press first
softkey to assign a capture curve name (You have four options: Cap-
1, Cap-2, Cap-3, or Cap-4). Then, to Capture, press the second
softkey.
Selecting Measurement type
Press first softkey until 1/1 or
1/3 is selected


