


60 Preparing to measure
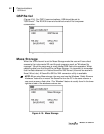
Measurement range
Models SE and DL
Measurement range
You select the decibel range before running the first study in the session.
Setting the measurement range helps keep the desired measurements within
the linear range of operation. If you don’t make an optimal range selection,
low levels of sound can be hidden in the instrument noise (below the noise
floor of the instrument), and high levels of sound can be distorted (the
instrument is “overloaded”). Measurements at these extremes are invalid. For
information about these and other terms that may be unfamiliar to you, see
the glossary in this manual (Appendix B, “Glossary”).
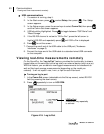
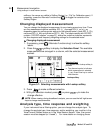
Measurement range selection
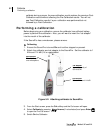
1. From Start screen, select either View Current Study or View Session.
The bar chart screen appears. To select, press arrows and then
press .
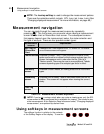
- NOTE: The bar chart screen may appear with a different measurement
displayed and a different range. This is dependent on the settings you
may have selected. (For more information, please see “Measurement
Type”, on page 26)
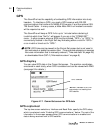
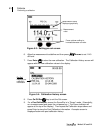
2. (Depending on if you selected basic SLM or applied 1/1 or 1/3 octave
band filters) a bar chart screen or a filtered bar chart screen will appear,
press . This changes the range, and the change is confirmed in
the screen in two ways.
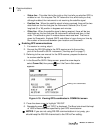
• Ranges - A different range may appear each time you press an arrow key.
The instrument provides eight selectable ranges, each with different minimum
and maximum values. (For more information about ranges, please see
“Ranges” in the Specifications in Appendix A, on page 123).
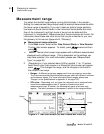
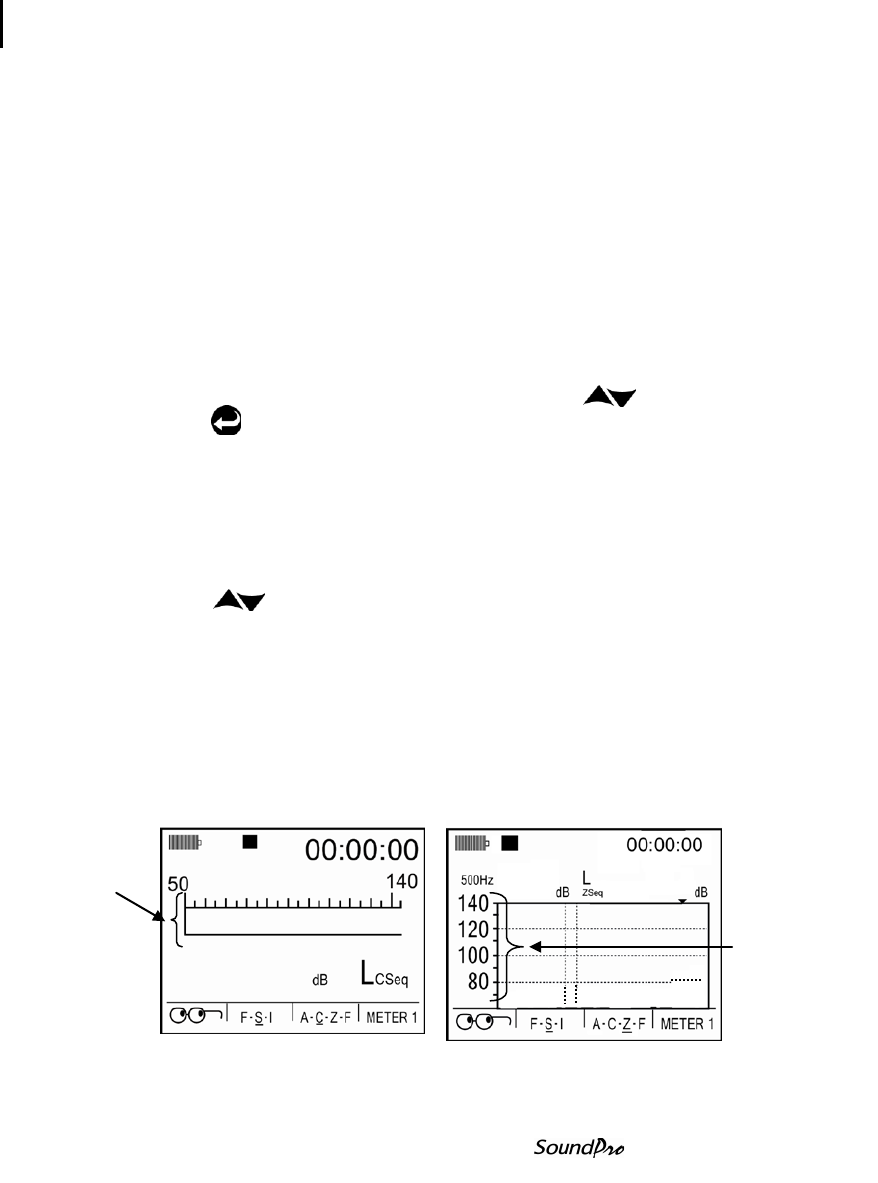
• SPL value – Depending on if you have the instrument set to measure basic
sound level measurements (see “A” below) or filtered sound level
measurements (see “B” below), the following two types of screens may
appear. The level increases or decreases in relation to the range selection
Figure 5-1: Bar chart screen (A) and Filtered Bar Chart (B)
Range
Range