


132
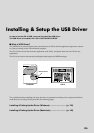
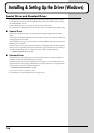
Installing & Setting Up the Driver (Windows)
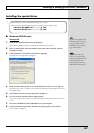
9.
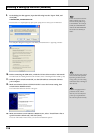
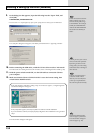
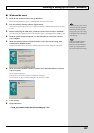
In the dialog box that appears, input the following into the “Open” field, and
click [OK].
D:\DRIVER\USB_XP2k\SETUPINF.EXE
* The drive name “D:” may be different for your system. Specify the drive name of your CD-ROM drive.
fig.11-150
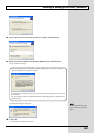
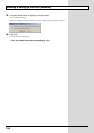
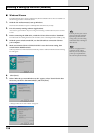
The “SetupInf” dialog box will appear, with “Ready to install the driver” appearing in the box.
fig.11-160
10.
Before connecting the USB cable, switch the GS-10’s driver mode to “Advanced.”
For instructions on switching the GS-10’s driver modes, refer to “Switching the Driver Mode” (p. 80).
11.
With the power switch turned OFF, use the USB cable to connect the GS-10 to
your computer.
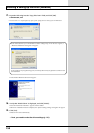
12.
Make sure that the GS-10’s OUTPUT LEVEL is set to the lowest setting, then
switch ON the POWER switch.
The “Insert Disk” dialog box will appear.
In this manual, the location of
folders and files is given in
terms of the file path, using \
as the delimiter. For example,
WinXP_2k\SETUPINF.EXE
indicates the SETUPINF.EXE
file found in the WinXP_2k
folder.
Turn on power to your various
devices in the order specified.
By turning on devices in the
wrong order, you risk causing
malfunction and/or damage to
other devices.
This unit is equipped with a
protection circuit. A brief
interval (a few seconds) after
power up is required before
the unit will operate normally.
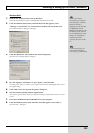
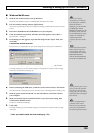
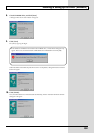
If the “File signature verification” setting in step 4 was not set to “Ignore”, a “Digital Signature
Not Found” dialog box will appear.
fig.11-170
If the [Yes] button appears, click the [Yes] button to continue with the installation.
If you are unable to continue, click [No] or [OK] to begin the driver installation over again from
Step 1.
If the Insert Disk dialog box
does not appear, please read
The “Insert Disk” dialog box
does not appear (p. 167)