M7CL Owner’s Manual
Operations in the SELECTED CHANNEL section
7
91
I
EQ graph field
This shows the response of the EQ/HPF.
J
INSERT field (INPUT, MIX, MATRIX, STE-
REO, and MONO channels only)
The signal route for insertion in the channel can be
switched on/off here.
K
DIRECT OUT field (INPUT channels only)
This is an on/off switch for the signal that is directly out-
put from the channel. The output level is also shown here.
L
RECALL SAFE field
Switches the Recall Safe status on/off for that channel. If
only some of the channel parameters are set to Recall
Safe, the PARTIAL indicator will light.
M
FADER field
Here you can view the input/output level of the channel,
and switch it on/off.
N
DCA field (input channels only)
Here you can select the DCA group to which that channel
is assigned.
O
MUTE field
Here you can select the mute group to which that channel
is assigned.
This section explains how you can use the SELECTED CHANNEL section to control all of the
parameters for a specific channel.
1
Use a [SEL] key to select the channel you
want to control.
The SELECTED CHANNEL section controls the
channel that was last selected by its [SEL] key.
To select an INPUT, ST IN, STEREO, or MONO
channel, press the appropriate [SEL] key in the INPUT
section, ST IN section, or STEREO/MONO MASTER
section of the top panel.
To select a MIX or MATRIX channel, use the naviga-
tion keys to recall the desired channel to the Central-
ogic section, and then press the [SEL] key for the
desired channel.
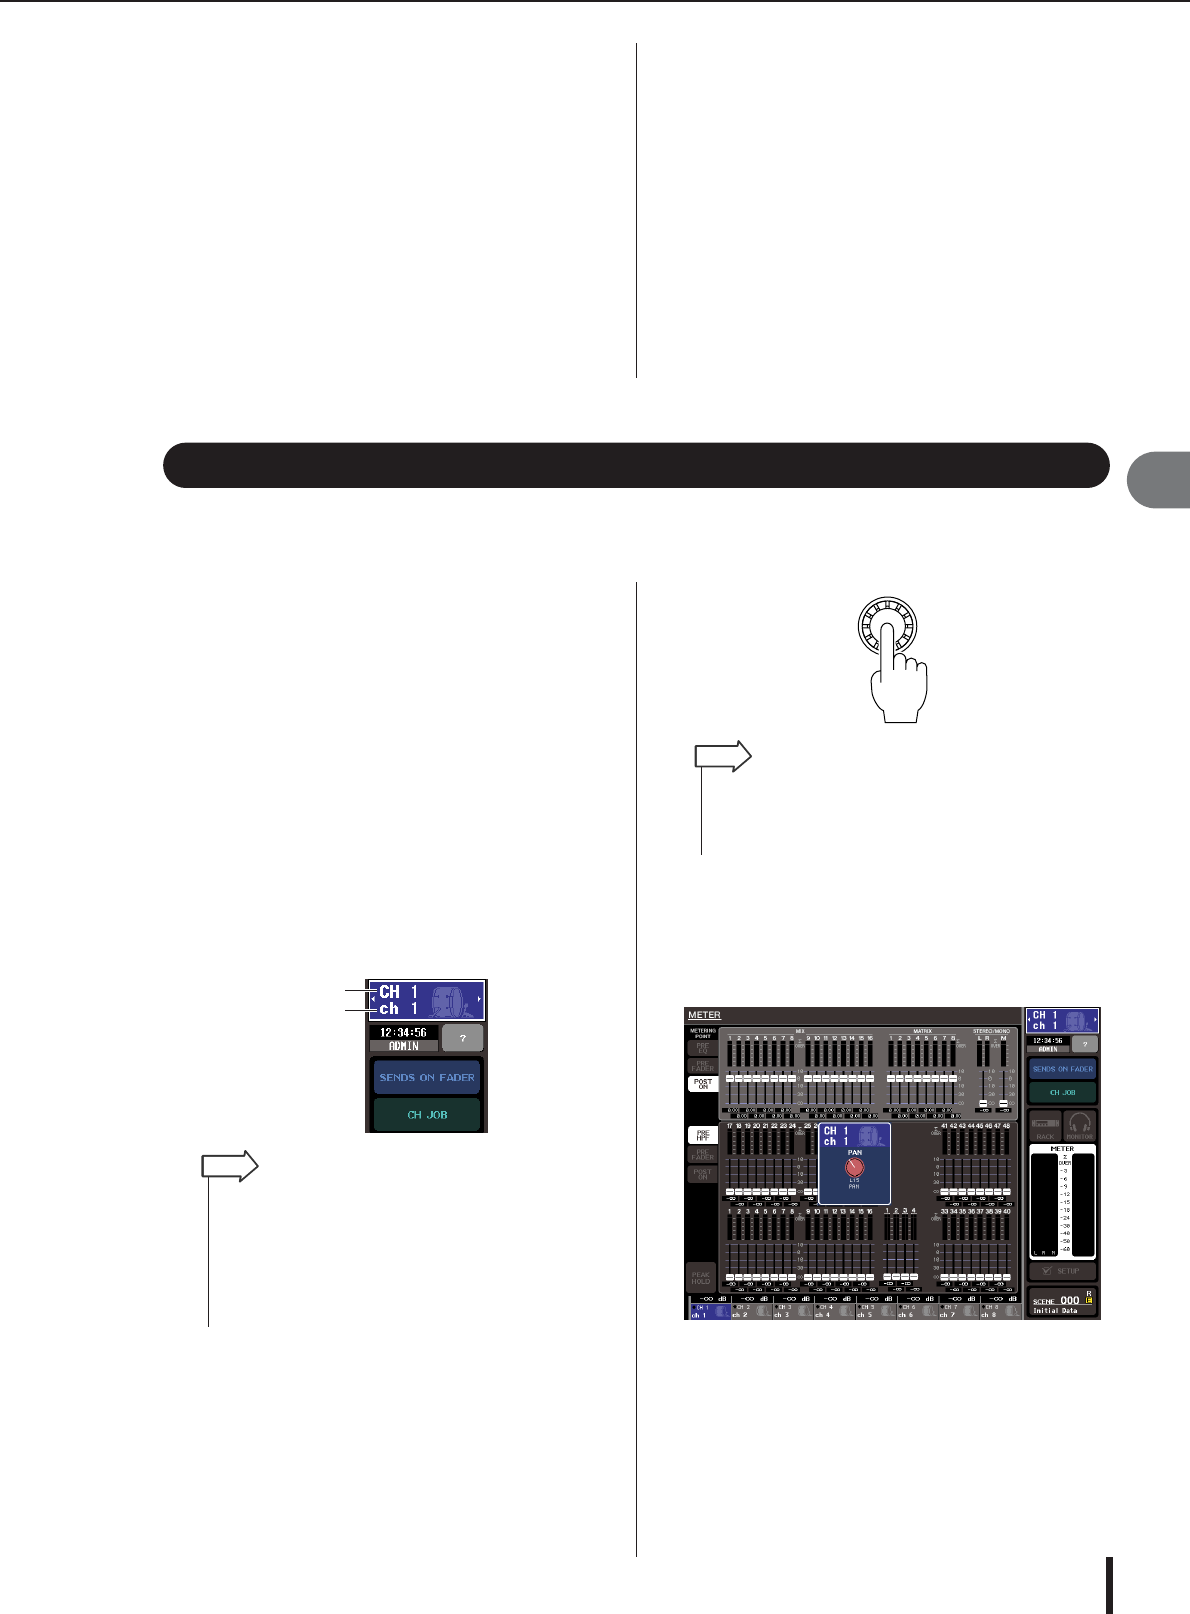
The number and name of the currently selected chan-
nel is shown in the channel select field located in the
function access area of the touch screen.
2
Press any one of the knobs in the
SELECTED CHANNEL section.
When you press a knob in the SELECTED CHAN-
NEL section, the SELECTED CHANNEL VIEW
screen for the currently selected channel will appear. If
you leave this screen displayed, you will always be
able to view the settings in the screen while operating
an encoder of the SELECTED CHANNEL section.
Even if a different screen is selected, the knobs of the
SELECTED CHANNEL section always affect the cur-
rently selected channel. In this case, a window indicat-
ing the value of that parameter will appear in the
screen when you operate a knob.
3
Use the encoders of the SELECTED CHAN-
NEL section and the buttons in the
SELECTED CHANNEL VIEW screen to edit
the parameters of the selected channel.
Operations in the SELECTED CHANNEL section
Channel number
Channel name
• In the case of ST IN channels or STEREO channels, you can
switch between L and R by repeatedly pressing the same
[SEL] key.
•You can also switch channels by pressing the channel select
field located in the function access area. Pressing the left side
will select the preceding channel, and pressing the right side
will select the next channel.
HINT
• In addition, you can make settings in the PREFERENCE
screen so that you can access detailed parameters that can-
not be edited in the SELECTED CHANNEL section. (For
details, refer to p. 214).
HINT
About the SELECTED CHANNEL VIEW screen • Operations in the SELECTED CHANNEL section


