


FUNCTION REFERENCE 5 - 53
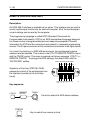
POWER SUPPLY
Description:
The instrument can be used at any nominal line voltage between 100 Vac and
240 Vac, with no switching and no fuse changes. After the instrument is turned on
by pressing the POWER ON/OFF switch, an automatic power-up test is started.
For detailed information, refer to the ’CONFIDENCE CHECK’ function.
The oscilloscope starts up with its previous settings when backup batteries are
installed. In the absence of batteries, the standard default setting ’std’ becomes
active. Refer to STANDARD FRONT for details.
Key sequence:
Toggle key to switch the oscilloscope on/off.
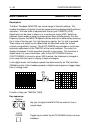
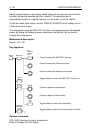
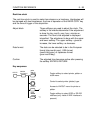
PRINTING AND PLOTTING
Description:
In the digital mode a hard copy of the information on the CRT can be made to a
printer or a plotter. The hard copy can consist of trace(s), the trace settings, trace
identification, cursors, measurement results, and the screen graticule.
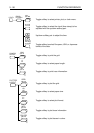
The oscilloscope and printer/plotter must be interconnected via a suitable cable
and must be set up to the correct interface parameters. The setup of the print or
plot action is made in the UTILITY >> PRINT & PLOT & CLOCK menu. The setup
of the interface parameters is made in the UTILITY >> REMOTE SETUP or the
UTILITY >> RS232 SETUP menu. This is described under the REMOTE
CONTROL IEEE 488.2 and RS-232 functions. The settings of the printer or plotter
are described in the manual that comes with the printer or plotter.
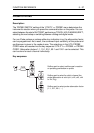
The front panel key HARDCOPY is used to start a print or plot. During the plot
action, the screen shows the message ‘HARDCOPY BUSY: ..% DONE,’ and
during a print or plot action, all front panel keys except HARDCOPY are inactive.
Pressing the HARDCOPY key again stops the hard copy action. Before
continuing, wait for the message ‘HARDCOPY DONE’.
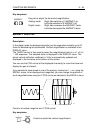
POWER ON OFF