GETTING STARTED 3 - 7
SIGNAL CRITERIA ANALOG MODE DIGITAL MODE
You need to make adjustments Fastest Slower
to the circuitry and watch display display
the signal change update update
Automatic measurements Can’t use Fully implemented
Signal Math Add, Subtract All functions
Add, Subtract, Multiply
Signal Analysis Not available Full analysis
Integration, (optional)
Differentiation, FFT
Automatic Pass/Fail test Not available Fully implemented
(optional)
Autorange attenuator Not available Results in a displayed
signal with an ampli-
tude of 2 to 6.4 divi-
sions
Autorange timebase Not available Results in a signal
display of 2 to 6
waveform periods
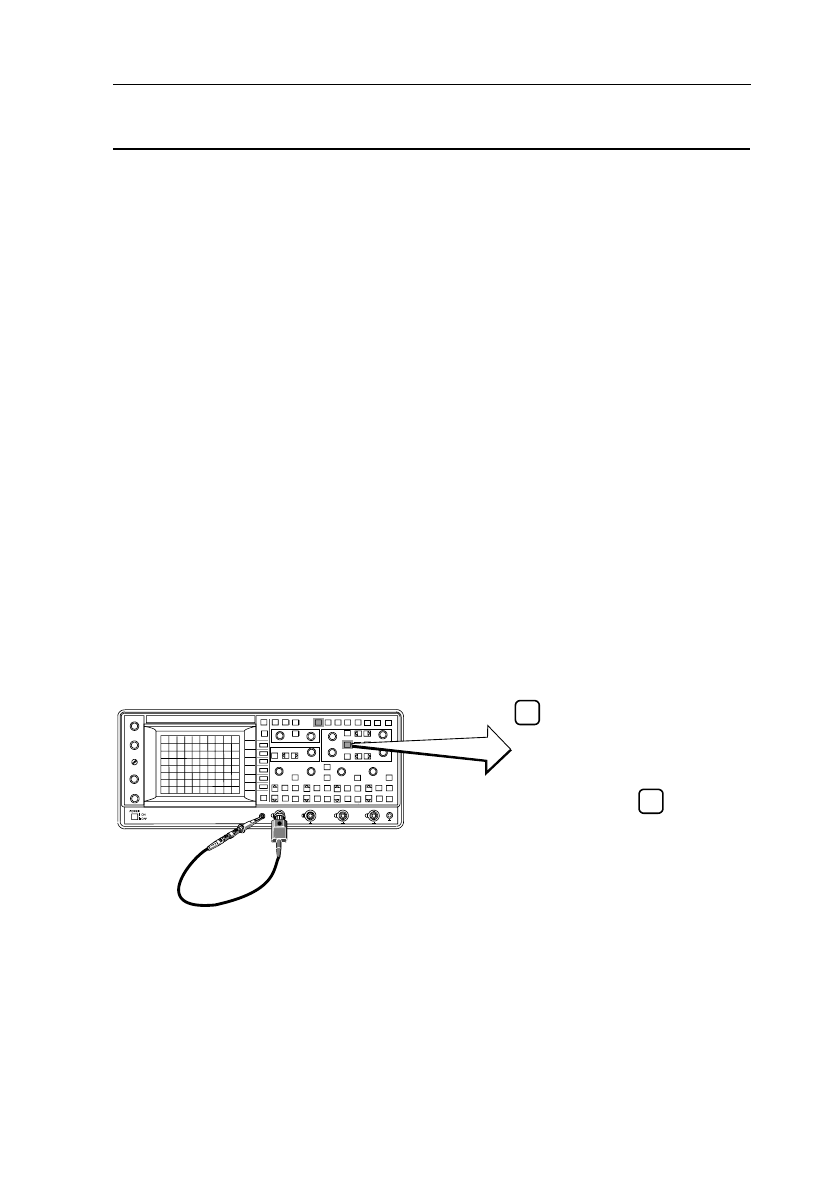
Step 1 Press AUTOSET. The scope performs an AUTOSET in analog mode.
Step 2 Press the ANALOG key to change over to the digital mode. Check that
the picture is identical to the one in the analog mode. The text ’DIGITAL
MODE’ is displayed briefly at the bottom of the screen.
Figure 3.4 Analog-Digital switching setup
ANALOG
RUN/STOP
1
23
4
ST6680
9312


