


2-2
Startup
Startup—the Details
Startup—the Details
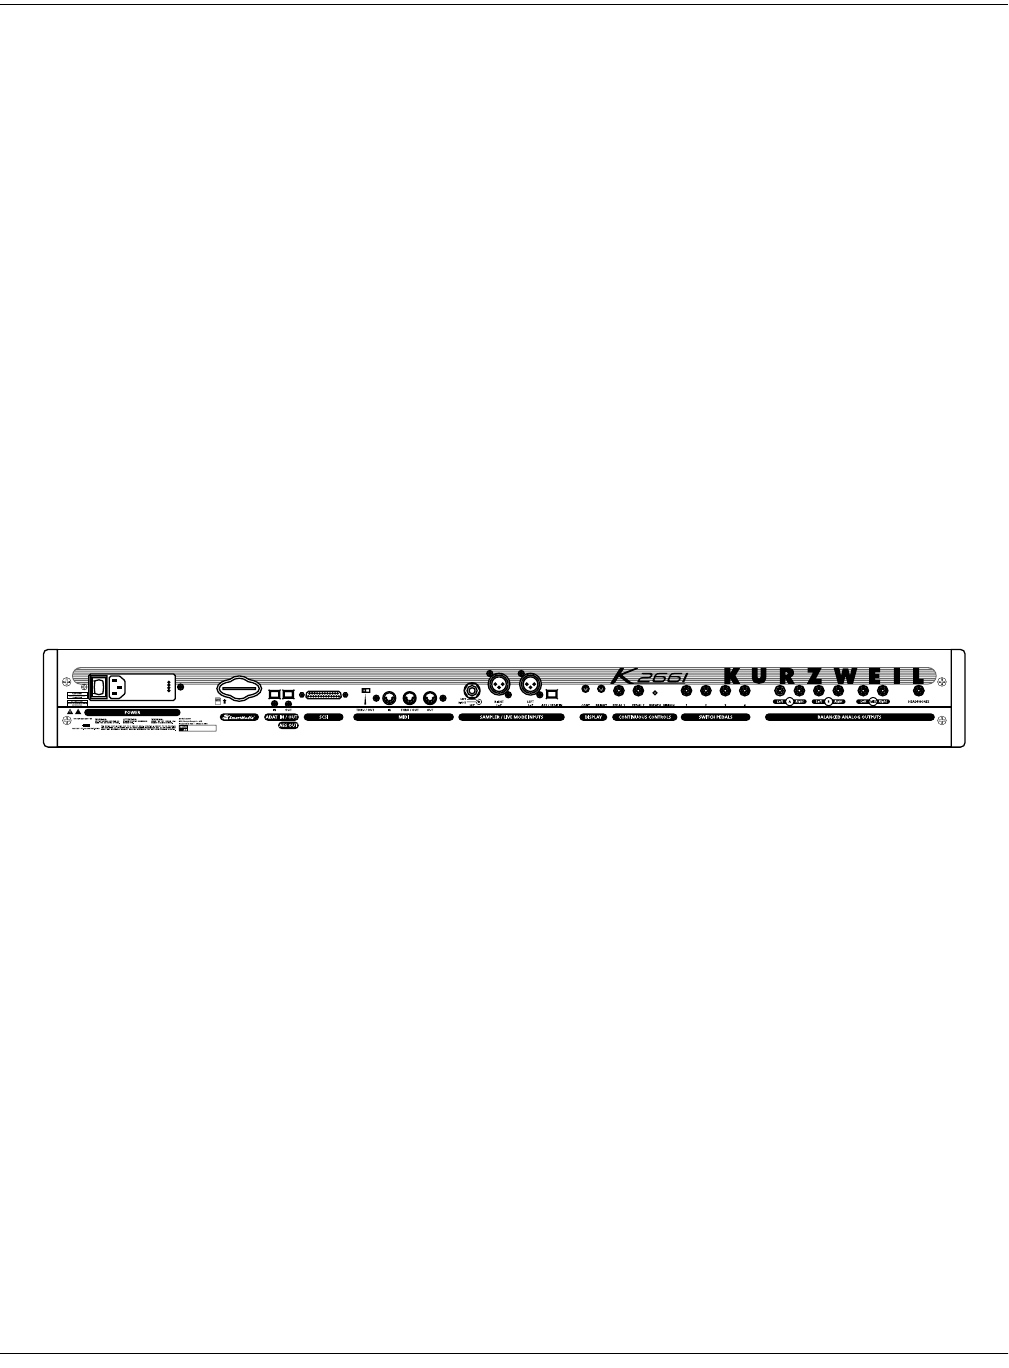
This section walks you through the hookup of your K2661. We’ll take a look at the rear panel,
then describe the power, audio, and other cable connections.
Before You Start...
Don’t connect anything until you make sure your K2661 is properly and safely situated. Also, if
your K2661 has been out in the cold, give it time to warm up to room temperature before
starting it, since condensation may have formed inside the K2661. Never block the ventilation
openings on the bottom or rear panels; doing so can cause overheating and serious damage. To
provide adequate ventilation, the rear panel should be at least four inches from any vertical
surface.
Connecting the Power Cable (Line Cord)
The K2661 runs on AC power: 100, 120, 230, or 240 volts at 50–60 Hz. Your dealer will set the
voltage switch to match the voltage in your area. The voltage level is set with a selector on the
rear panel of the K2661. Unless you are sure it needs to be changed, you shouldn’t adjust this.
When you’ve connected the cable at the K2661 end (as you face the back of the K2661, the power
connection is at the left), plug it into a grounded outlet. If your power source does not have the
standard three-hole outlet, you should take the time to install a proper grounding system. This
will reduce the risk of a shock.
Connecting the Audio Cables
After you’ve turned down the level on your sound system, connect the K2661’s analog audio
outputs to your sound system using a pair of stereo or mono audio cables. Mono cables will
always work, but if you’re going into balanced inputs, use stereo cables for a better signal-to-
noise ratio. The K2661’s analog outputs are balanced, and generate a “hotter” signal than
previous Kurzweil instruments.
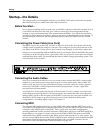
You’ll find six 1/4-inch jacks near the top of the rear panel. For now, connect one end of each
audio cable to your mixing board or PA system inputs, and connect the other end to the jacks
marked MIX L and R on the rear panel of the K2661. If you have only one input available, use
the K2661’s MIX L output to get the full signal in mono. You’ll find more about audio
configurations—including digital output—in Chapter 15.
Connecting MIDI
The simplest MIDI configuration uses a single MIDI cable: either from the MIDI Out port of
your K2661 to the MIDI In port of another instrument, or from the MIDI Out port of your MIDI
controller to the MIDI In port of the K2661. There are all sorts of possible configurations,
including additional synths, personal computers, MIDI effects processors, and MIDI patch bays.
Depending on your system, you may want to use the K2661’s MIDI Thru port to pass MIDI
information from a MIDI controller to the K2661 and on to the next device in your system. You
can also connect MIDI devices to the K2661’s MIDI Out port, which can send channelized MIDI
information from the keyboard or through the K2661 from your MIDI controller. See the
discussion of the Local Keyboard Channel parameter on page 10-6.