


102
Preparations for sampling
The multisample and sample data in the sample
memory (RAM) is not backed up when the power is
turned off. If you wish to keep this data, you must
save it onto a floppy disk, internal hard drive or
external SCSI device before turning off the power.
When the power is first turned on, memory will not
contain any multisample or sample data. You must
first load previously-saved data before you can play-
back or edit any sample data (☞p.37).
1. Connecting an input device and
making Input settings
Connecting an input device
Here’s how to connect an external audio source. On the
TRITON STUDIO you can input audio signals from the
AUDIO INPUT 1 and 2 jacks, the S/P DIF IN jack, or the
mLAN jack (if the EXB-mLAN option is installed).
1 Connect the audio source that you want to input.
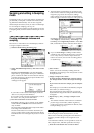
• Input from the AUDIO INPUT 1 and 2 jacks
Connect a mic, guitar, or CD player etc. to the rear
panel AUDIO INPUT 1 and 2 jacks.
Set the AUDIO INPUT [MIC/LINE] switch as appro-
priate for the device you are inputting.
If a mic is connected, set this to the MIC position.
If a guitar or analog audio device is connected, set this
to the LINE position.
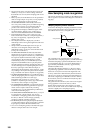
Guitars with active pickups can be input directly.
However if your guitar has a passive-type pickup
(i.e., without a built-in preamp), the mismatch in
impedance levels will make it difficult to sample at an
appropriate level. Such instruments should be routed
through a preamp or effect unit before they are con-
nected.
• Input from the S/P DIF IN jack
Connect the optical digital output jack of your DAT
etc. to the rear panel S/P DIF IN jack. (☞PG p.138)
• Input from the mLAN connector (if the EXB-mLAN
option is installed)
Connect the IEEE 1394 connector (“FireWire” style) of
your mLAN device or computer to the rear panel
mLAN connector.
☞ Refer to the owner’s manual of the EXB-mLAN option.
Input settings
One set of Input settings are maintained by Sampling
mode, and a different set of Input settings are shared by
Combination, Program, Sequencer, Song Play, and Disk
mode. This latter set is saved as Global mode parameters.
Normally you will set these in Global mode; however,
these same settings can also be made from the other
modes.
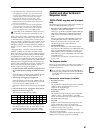
These settings can be made in the following pages.
Sampling can be performed in Sampling, Combina-
tion, Program, and Sequencer modes.
2 Select the page for making Input settings.
As an example, here’s how to make settings in Sam-
pling mode and in Program mode.
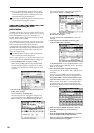
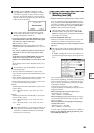
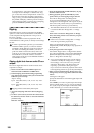
• Sampling mode
Press the [SAMPLING] key to enter Sampling mode.
Press the Input Setup tab to access the P0: Recording,
Input/Setup page.
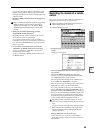
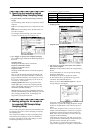
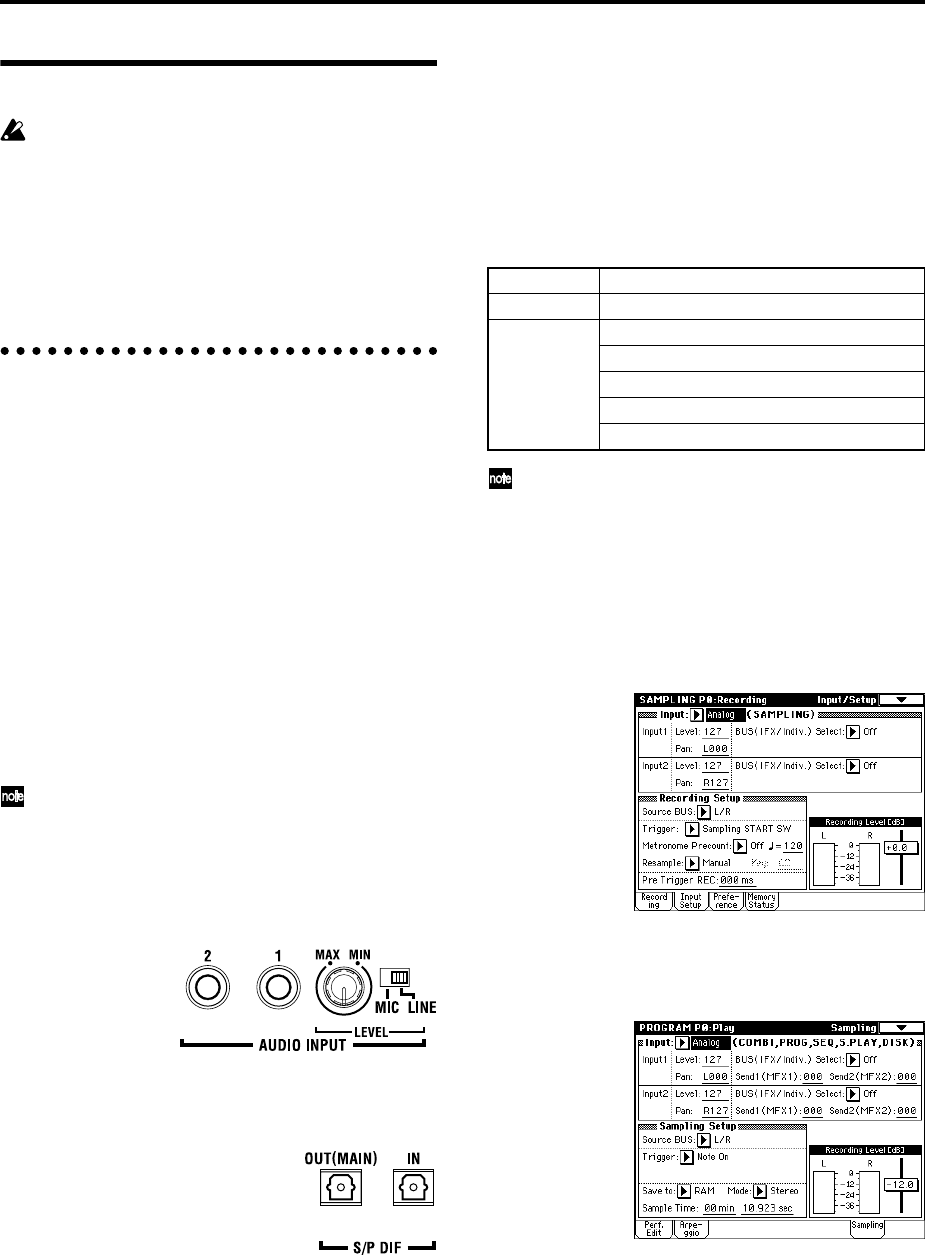
• Program mode
Press the [PROG] key to enter Program mode. Press
the Sampling tab to access the P0: Play, Sampling
page.
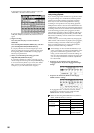
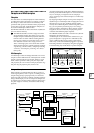
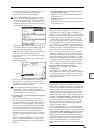
3 Use “Input” to select the input source.
If you want to sample the input from the AUDIO
INPUT 1 and 2 jacks, set “Input” to Analog.
If you want to sample the input from the S/P DIF IN
jack, set “Input” to S/P DIF.
If you want to sample the input from the mLAN con-
nector, set “Input” to mLAN (selectable if the EXB-
mLAN option is installed).
Mode Page
Sampling Sampling P0: Recording, Input/Setup
Combination, Combination P0: Play, Sampling
Program, Program P0: Play, Sampling
Sequencer, Sequencer P0: Play/REC, Sampling
Song Play, Global P0: Basic Setup, Input/Sampling
Disk Disk, Play Audio CD