


43
Quick Start
Power on/offDemo songPlaying
programs
Playing
combinations
Using
controllers
ArpeggiatorRPPRProgram
editing
Combination
editing
SamplingSong
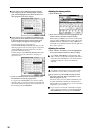
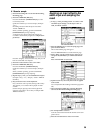
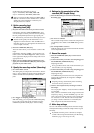
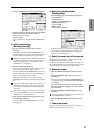
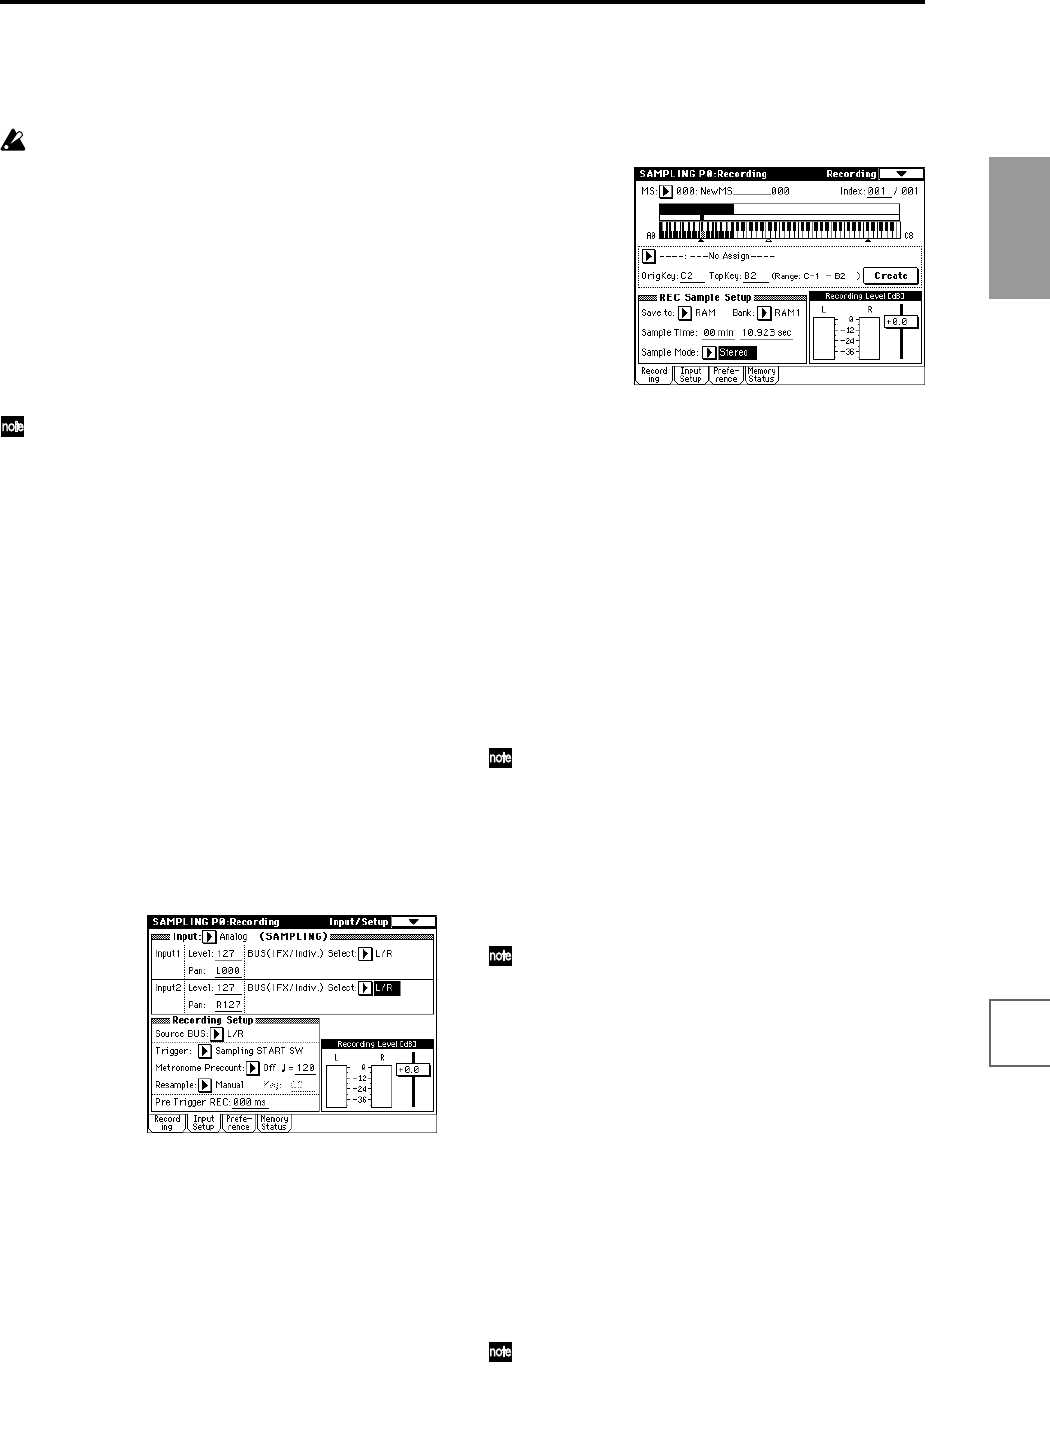
Set the following parameters as shown.
Input 1: “Level” 127, “Pan” L000, “BUS” L/R
Input 2: “Level” 127, “Pan” R127, “BUS” L/R
When you change the Bus setting from Off to L/R or
IFX, the volume level of the AUDIO OUT L/MONO
and R jacks or the headphone volume may rise
abruptly. Please use caution.
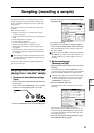
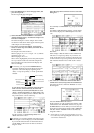
2. Set the recording level
(Recording Level [dB])
1 Play back the audio source that you want to record.
If the display indicates “ADC OVERLOAD !!” (AD
converter input overload!), lower the level by turning
the rear panel [LEVEL] knob to an appropriate posi-
tion. Alternatively, lower the level of the output source.
The best audio quality will be obtained at a level
slightly lower than when the “ADC OVERLOAD !!”
indication appears (i.e., the highest level that does not
cause an input overload).
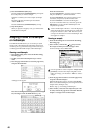
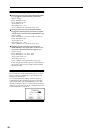
2 Press the SAMPLING [REC] key.
The level meter allows you to check the volume of the
input.
If the display indicates “CLIP!!,” use the VALUE con-
troller to lower the “Recording Level” slider (located
in the right of the display) from the +0.0 position to an
appropriate level.
3 When you have finished making adjustments, once
again press the SAMPLING [REC] key. Also stop the
playback of your audio source.
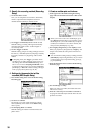
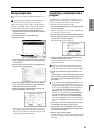
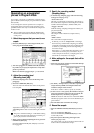
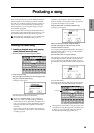
3. Specify the recording method (Recording)
1 Set “Source BUS” to L/R.
This setting lets you sample the sound of the L/R chan-
nels; i.e., the sound that is output from the headphones
and the AUDIO OUTPUT (MAIN) L/MONO and R
jacks.
2 Set “Trigger” to Sampling START SW.
With this setting, you can press the SAMPLING [REC]
key to enter record-ready mode, and then press the
SAMPLING [START/STOP] key to start recording.
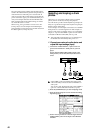
4. Settings for the sample that will be
recorded (REC Sample Setup)
1 Press the Recording to access the P0: Recording,
Recording page.
2 Set “Save to” to RAM.
The recorded sample will be written into sample mem-
ory (RAM). (☞For details on the DISK setting, refer to
p.105)
3 Set “Sample Mode” to Stereo.
With this setting, the sound of the internal LR channels
can be sampled in stereo.
5. Record the sample
1 Press the SAMPLING [REC] key to enter record-
ready mode.
2 At the moment that you wish to start sampling, press
the SAMPLING [START/STOP] key.
Sampling will start.
It is a good idea to allow a bit of extra time before you
start and after you stop sampling.
3 At the moment that you wish to stop sampling, press
the SAMPLING [START/STOP] key.
Sampling will stop.
A 140 BPM drum phrase has now been sampled. The
sample will automatically be assigned to “Sample
(Sample select).”
Sampling will stop automatically if the remaining
amount of memory reaches zero.
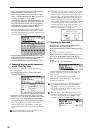
4 Listen to the sampled sound, and assign a name to
the sample.
You can play the “OrigKey” note to hear the sound that
was sampled.
After you have verified the sound, assign a name to the
sample (☞p.40) (e.g., LOOP1-140 BPM). Up to 14 char-
acters can be input as the name of a stereo sample (the
two characters -L and -R at the end are fixed). When
you assign a name to either the L or R channel, the
other sample will be named automatically.
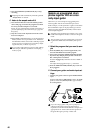
6. Make loop settings
Next we will delete unwanted portions from the sample,
and adjust the settings so that the sample will be looped
smoothly.
By default when the power is turned on, sampled
sounds will be looped automatically. (P0: Recording,
Preference page “Auto Loop On” On)