


83
Basic functions
Saving dataLoading dataProgram
settings
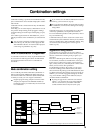
Combination
settings
Producing
songs
Sampling
settings
Creating a
CD
SMF
playback
System
settings
Drum kit
settings
Arpeggiator
settings
Effects
settings
Other
functions
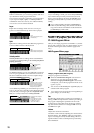
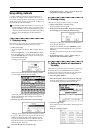
The display will change from “PLAY” to “MUTE,” and
the playback of track 1 will no longer be heard. In this
way, the “mute” function allows you to silence a speci-
fied track until the track is un-muted.
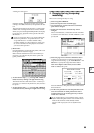
Press track 2 “PLAY/MUTE/REC.”
The display will change, and the playback of track 2
will also be muted.
To cancel muting, press “PLAY/REC/MUTE” once
again.
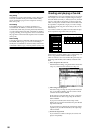
4 Press track 1 “SOLO ON/OFF.”
The display will change from “SOLO OFF” to “SOLO
ON,” and this time, only the performance of track 1
will be heard. To play back only a specified track by
itself in this way is known as “soloing” the track (turn-
ing Solo on).
If both Mute and Solo are used, the Solo function will
be given priority.
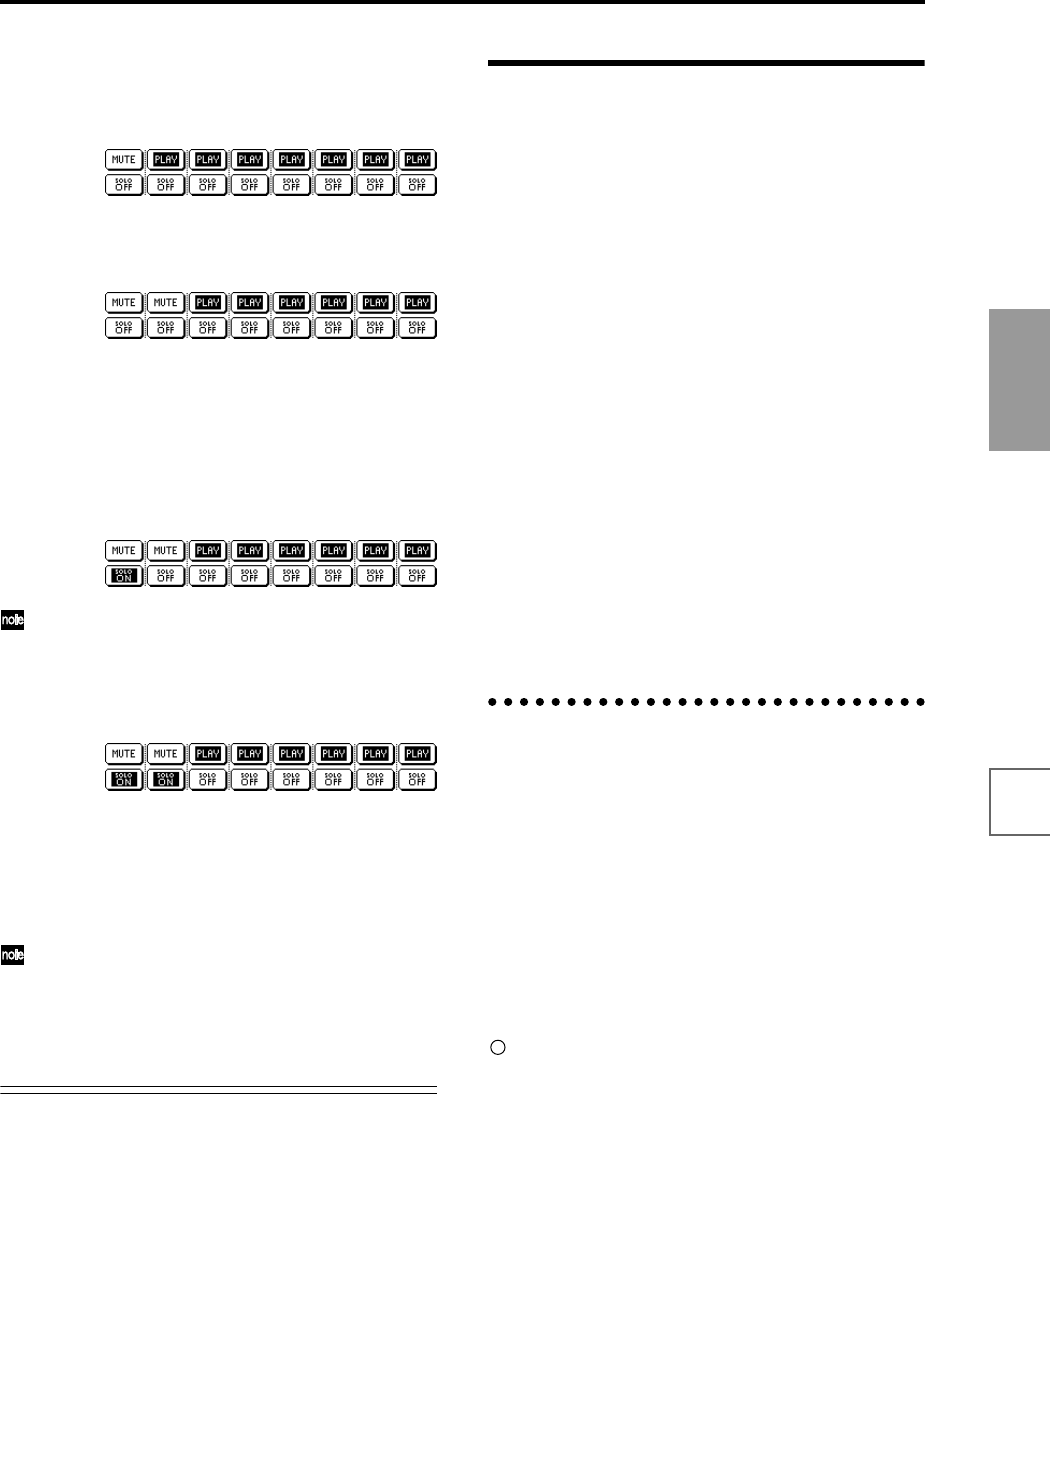
5 Press track 2 “SOLO ON/OFF.”
The display will change, and only the playback of
tracks 1 and 2 will be heard.
To switch Solo off, press “SOLO ON/OFF” once
again. Press “SOLO ON/OFF” for both tracks 1 and 2.
The display will change, and the playback of tracks 1
and 2 will be muted. If the Solo function is turned off
for all tracks, playback will be according to the “PLAY/
MUTE/REC” settings.
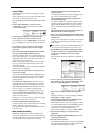
By using the page menu command “Solo Selected
Track,” you can listen to the sound of only the
selected track. This is convenient when you want to
set track parameters or to make effect settings. (☞PG
p.52)
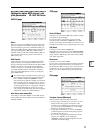
[LOCATE] settings
By pressing the [LOCATE] key you can move to a speci-
fied location.
The location is specified by the Utility menu command
“Set Location.” You can also hold down the [ENTER] key
and press the [LOCATE] key to set the location even dur-
ing playback (☞PG p.54).
When you select a song, the “LOCATE” setting will auto-
matically be set to 001:01.000.
Normally you will leave this set to 001:01.000., to return
you to the begining of the song.
Recording methods
This section describes the ways in which you can record
on the TRITON STUDIO.
Recording a track
There are two ways to record to a track: realtime record-
ing and step recording. You can choose from six types of
realtime recording.
In addition, you can use event editing to modify data that
has been recorded or to insert data, and use track editing
operations such as Create Control Data to insert data
such as bend, after touch, and control changes.
Recording a pattern
There are two ways to record a pattern: realtime record-
ing and step recording. For realtime recording, only one
recording type (loop) is available.
In addition, you can use event edit operations to modify
data that has been recorded or to insert data.
The page menu command “Get From Track” can be used
to take musical data from a desired area of a track, and use
it as the musical data for a pattern. Conversely, the page
menu commands “Put to Track” and “Copy to Track” can
be used to place or to copy the musical data of a pattern in
a track.
Realtime recording on a track
This is a method of recording in which your playing on
the keyboard and your operations of controllers such as
the joystick are recorded in realtime.
This method of recording is normally used one track at a
time, and is called single track recording.
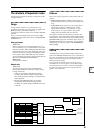
As an alternative, multitrack recording allows you to
simultaneously record multiple channels of data onto
multiple tracks. This is the method you will use when
using the RPPR function and the arpeggiator function to
record multiple tracks of musical data at once, or when
you playback existing sequence data on an external
sequencer and record it onto TRITON STUDIO’s
sequencer in realtime (☞p.85).
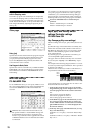
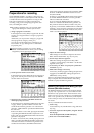
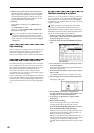
These settings are made in Sequencer P0: Play/REC,
Preference page “Recording Setup.”
• Overwrite
With this method, the musical data previously
recorded on a track is overwritten by the newly
recorded data. When you perform overwrite recording
on a previously-recorded track, its musical data will be
deleted and replaced by the newly recorded data.
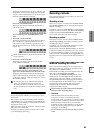
Normally you will use this method to record, and then
modify the results by using other types of realtime
recording or event editing.
1 Use “Track Select” to select the track that you want to
record.