


47
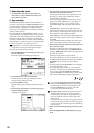
Quick Start
Power on/offDemo songPlaying
programs
Playing
combinations
Using
controllers
ArpeggiatorRPPRProgram
editing
Combination
editing
SamplingSong
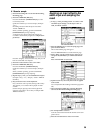
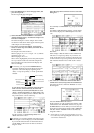
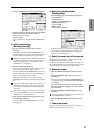
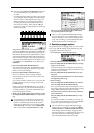
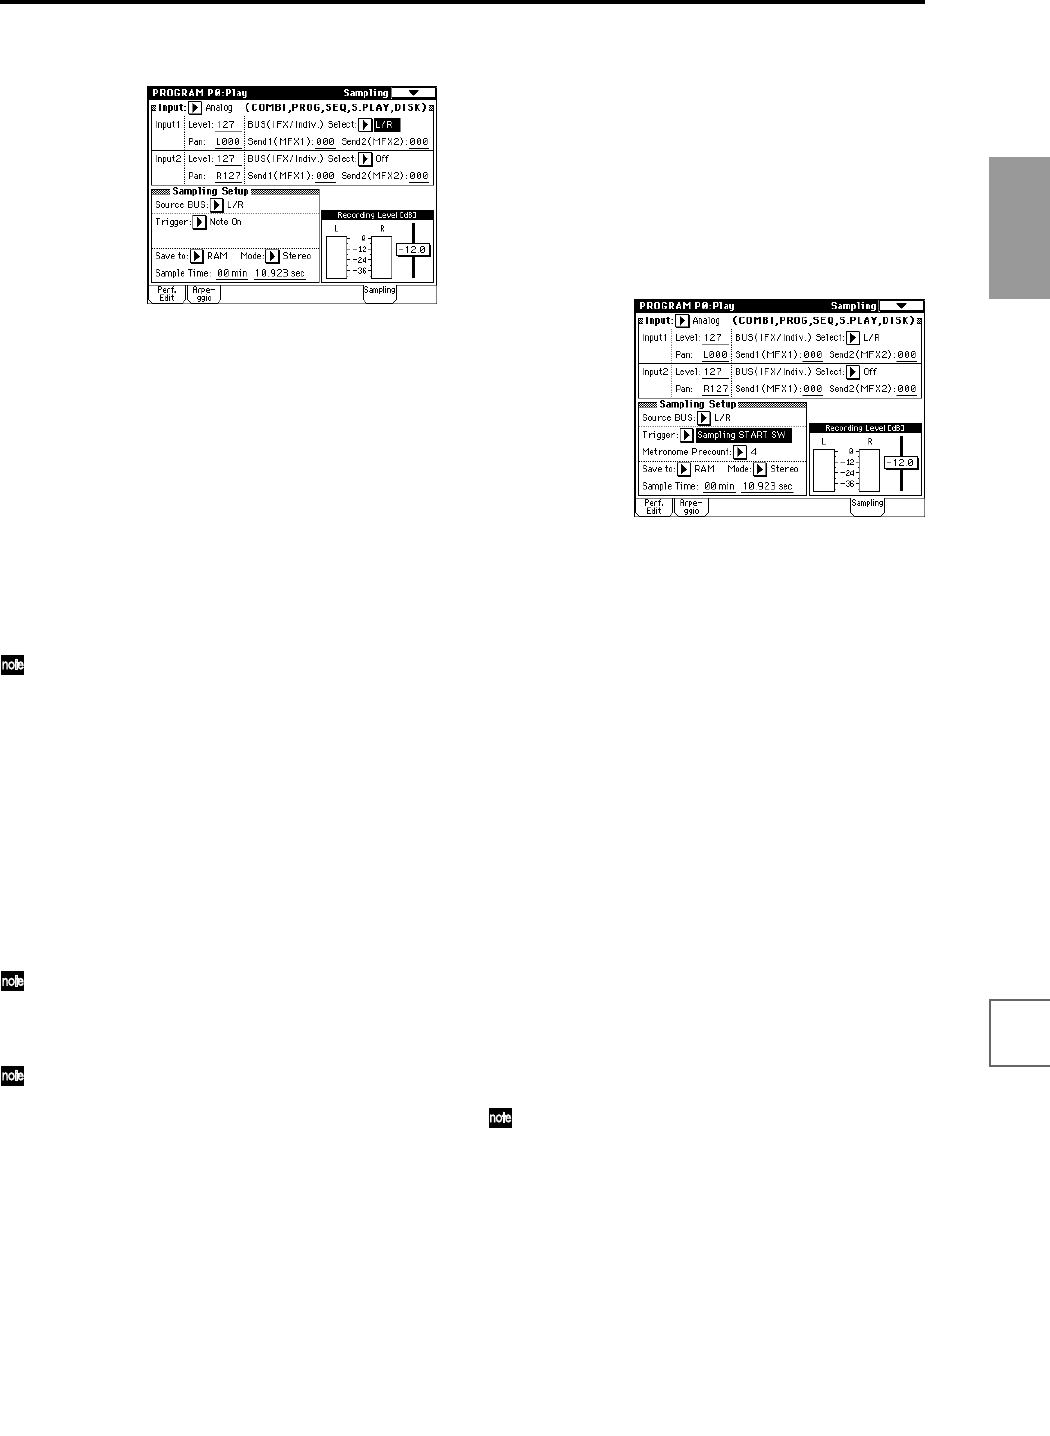
2 Press the Sampling tab to access the Sampling page.
3 Set the parameters so that the signal from the AUDIO
INPUT 1 jack will be sent to the L channel.
Make the following settings.
“Input”: Analog
Input 1 “Level”: 127, “Pan”: as desired, “BUS Select”:
L/R
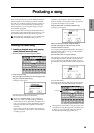
3. Set the recording level
(Recording Level [dB])
1 Play your guitar at the volume that you will be
recording.
If the display indicates “ADC OVERLOAD !!” (AD
converter input overload), turn the rear panel [LEVEL]
knob toward MIN to adjust the level appropriately.
The best audio quality will be obtained at the highest
possible level that does not cause an overload; i.e., a
level that is slightly below the point where “ADC
OVERLOAD !!” is displayed.
2 Press the SAMPLING [REC] key.
Play your guitar, and the level meter will indicate the
volume at which the guitar will be sampled.
Press the ARPEGGIATOR [ON/OFF] key to turn it on,
play the keyboard to start the arpeggio, and play your
guitar while adjusting the final volume.
Adjust the recording level as necessary, using the
“Recording Level” slider located at the right of the dis-
play.
The power-on default is –12 dB. With a setting of –12
dB, CLIP will not be displayed even if the program
drum pattern and the guitar are played at the maxi-
mum level.
If the balance between instruments is not to your lik-
ing, use the [LEVEL] knob or the performance editor
“Amp Level” to adjust the balance.
3 When you have finished making adjustments, press
the SAMPLING [REC] key.
Press the ARPEGGIATOR [ON/OFF] key to turn off
the arpeggiator.
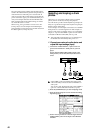
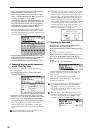
4. Specify the recording method
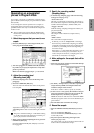
(Sampling Setup)
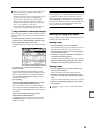
1 In the Sampling page, set the following Sampling
Setup parameters.
“Source BUS”: L/R
“Trigger”: Sampling START SW
“Metronome Precount”: 4
“Save to”: RAM
“Mode”: Stereo
“Sample Time”: as desired
With these settings, if you press the SAMPLING [REC]
key to enter recording-standby mode and then press
the SAMPLING [START/STOP] key, recording will
begin after a four-beat count.
5. Specify the sample that will be recorded
Make settings as described in “4. Make settings for the
sample that will be recorded” (☞p.45).
If you omit making settings at this point and simply con-
tinue with the settings of p.45, the sample will be assigned
to the next higher key of the same program number.
6. Record the sample
1 Press the ARPEGGIATOR [ON/OFF] key to turn it
on.
2 Press the SAMPLING [REC] key to enter record-
ready mode.
When you press the SAMPLING [START/STOP] key, a
count-down will begin. Play the keyboard during the
count-down.
After a four-beat count-down, recording will start.
Play your guitar. The arpeggiator will also start after
the count-down.
3 Press the SAMPLING [START/STOP] key to stop
recording.
Sampling will also end automatically when the speci-
fied “Sample Time” is reached.
4 Press the ARPEGGIATOR [ON/OFF] key to turn it
off.
7. Listen to the sample
Now you can listen to the sample that was recorded. (“6.
Listen to the sample and edit it” ☞p.46)