


30
The arpeggio playback speed is affected by the
“Reso” setting (Program P0: Play, Arpeggio page), or
“Resolution” (P7: Edit-Arpeggiator, Arpeg. Setup
page).
If “MIDI Clock” (Global P1: MIDI) is set to External
MIDI or External mLAN, the display will indicate
“ =” EXT. The tempo will be synchronized to an
external MIDI device, and it will not be possible to
adjust the tempo on the TRITON STUDIO.
Adjusting the length of the arpeggiated
notes
Rotate the ARPEGGIATOR [GATE] knob to adjust
the length of the arpeggiated notes.
Rotating the knob toward the left will shorten the
duration of the notes, and rotating it toward the right
will lengthen the duration of the notes. At the center
position (12 o’clock), the note length will be as speci-
fied by the program parameter “Gate” (Program P7:
Edit-Arpeggiator, Arpeg. Setup page).
The knob setting is saved when you write each pro-
gram.
It is effective to control this function in conjunction
with the REALTIME CONTROLS A-mode knob [4]
(EG RELEASE).
Adjusting the strength of the arpeggio notes
Rotate the ARPEGGIATOR [VELOCITY] knob to
adjust the strength of the arpeggio notes.
Rotating the knob toward the left will make the notes
softer, and rotating the knob toward the right will
make the notes stronger. At the center position (12
o’clock), the velocity will be as specified by the pro-
gram parameter “Velocity” (Program P7: Edit-Arpeg-
giator, Arpeg. Setup page).
The knob setting is saved when you write each pro-
gram.
It is effective to control this function in conjunction
with the REALTIME CONTROLS A-mode knobs [1]
(LPF CUTOFF), [2] (RESONANCE/HPF), and [3]
(EG- INTENSITY).
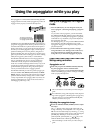
Settings in the LCD screen
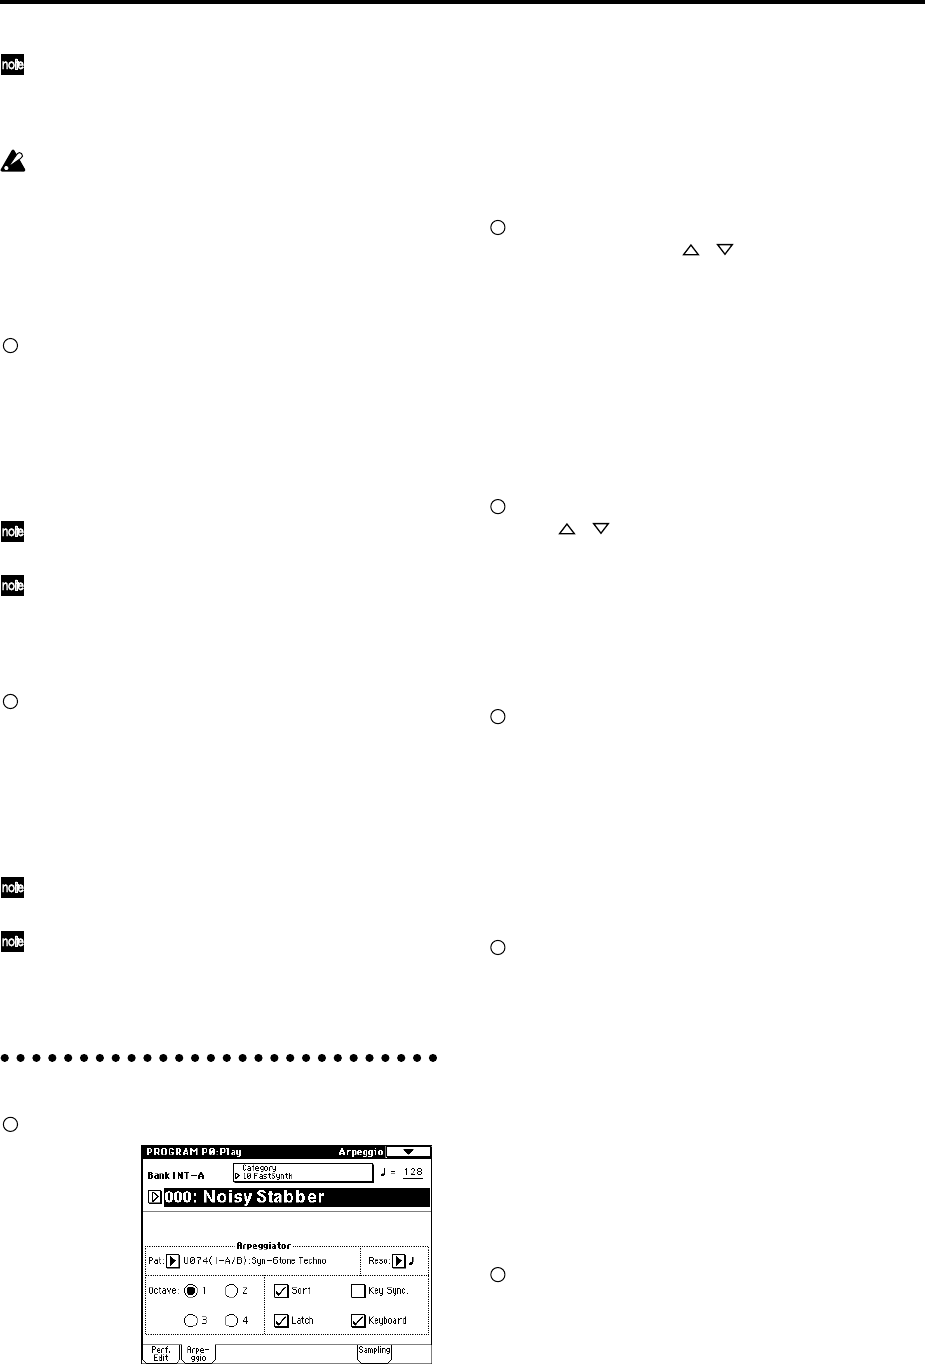
In Program P0: Play, press the Arpeggio tab.
Selecting an arpeggio pattern
An arpeggio pattern can be selected from preset arpeggio
patterns P000–P004 and user arpeggio patterns U000(I-A/
B)–U506(User). With the factory settings, U000(I-A/B)–
U199(I-A/B), U312(User)–U506(User) contain a wide vari-
ety of preloaded user arpeggio patterns. For the arpeggio
pattern names (☞VNL).
Choose “Pat (Pattern Select),” and use the [VALUE]
slider, [VALUE] dial, [ ][ ] keys, and popup menu
to select an arpeggio pattern.
User arpeggio patterns can also be selected by using
the numeric keys [0]–[9] to input the pattern number
and then pressing the [ENTER] key. (☞p.130)
Changing the note value of the arpeggiated
notes
The “Reso (Resolution)” parameter in the LCD screen lets
you set the note value of the arpeggiated notes, over a
range from 3 – .
Press “Reso,” and use the [VALUE] slider, [VALUE]
dial, [ ][ ] keys, or popup menu to select the
desired arpeggio note interval.
Selecting the octave range in which the
arpeggio is sounded
Use the “Octave” radio buttons in the LCD screen to spec-
ify the range of octaves in which the arpeggio will be
sounded (☞p.131).
Press an “Octave” radio button to make your selec-
tion.
Sounding an arpeggio in the order of the
pitches in the chord you played
You can select whether the notes of the arpeggio will be
sounded in the order of the pitches in the chord you
played (regardless of the order in which you actually
played the notes), or in the order in which you played the
notes.
Press the “Sort” check box in the LCD screen to make
this setting.
Checked: the arpeggio will sound each note in the
order of its pitch, regardless of the order in which you
actually played the notes.
Unchecked: the arpeggio will sound each note in the
order in which you actually played the notes.
Setting the arpeggio to continue playing
even after you have taken your hand off the
keyboard
You can select whether the arpeggio will continue playing
when you take your hand off the keyboard, or whether
the arpeggio will stop.
Press the “Latch” check box in the LCD screen to
make this setting.
Checked: The arpeggio will continue playing even
after you remove your hand from the keyboard.
Unchecked: The arpeggio will stop playing when you
remove your hand from the keyboard.