


112
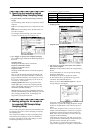
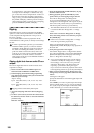
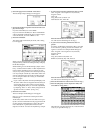
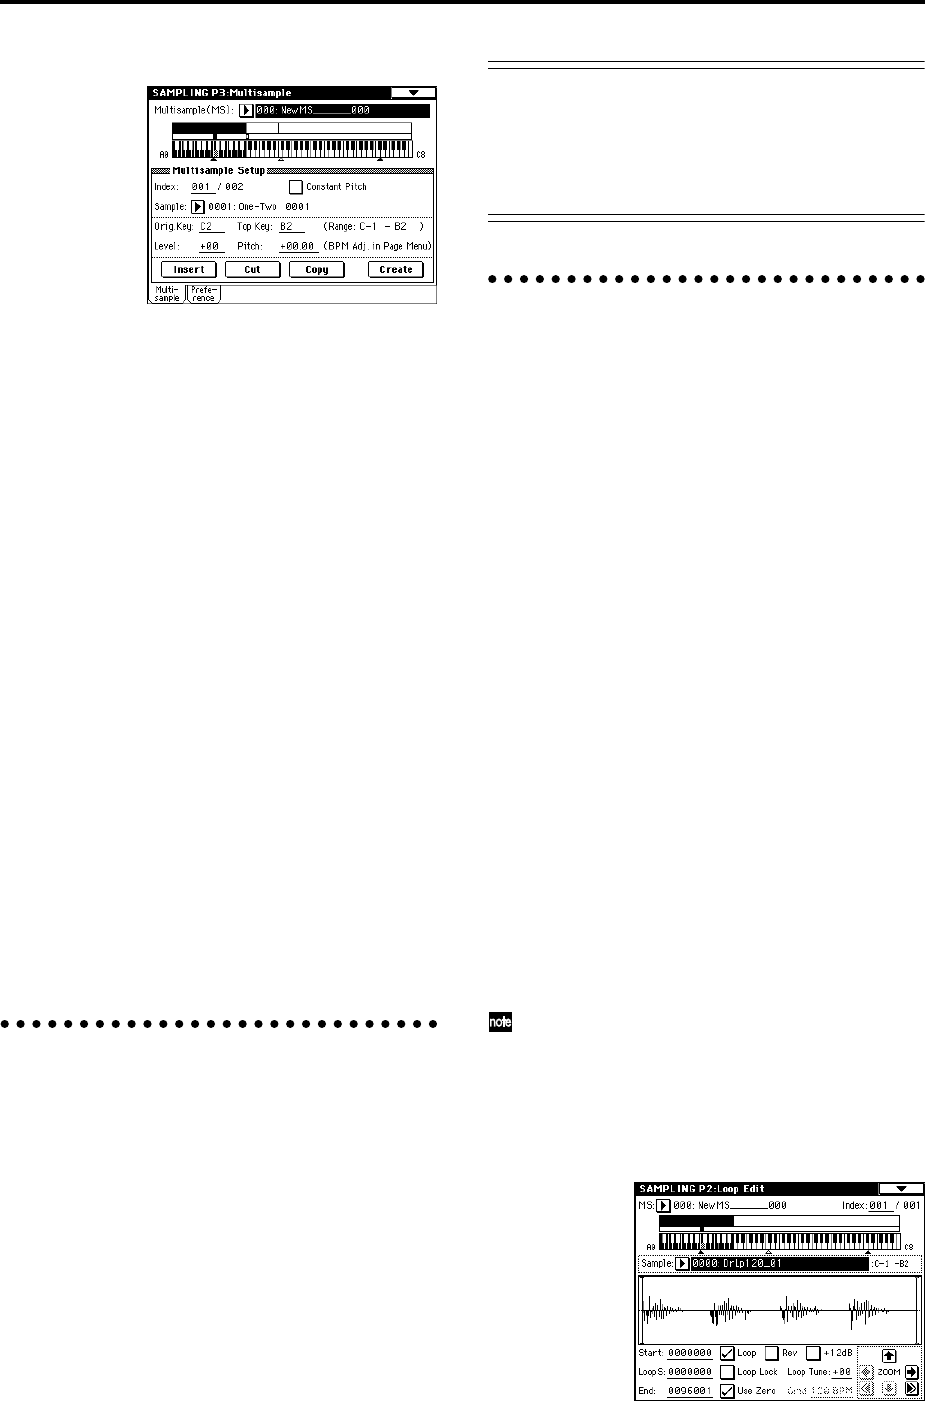
1 Select the P3: Multisample.
2 Use “Multisample (MS)” to select the multisample
that you wish to edit.
3 Select the “Index.”
You can also select an index by holding down the
[ENTER] key and playing a note on the keyboard.
4 Press the buttons to modify the number or order of
the indices, and edit them.
To delete the selected index, press the Cut button.
The Insert button is used in conjunction with the Cut
and Copy buttons. The contents of the index that was
Cut or Copied will be inserted.
The Create button has the same function as the Create
button in P0: Recording (“Creating multisample
indexes and sampling” ☞p.106).
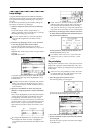
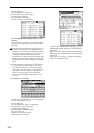
Modifying the settings of an index
1 Make the settings described in steps 1–3 of “Edit-
ing the indexes.”
2 Set parameters for the selected index.
(☞PG p.117)
• Changing the “Top Key” will change the upper limit
of the zone. Simultaneously, the lower limit of the
next-numbered index will also change.
• If you check “Constant Pitch,” all notes in the index
zone will sound the sample at its original pitch.
• “Pitch” adjusts the sample pitch for each index. You
can use the “Pitch BPM Adjust” page menu command
to set the loop interval to a desired BPM value (☞PG
p.118).
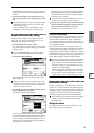
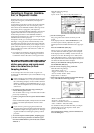
Converting a multisample to a
program
In pages P0: Recording–P4: Controller Setup, you can
select and execute the “Convert MS To Program” page
menu command. When you execute this command, the
settings of the currently selected multisample will be con-
verted into a program. In Program mode you can make fil-
ter, amp and effect settings etc., and play the sample as a
program. The resulting program can be used in a combi-
nation or song.
For details on the “Convert MS To Program” page menu
command (☞p.41, PG p.93).
Using samples in a drum kit
A sample you created in Sampling mode can be used as
one of the instruments in a drum kit. In the Global P5:
Drum Kit, Sample Setup page and Low Sample page, set
“Drumsample Bank” to RAM, and use “Drumsample” to
select the sample that you created.
Using Time Slice to divide a sample,
and playing it in Sequencer mode
Time Slice is a function that detects the attack of the kick
or snare etc. in a rhythm loop sample (a sample consisting
of a looped pattern of drums etc.), and automatically
divides it into separate instrumental sounds. Each of the
divided instrumental sounds is made into a sample of its
own, and then automatically expanded into a multisam-
ple and program. Pattern playback data for the Sequencer
mode using the divided samples is also created automati-
cally.
The time-slices sample can be used in the following ways
by the song of Sequencer mode.
• Multiple rhythm loop samples of differing tempo can
be matched to the same tempo without changing their
pitch.
• You can change the tempo in realtime without
affecting the pitch.
As an example, we will describe how a rhythm loop sam-
ple can be time-sliced in Sampling mode, and then how
the rhythm loop sample can be played in Sequencer
mode.
You will need to provide rhythm loop samples of drums
etc. You can either record these on the TRITON STUDIO,
or load them in Disk mode. Initially, you should try this
using a one-measure pattern in 4/4 time with a fairly sim-
ple beat, and record the pattern as a mono rhythm loop
sample.
For this example, we will use a 120 BPM rhythm loop
sample.
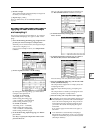
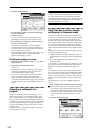
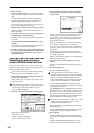
1 Select “Sample Select” 120 BPM rhythm loop sample.
Play back the sample, and verify that the beats that
you want to loop are played cleanly. If they are not
played cleanly, make the appropriate settings for the
start address “Start” and end address “End,” and exe-
cute the page menu command “Truncate” (☞p.44,
110).
2 Access the P2: Loop Edit page.